
Explore interior trends, AI design insights, styling guides and real transformations
Lighting the Threshold: Modern Hallway Design for European Homes
Lighting the threshold: why hallways deserve thoughtful illumination
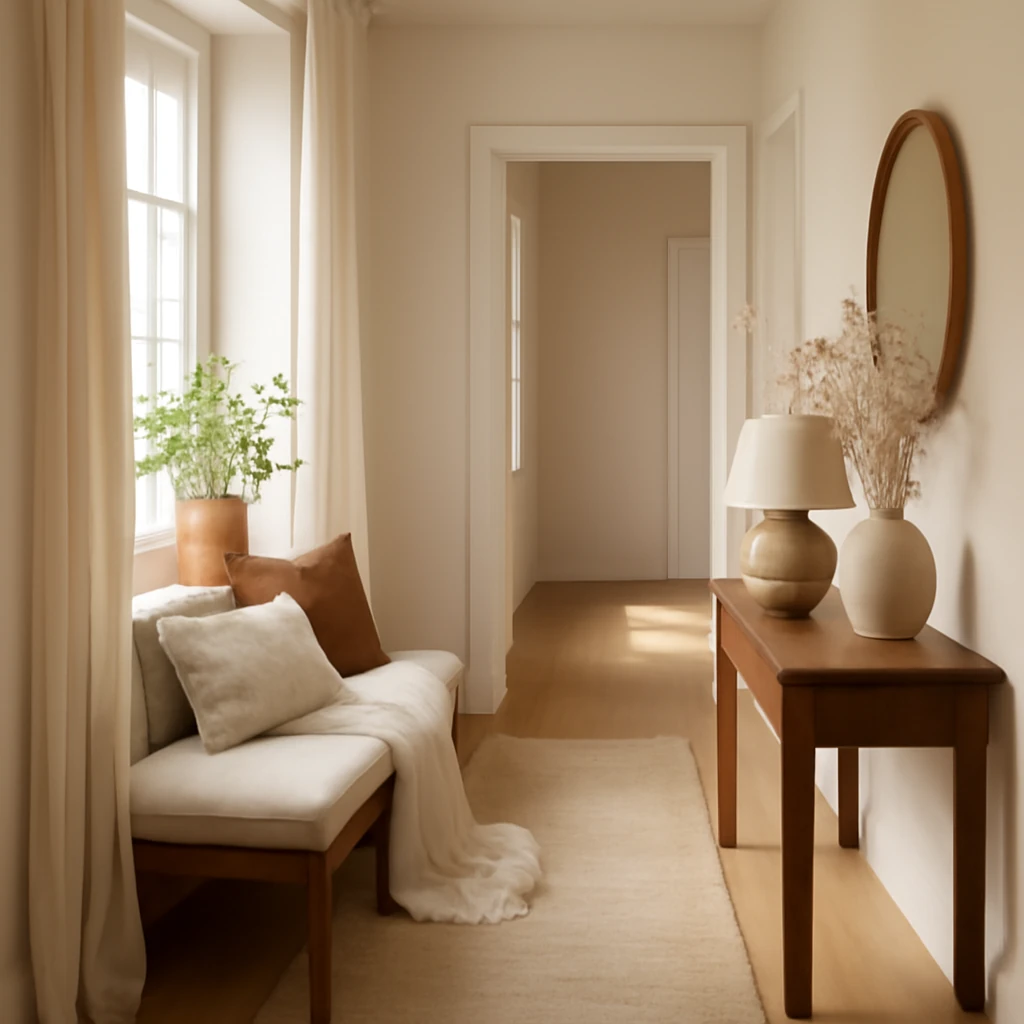
The hallway is the architectural threshold between private rooms and the world outside. In many European homes, corridors are modest in size yet demanding in function: they guide us, offer a first impression of the interior, and often double as dressing zones or access to storage. Natural light can be scarce in older city flats and in deep-plan houses, making carefully planned lighting essential. A layered approach - ambient, task, decorative, and accent lighting - lets you control mood, safety, and efficiency, while enhancing the overall design language of the home.
In this guide we explore how to design hallway lighting for a variety of European contexts, from compact urban apartments to generous dwellings with high ceilings. We focus on practical strategies, the most suitable fixtures for different shapes and ceilings, and how to coordinate light with colour, materials, and furniture. The aim is to help you create bright, welcoming corridors that adapt to daily routines and evening rituals without wasting energy or overwhelming the space.
Key considerations for hallway lighting in European homes
Before selecting fixtures, take a holistic view of the corridor: how you use it, what you want to see reflected on the walls, and how light interacts with finishes and colour. The following factors shape the lighting plan most effectively.
- Natural light and orientation: daylight varies with latitude, urban density, window size, and room layout. In many European flats, corridors receive limited sunlight, especially when the window is far from the entrance. Plan a layered scheme so the space feels bright at any hour.
- Size and geometry: long, narrow hallways benefit from continuous lines of light or wall-washing to eliminate shadowed ends, while square or open-plan corridors can accommodate focal fixtures without creating glare.
- Ceiling height and construction: high ceilings allow statement pendants or chandeliers, low ceilings require compact, recessed, or surface-mounted solutions with luminous efficacy that does not overwhelm the eye.
- Storage and wardrobe zones: built-ins and wardrobes absorb light. Localised lighting inside wardrobes and along inner edges helps with visibility when choosing outfits or organising coats and shoes.
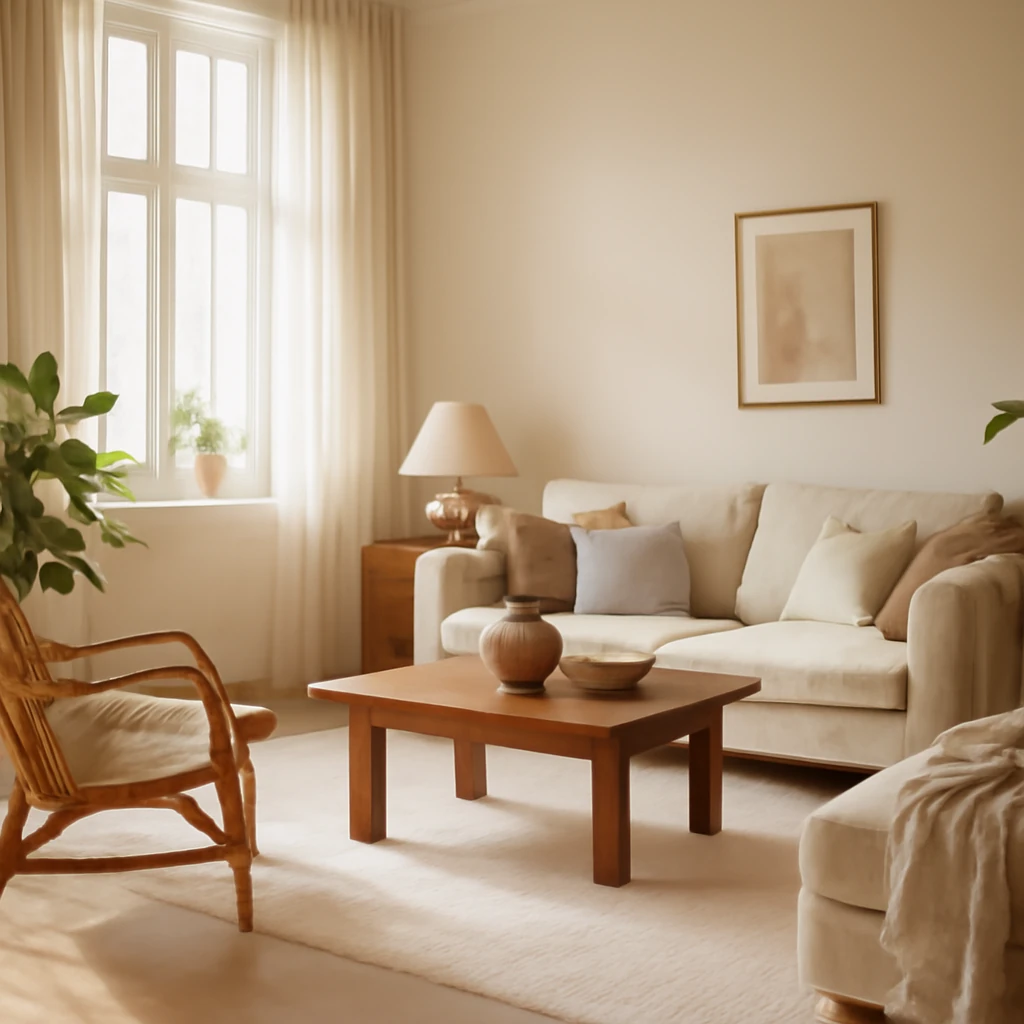
- Reflective surfaces and colour: pale walls, mirrors, and glass surfaces amplify light. Rich, dark colours absorb more light and require higher lighting levels or additional layers to achieve the same brightness.
- Energy efficiency and controls: use dimmers, zoning, and smart controls to adapt brightness to time of day and activity, reducing energy use without compromising comfort.
Lighting types you’ll want in a hallway
A well-lit corridor combines several light layers. Here are the main types to consider, with guidance on where they work best.
Ambient lighting: the foundation
Ambient lighting provides the overall brightness that defines the space. In hallways, it is commonly achieved with ceiling-mounted fixtures, recessed downlights, or linear LED profiles. When planning ambient lighting, aim for evenly distributed illumination that reaches the far end of the corridor without creating heavy shadows at eye level.
- Choose warm or neutral colour temperatures, typically 2700–3000K for comfortable circulation light, or 3000K for a slightly crisper appearance in modern interiors.
- In longer corridors, consider a continuous line of light (such as a slim profile or recessed fixtures) to avoid dark zones and to enhance perceived length.
- Ensure luminance is balanced with adjacent spaces, a bright doorway or living area can cause glare if the hallway lights are disproportionately strong.
Task lighting: near mirrors and furniture
When a hallway doubles as a dressing area, or features a mirror wall, task lighting becomes essential. Lights placed at mirror level or just above eye height reduce shadows on the face and provide accurate colour perception for dressing and makeup. Avoid lighting that comes from directly above the mirror, which can cast unflattering shadows.
- Wall-mounted sconces on either side of a mirror create flattering, even illumination. If space is tight, vertical light bars or narrow wall lamps placed at mirror height are effective alternatives.
- Integrated LED strips inside wardrobes or behind a back-panel can illuminate shelves and hanging spaces without glare.
Decorative lighting: character without clutter
Decorative fixtures add personality and texture to a hallway. A sculptural wall light or a slim pendant can act as a design feature while still contributing to the light plan. In minimal schemes, a single statement pendant can anchor the space, in more ornate interiors, a pair of complementary lights can echo architectural lines.
Accent lighting: highlighting architectural details
Accent lighting draws attention to architectural features such as mouldings, alcoves, or artwork along the wall. Use low-intensity fixtures to avoid a museum-like effect and maintain a warm ambience. Perimeter lighting, cove lighting, or adjustable wall luminaires can create depth and texture without overpowering the overall brightness.
Wardrobe and storage lighting
Wardrobe illumination is crucial in corridors with built-in storage. Lighting inside wardrobes, integrated LED strips along shelves, or small directional spotlights on the wardrobe doors improve visibility and reduce the risk of misplacing items. Ensure lighting turns off automatically when the wardrobe doors close to avoid energy waste.
Colour and temperature considerations
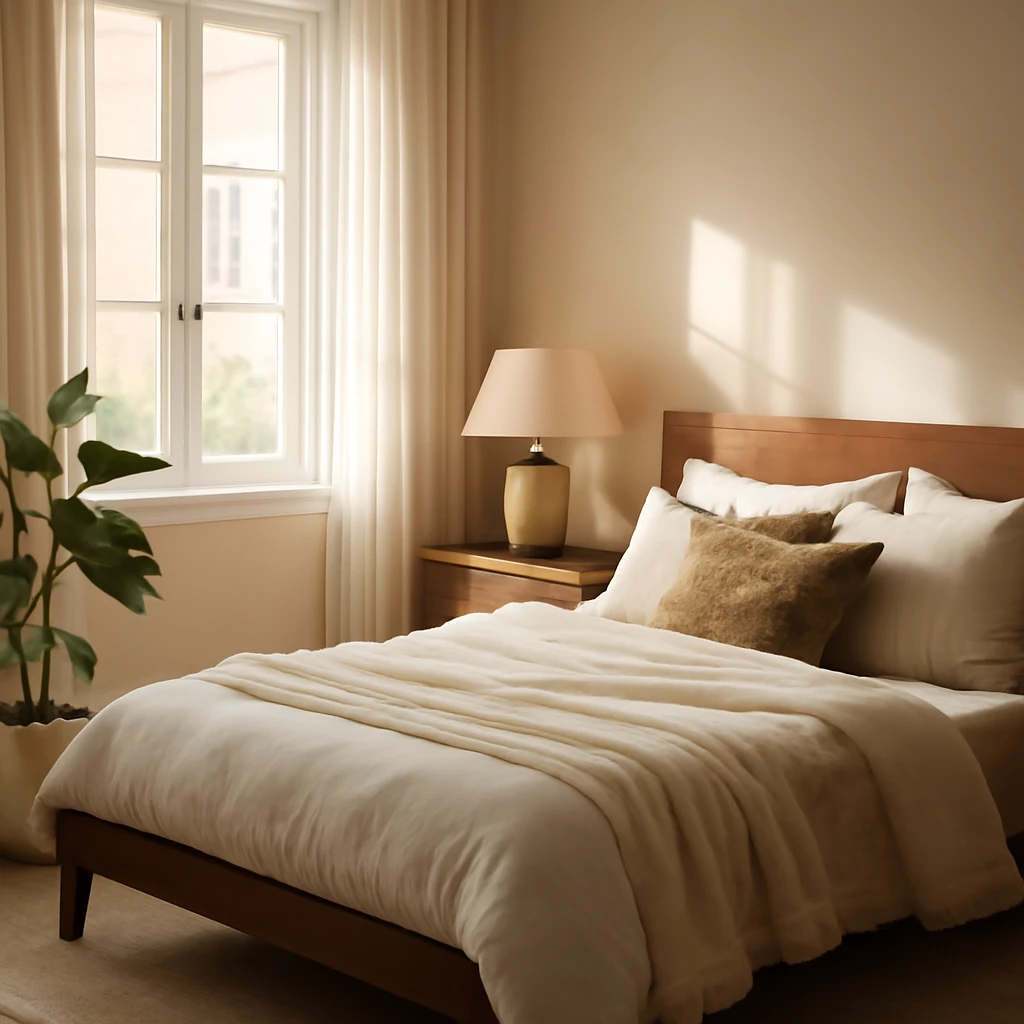
Colour temperature influences perception of space. For general hallway light, 2700–3000K delivers a warm, inviting mood that suits most living interiors. If the corridor doubles as a dressing area or you aim for a cleaner, contemporary feel, 3000–3500K is a good choice. For task zones such as mirrors, 4000K offers crisp, accurate colour rendering, essential for makeup and grooming. Always aim for a high Colour Rendering Index (CRI) of 90 or above for spaces where you assess fabrics, skin tone, and wardrobe colours.
Lighting hallways by shape and ceiling type
Different hallway geometries and ceiling heights benefit from tailored strategies. Here are practical guidelines for common European configurations.
Long, narrow corridors
In a long, slender corridor, the goal is to minimise shadows and create a sense of length. Avoid relying on a single central fixture, instead, run a continuous line of light or install several evenly spaced fixtures along the ceiling. Linear LED profiles or a series of recessed downlights help maintain a steady brightness from door to door. If space allows, a shallow cove with LED strip lighting along the ceiling edge can softly wash the walls and visually extend the passage.
- Opt for low-profile fixtures to keep the ceiling visually uncluttered.
- Position wall mirrors strategically to reflect light and enlarge the sense of space.
Square or compact hallways
Square or near-square corridors benefit from a combination of ambient light and wall or mirror lighting to avoid flat illumination. A central ceiling fixture paired with wall sconces at mirror height can create an even, flattering light. Ensure there is a light source near each functional zone, such as a coat rack or storage alcove.
L-shaped or angular corridors
An L-shaped layout naturally divides into zones. Use a ceiling track or several recessed fixtures along the longer leg, and place wall lighting around the bend to maintain brightness around the corner. Consider a secondary light point near the elbow to prevent shadowing when moving from one leg to the other.
Ceiling height: high vs low
High ceilings invite statement fixtures that can become design focal points. Large pendants or cluster lights can complement the vertical scale, provided they are installed at an appropriate drop to avoid obstructing movement. In very tall spaces, combine high-mounted ambient lights with lower, adjustable task lighting to create comfortable levels at seating or dressing zones.
- In high-ceiling corridors, avoid overpowering brightness at eye level, use dimmable controls to modulate mood.
Low ceilings and ceiling types
For low ceilings, recessed downlights, compact ceiling-mounted luminaires, or linear LED profiles are ideal. If a pendant is used, choose a very compact, shallow design that sits close to the ceiling and does not intrude into the room’s clearance. In plaster ceilings or in homes with suspended ceilings, you can incorporate lighting around the perimeter where accessible, or use adjustable spotlights on a track for flexible aiming.
Ceiling types and installation considerations
Different ceiling constructions influence how you install lighting. In plaster ceilings, flush or semi-flush fittings keep a clean silhouette, in suspended systems, low-profile LED spots or a discreet track can be installed with minimal disruption. If retrofitting in an older building, plan access to wiring and consider floor-to-ceiling height and door swing to ensure comfortable clearance around fixtures.
Smart control and intuitive operation
Controlling hallway lighting should be straightforward. Well-designed control solutions enable you to switch zones independently, create scenes for different times of day, and adjust brightness without fumbling for switches in the dark. Consider the following options:
- Zoned switches: assign switches to each lighting zone (ambient, task near the mirror, wardrobe lighting) for precise control without unnecessary energy use.
- Dimmer controls: integrate dimmers to adjust brightness for daytime, evening, and night time. Dimming preserves ambience while extending bulb life.
- Smart or connected systems: compatible smart controls allow automation, occupancy sensing, and remote adjustment from a smartphone or wall panel. Scenes can be created for entries, dressing routines, or late-night navigation.
- Master switch: a single master control to switch off all hallway lighting when leaving the home, improving safety and energy efficiency.
Practical guidelines and a simple checklist
- Assess how you use the hallway during the day and night. Identify zones for general lighting, mirror/dressing tasks, and wardrobe illumination.
- Map the layout: where you enter, where you stop to undress, and where coats and shoes are stored. Plan lighting to support these actions without glare.
- Choose fixtures that suit the ceiling height and shape. For low ceilings, prioritise recessed or very compact fittings, for high ceilings, consider a statement or layered track system.
- Set the colour temperature by zone: warm ambient light for general circulation, cooler task light near mirrors, and warm accents for mood.
- Incorporate dimming and zoning. A flexible plan adapts to morning routines and evening calm alike.
- Test and fine-tune. The apparent brightness depends on wall colour, finishes, and furniture placements. Small adjustments can make a big difference.
Wardrobe zoning: how to light built-ins effectively
A well-lit wardrobe enhances usability and reduces time spent searching for items. Since wardrobes are often near windows or deep recesses, internal lighting is especially beneficial. Try LED strips along shelves, with a discreet switch or motion sensor to avoid heat generation and energy waste. Consider directional spotlights on the wardrobe doors or inside the wardrobe to illuminate shelves without creating glare in adjacent spaces. If doors are mirrored, combine reflective surfaces with soft ambient light to keep the space balanced.
Colour, materials and reflected light: steering the mood
Light bounce is central to hallway comfort. Light-coloured walls, ceilings, and floors maximise brightness, while glossy or lightly textured finishes can amplify the effect of your lighting scheme. In contrast, dark timbers, deep paints, or heavy textiles absorb light and require more luminance to retain a comfortable atmosphere. The choice of materials should harmonise with the architectural style and the broader interior palette - soft neutrals for a serene corridor, or subtly contrasting accents to cue transitions between zones.
Practical do’s and don’ts for European homes
- Do plan for at least two lighting layers in every hallway: ambient plus at least one secondary layer for task or accent lighting.
- Do use dimmers and zoned controls to adapt brightness to different times of day and activities.
- Do ensure even light distribution to avoid deep shadows near doors and corners.
- Don’t rely on a single overhead fixture in long corridors, it often creates uneven illumination and glare at eye level.
- Don’t overlook wardrobe lighting - it's essential for practical dressing rooms and niche storage areas.
- Do test colour temperature in the actual space, not in a showroom. Small changes can dramatically alter the feel of the hallway.
Case for a European approach: balancing design and practicality
Across European contexts, a well-lit hallway is not merely about visibility, it is about rhythm, safety, and the expression of architectural intent. In dense urban apartments, lighting must compensate for limited daylight and compact footprints. In larger, more open layouts, lighting design can be more sculptural, with lighting moments that punctuate movement and define transitions between zones. Regardless of the setting, the best hallway lighting plan respects energy efficiency, supports daily routines, and contributes to the home’s overall harmonious ambience.
Conclusion: turning the threshold into a design moment
Think of hallway lighting as a practical art form that shapes how we move through a space and how we feel within it. By layering light, aligning fixtures with ceiling height and layout, and synchronising brightness with day-to-day activities, you can transform an ordinary corridor into a confident design statement. A thoughtful plan - grounded in European living patterns and materials - turns a utilitarian passage into a welcoming, functional, and aesthetically coherent part of the home.
Final checklist for commissioning hallway lighting
- Define the zones: ambient, task near the mirror, wardrobe lighting, and any decorative accents.
- Assess ceiling height and ceiling type to choose appropriate fixtures (recessed, track, flush-mounted, or decorative pendants).
- Set a lighting hierarchy with one or two primary fixtures and supplementary layers for task and ambiance.
- Plan switches and controls: per-zone switches, dimmers, and a master switch or smart control system.
- Choose colour temperatures by zone to balance warmth, clarity, and mood (2700–3000K for general, up to 4000K for task areas).
- Incorporate reflective surfaces and light colours to maximise brightness without increasing energy use.
- Ensure wardrobe and storage lighting is practical, uniform, and energy-efficient.
Further reading and practical references
For designers and homeowners alike, the most successful hallway lighting projects blend technical accuracy with materiality and atmosphere. When specifying fixtures, consult with a lighting consultant or a certified electrician to verify compatibility with the space, electrical capacity, and building regulations. Consider commissioning a phased approach: start with ambient lighting and a core mirror zone, then expand with wardrobe lighting and decorative accents once the space has proven its rhythm. By focusing on flexibility, efficiency, and craft, you can ensure your hallway remains a bright, welcoming, and stylish part of the home for years to come.
You may also like these articles
Preparing for the Handover: A Comprehensive European Guide to New-Build Flats
A practical guide to inspecting and accepting a European new-build flat.

Smart, Budget-Friendly Kitchen Renovation: Seven Practical Strategies
Smart, budget-friendly strategies transform European kitchens.
Bedroom Lighting: A Step-by-Step Guide for European Homes
A practical guide to layered bedroom lighting across Europe.