
Explore interior trends, AI design insights, styling guides and real transformations
DIY Renovation Essentials: 15 Practical Tips for European Homes
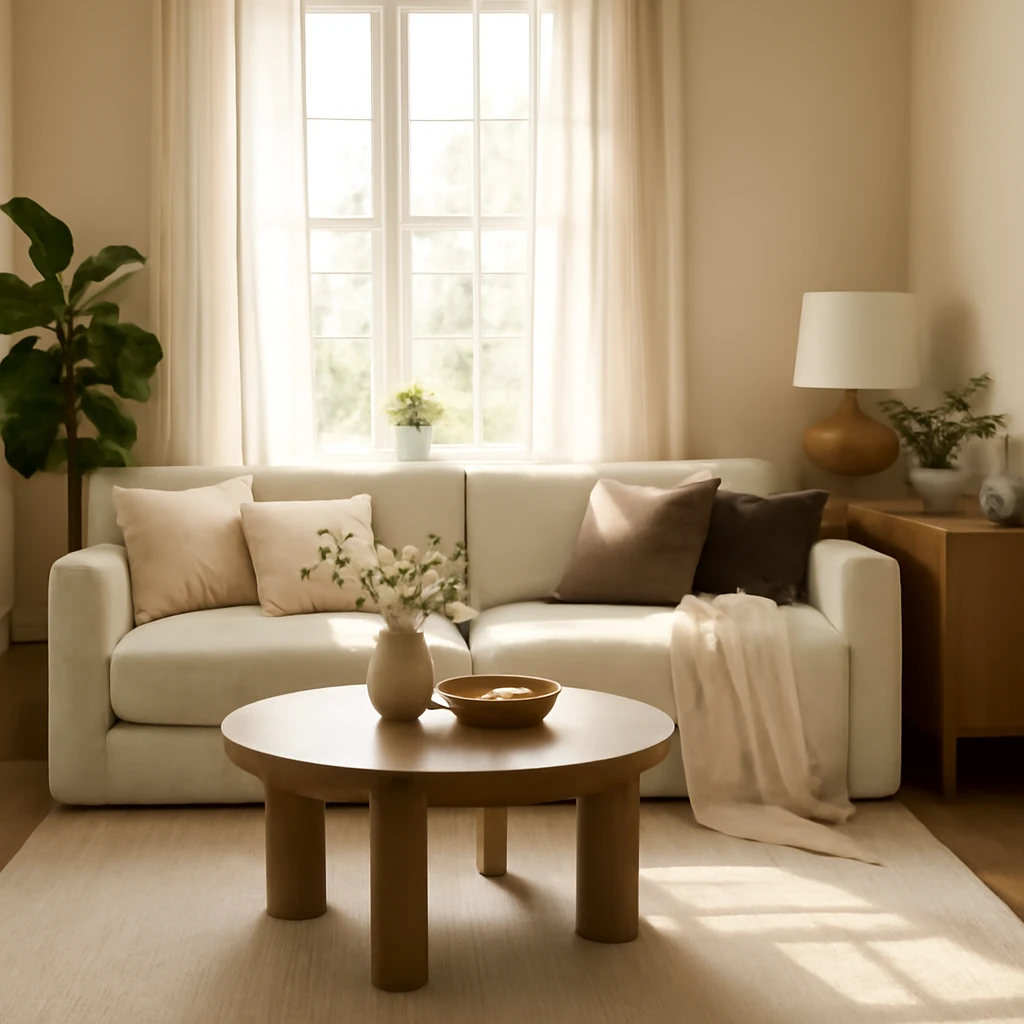
Renovating a home without a full renovation team is feasible across Europe, provided you plan carefully, respect local regulations, and budget realistically. This guide explains how to tackle common tasks yourself, from layout changes to lighting installations, with practical steps and safety considerations.
Plan before you lift a finger
Regardless of whether you own a period apartment, a contemporary flat, or a family home, the most important phase is meticulous planning. Start with accurate measurements of each room, existing services, and structural constraints. Use digital floor plan tools or dedicated design software to draft a full design project. The aim is to generate working drawings that you can hand to tradespeople or installers, minimising surprises during the build. Look for tools that guide you through step-by-step workflows, support scale drawings, and produce a documented plan with material lists and installation notes. A well-organised plan saves time, reduces waste, and helps you stay within budget. Remember to consider building regulations, safety standards, and ventilation requirements for kitchens, bathrooms, and living spaces.
Reconfiguring interior walls
Changing a flat’s layout can dramatically improve flow and usability. In many European homes, non-structural walls can be moved or removed, but you must confirm which partitions carry structural loads. If you plan to create a new room or reallocate space, use plasterboard (gypsum board) on a metal or timber frame for a quick, clean finish. For improved acoustics and privacy, introduce additional mass and decoupling between wall layers - such as an extra plasterboard layer with mineral wool insulation in the cavity and, where feasible, a resilient channel system. Plan electrical outlets, data points, and lighting positions as part of the wall build, so you don’t need to chase cables later. Always ensure safe access to plumbing or services hidden behind walls and obtain any required permissions from the building management or local authority in advance.
Designing a built‑in niche or shelving
A thoughtfully designed niche or built‑in shelving unit can hide radiators, pipes, or awkward service routes while providing practical storage and a moment of visual relief. Decide whether the niche should be open for display or concealed behind doors, and select materials that are moisture‑resistant where appropriate. In damp zones such as bathrooms or kitchens, choose finishes that are durable and easy to clean. If a niche is formed between walls, ensure there is adequate access for maintenance and monitoring of heating or ventilation components. Finishes can range from raw timber to laminated boards or painted MDF, depending on the room’s style and moisture exposure.
Introducing a raised platform for storage and zoning
A raised platform or podium can create clever storage beneath and help define separate zones within an open‑plan space. Build with a solid timber frame, a plywood or OSB base, and a durable top finish compatible with foot traffic or furniture weight. Check local building codes for minimum headroom, edge protection, and load capacity. A platform is especially useful in studios or lofts to position a bed, create a seating area, or gain hidden storage. Plan for safe access via steps or a low ladder and ensure the design integrates with lighting, ventilation, and floor finishes so the space feels cohesive rather than compartmentalised.
Sound insulation essentials
Sound transmission is a common challenge in European housing, from city flats to older dwellings with interconnected walls. Identify three main sound types: airborne (voices, music), impact (footsteps, chair scrapes), and structural noise transmitted through shared elements. Begin with a practical assessment of noise levels and determine where improvements will have the most impact. Practical approaches include adding mass to walls with extra plasterboard layers, inserting mineral wool or other acoustic insulation in cavities, and decoupling surfaces with resilient channels or floating floor systems. In shared buildings, upgrading floor finishes with robust underlays and selecting ceiling treatments that absorb noise can significantly improve comfort. Fine‑tuning the details - avoiding gaps around doors, electrical penetrations, and service routes - will further reduce sound leakage.
Insulating a balcony or conservatory
Turning a balcony into a usable living space can dramatically extend your home’s usable square metres, but comfort hinges on effective insulation and airtightness. Start by sealing gaps around doors and frames, then install a continuous, durable floor finish with appropriate drainage considerations. Interior thermal insulation boards or a lightweight external cladding system can help reduce heat loss, while a well‑designed ventilation strategy prevents damp and mould. If you plan to use the space year‑round, consider glazing with energy‑efficient units and a controlled heating or portable cooling option. Ensure that any balcony glazing complies with local safety standards and wind load requirements typical for European buildings. A properly insulated balcony can function as a cosy sitting area, a small home office, or a compact extension of the living space without compromising energy performance.
Levelling the floor for longevity
A perfectly level floor under any finish - parquet, laminate, or tile - helps prevent wear patterns and enhances longevity. Begin by assessing the existing subfloor and removing residual adhesive or debris. Apply a high‑quality self‑levelling compound or a traditional screed, following manufacturer guidelines for surface preparation, priming, mixing ratios, and curing times. For large areas, use a product with low shrinkage and good flow properties to achieve a uniform result. After curing, sand or smooth any imperfections and install the chosen final floor without compromising the level plane. Proper substrate preparation is essential for a flawless result and reduces the risk of squeaks or cracks developing later on.
Underfloor heating: comfort and efficiency
Underfloor heating can deliver even warmth and generous comfort in kitchens, living rooms, and bathrooms. In retrofit projects, electric mats or thin heat‑film systems can be installed with careful planning, while hydronic systems require space for pipes and a heat source. In older European buildings, verify floor structure, insulation levels, and how the system will integrate with existing radiators and controls. Work with a heating engineer to determine zoning, thermostat placement, and energy‑efficiency strategies. If correctly installed, underfloor heating can reduce the reliance on radiators and offer a balanced baseline temperature throughout the day, contributing to a more comfortable and efficient home.
Linoleum and other practical floor coverings
Linoleum remains a durable, affordable option for busy corridors and kitchens, offering a broad palette of colours and patterns. It is relatively straightforward to install for confident DIYers with the right tools. Prepare the subfloor properly - ensure it is clean, dry, and level - then cut and fit the linoleum with a suitable adhesive. For high‑traffic areas, consider a more robust option such as vinyl or engineered wood with an appropriate underlay. Accurate measurement and careful trimming near walls and fixed furniture are essential to achieve neat, professional edges. Linoleum’s natural composition also appeals to environmentally conscious design, aligning with European sustainability goals.
Wall and ceiling finishing: plasterboard and paint
Plasterboard remains a universally reliable solution for rapid, effective wall and ceiling finishes. Install on timber or metal studs, seal joints with tape, and skim or fill for a seamless surface. After joint work, apply a suitable primer before painting. Choose interior paint with the right durability and sheen: matte for the living room, satin or eggshell for kitchens and bathrooms, and gloss for trims where appropriate. In high‑traffic spaces, a washable, stain‑resistant finish improves longevity. For ceilings, a light, even application using a roller and brush in corners can minimise roller marks. A well‑executed plasterboard project yields a modern backdrop that complements any furniture and colour scheme.
Tile mosaics and metro tiles: patterns that endure
Mosaic tiles and contemporary metro tiles offer enduring, versatile patterns for kitchens and bathrooms. Patterns influence tile size, grout colour, and installation approach, so plan accordingly. DIY installations can be sped up by using pre‑mounted mosaic sheets or carefully laid individual tiles with even spacing and level checks. With porcelain or ceramic tiles, ensure proper substrate preparation, compatible adhesive, and a sealing regime where appropriate. When selecting a pattern, balance a busy tile with calmer wall colours to prevent visual fatigue and create a timeless look that ages well with the space.
Lighting: installing spotlights and layered layers
Built‑in spotlights provide clean lines and flexible lighting control, but a thoughtful plan is essential. Adopt a layered approach: ambient lighting for general illumination, task lighting for work areas, and accent lighting to highlight architectural features or textures. Electrical work should be undertaken by a qualified professional to ensure compliance with local regulations and safety standards. Choose energy‑efficient LED fittings and compatible dimmers where possible, and assess heat dissipation and insulation within ceiling cavities to avoid overheating. A well‑conceived lighting plan transforms a space, shaping mood, colour perception, and usability.
Window dressings: blinds and roller shades
New window coverings can dramatically update a room’s appearance and energy performance. Roller blinds, pleated shades, and integrated shading options are suitable for confident DIY installation. Measure precisely, account for the window recess, and select fabrics with appropriate light control, thermal properties, and durability. In colder climates, lining fabrics or thermal blinds can help reduce heat loss while preserving daylight and privacy. The right window treatment ties together colour, texture, and light in a cohesive, low‑maintenance way.
Further reading
- Five essential principles for successful DIY renovation
- How to execute a designer‑style renovation yourself: a step‑by‑step guide
- Ergonomics in home design: nine tips for comfortable living
You may also like these articles
 Tips & How-To
Transform Your Kitchen with Durable, Washable Wallpaper: Styles, Colours and Expert Tips
Practical kitchen wallpapers for durable, beautiful interiors across Europe.
Tips & How-To
Five DIY Kitchen Bar Counter Ideas for European Homes
Create a stylish bar in the kitchen with practical DIY methods for European homes.
Kitchen Design
Designing the Perfect Kitchen Island: Practical Size, Shapes and Styles for European Homes
Plan a kitchen island that fits European homes and everyday life.