
Explore interior trends, AI design insights, styling guides and real transformations
Assembling a Sofa in Europe: A Practical Step-by-Step Guide
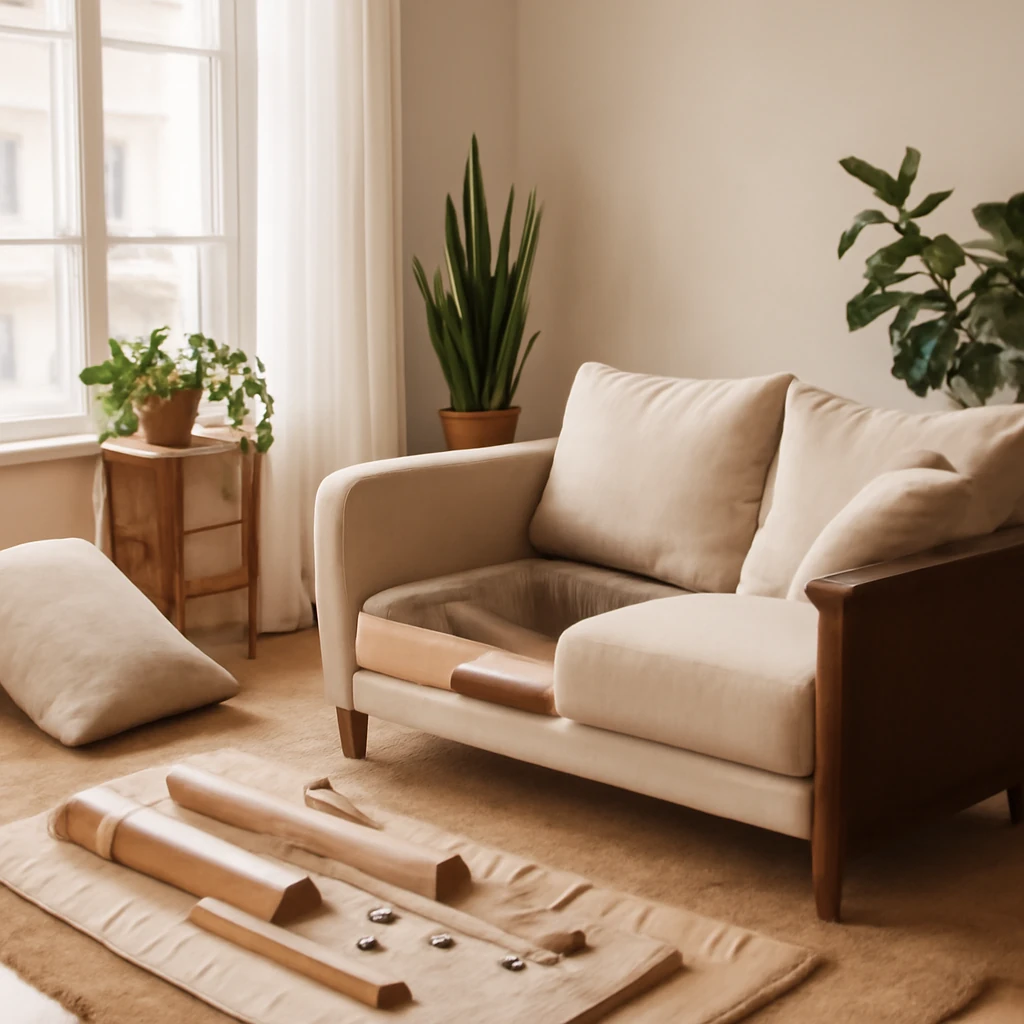
Introduction: the sofa as a centrepiece of European living spaces
In many European homes, the sofa is more than a place to sit. It anchors the living area, guides circulation, and blends comfort with design. When a sofa arrives in pieces, the challenge is not just technical – it is about protecting your warranty, furniture integrity, and floor surfaces while building a piece that lasts. This guide offers a thorough, practical approach to assembling a sofa of various configurations in a typical European apartment or home. It emphasises safe handling, time management, and listening to the manufacturer’s instructions so you can achieve a professional result without compromising quality.
Step 1: prepare your space
Before you even open the packaging, dedicate a generous area for assembly. Allow at least 1 metre of clear space around the intended location to prevent collisions with existing furniture or walls. Consider access routes: stairs, lifts, or narrow corridors can complicate movement, especially with heavier modular or corner sofas. Place floor protection where needed – felt pads or a protective underlay beneath the sofa will safeguard wooden floors and hard surfaces from scuffs, scratches, and dents.
As you unbox, handle each component with care. Remove packaging material slowly and deliberately, taking care not to snag fabric covers or delicate finishes. When possible, keep the packaging materials nearby for tidying up after assembly. A tidy workspace reduces the risk of misplacing parts and simplifies the process.
Step 2: verify the components
Gather and inspect all parts against the assembly instruction. Ensure you have everything required: the main frame pieces, back rests or cushions, arm sections, underframe supports, legs, and the specified fasteners. Having the correct tools at hand is essential to avoid interruptions and delays.
Tools commonly used for sofa assembly include:
- spanners or adjustable wrenches in standard sizes (often matching metric bolts such as 8, 10, 12, 14, 17 mm);
- pliers or mole grips for gripping small components;
- screwdrivers (flat-head and cross-head);
- hammer or rubber mallet for snug fittings without damage;
- utility knife for opening packaging;
- tape measure for quick checks and alignment;
- electrical screwdriver or drill with appropriate bits, if the instruction allows and you are comfortable using power tools.
In some products, a dedicated tool or a specific bit is required. Always refer to the instruction sheet for any unusual bolts or pieces. If you discover a missing part, contact the retailer or manufacturer promptly to avoid delaying the project.
Step 3: study the assembly diagram
Even for a familiar model, take a moment to thoroughly review the assembly diagram. Pay attention to the sequence of assembly and the location of each component. Correct ordering minimizes the risk of assembling incorrect sections and helps keep track of small fasteners that may look similar but have different lengths or thread types.
A practical tip from industry professionals: if bolts come in assorted lengths, identify and separate them before you start. Using the wrong length at a later stage can leave you short of the right fastener and force you to backtrack or improvise, which can compromise the final fit and the warranty.
Step 4: attach the legs and base elements
Legs and base components are the first tangible connection to the floor and establish the sofa’s stance. If your model includes decorative legs or plinths, attach these elements before the main frame is laid flat. This makes turning and manoeuvring the sofa easier and reduces the risk of bending or stressing delicate finishes.
A product engineer specialising in soft furnishings notes that large or modular sofas are best assembled with a second person. Working alone can strain components and increase the chance of misalignment, which could affect the sofa’s warranty and long-term performance.
When securing legs or feet, start by hand to avoid cross-threading. Once every leg is aligned and snug, you can tighten with the appropriate tool, ensuring even pressure around each fastener. Avoid over-tightening, which can strip threads or crack wood or metal fittings. If the legs are adjustable, set a level base across the sofa’s length to keep the seating surface even.
Step 5: assemble the main frame and seat
The main frame usually forms the skeleton of the sofa. Depending on the model, you may be joining solid wood, plywood, or engineered boards with metal hardware. Regardless of the material, follow a conservative approach: tighten fasteners in steps rather than all at once, and always start with hand-tightening to align holes before using tools.
- Align the side frames or arms with the central chassis, guiding bolt holes to ensure proper fit. Insert bolts or screws as specified and begin tightening by hand.
- Attach the seat base or cushion frame. In some models, the seat is pre-assembled, in others, you may need to connect a detachable seat unit. Make sure the fit is secure and the seat sits evenly without any wobble.
- Fix the armrests on each side. Check that both arms are oriented correctly (left and right) and that their attachment points align with the main frame. Use the appropriate screws or bolts and tighten gradually in a cross-pattern to maintain even tension.
- Install any additional structural elements, such as a faux back panel, storage drawer, or reinforcements. Ensure that any sliding or folding mechanisms are clear of obstructions and move smoothly when tested later.
Many modern sofas feature pre-installed mechanisms for reclining, transforming beds, or modular connectors. If your model has a factory-tuned mechanism, avoid altering it. Completing the remaining steps without changing factory settings helps maintain safety margins and warranty protections.
Step 6: fit the cushions, backrests, and removable components
With the frame secure, attach or place the cushions, backrests, and any modular components in their designated positions. For sofas with loose back cushions, ensure they sit flat and align with the armrests and frame. If seat cushions are zippered or modular, check that zips run smoothly and cushions rest evenly without gaps along the edges.
When several pieces interlock, verify that connectors are fully engaged. Some modular systems rely on clips, magnets, or velcro strips, ensure these interfaces are clean and properly aligned before final testing.
Step 7: test operation and refine alignment
Testing the sofa after assembly is essential to confirm that it operates safely and comfortably. A properly assembled sofa should perform smoothly when used as a static seat, as well as during any transformation or reclining function designed by the manufacturer.
- Lower and raise any folding sections as intended, listening for excessive creaks or resistance. If there are any unusual noises or stiff points, pause and re-check the corresponding joints for tightness and alignment.
- Ensure that the sofa sits evenly on the floor across all legs. A wobble often indicates a misaligned leg or a slightly uneven floor. Adjust legs or recheck screw torque to correct.
- Check for an even gap between cushions and the frame. Lumps or waviness can indicate uneven seating or incorrect cushion installation.
If the sofa features a fold-out bed or a pull-out mechanism, extend and retract it slowly at least once to confirm a balanced hinge action and even resting surface. If the bed or sofa bed doesn’t lay flat or there are misalignments in the sleeping surface, review the steps related to the mechanism and ensure all components are correctly joined and tightened.
Special considerations for different sofa types
Straight sofas
These are typically the simplest to assemble. The main tasks usually involve attaching the back panel, then the armrests, followed by the seat base and cushions. If your straight sofa includes a storage compartment or a hidden mechanism, follow the manufacturer’s sequence precisely. In many instances, the backrest is fixed or hinged, and the seat cushions are pre-assembled or drop into place with simple fittings.
Practical note for straight designs
Position the sofa in its final place before attaching any optional accessories that could make moving it difficult later. If space is tight, assemble the base first, then slide the unit into the final position before adding the back and cushions. This approach reduces the chance of scuffing walls or doors during the final placement.
Corner sofas
Corner configurations are popular in European living rooms because they maximise seating while fitting into room layouts. The key is to determine the orientation (left-hand or right-hand configuration) and to stage the corner modules in the sequence that matches the assembly diagram. Corner modules can be heavy, and the joints may be more complex than in straight designs. A second pair of hands is recommended for positioning and connecting the corner sections to the central frame.
When assembling a corner sofa, position the corner unit close to its final location and connect adjoining sections gradually. The weight and complexity make it difficult to move once assembled, so it is best to complete connections near the intended place of final assembly.
Be mindful of the direction of any corner module, as reversible configurations are not always interchangeable. Check the plan for left- or right-hand orientation before securing the connectors, and keep the modular pieces aligned to ensure clean seams and consistent fabric tension.
Modular sofas
Modular systems often arrive as individual modules that can be arranged in a variety of layouts. Many modules arrive pre-fitted with connectors, others require you to align and secure the modules together using dedicated brackets or straps. The advantage of modular designs is flexibility, the trade-off is the need for careful alignment and matching of upholstery patterns across joints.
When combining modules, plan your layout on the floor first. Check that each module interlocks securely and that there is an even distribution of weight when seated. If fabric patterns or textures align across seams, take time to align panels before fastening modules together. After assembly, verify that all connectors are fully engaged and that the seating surface remains level across the entire length.
Maintenance, warranty, and aftercare
A well-assembled sofa should be treated with the same care as any other high-value upholstery. Follow the manufacturer’s cleaning and care instructions for fabrics and leathers. Use breathable covers when possible to minimise wear and create longevity. Rotate or flip cushions where applicable to distribute wear evenly and maintain a consistent seating feel over time.
Protect the floor and the furniture by using felt pads under legs, avoiding dragging the sofa when moving it, and using proper lifting techniques to prevent injury. After assembly, keep the instruction sheet and warranty information at hand. They can be essential should any service or adjustment be needed in the future. Do not attempt to disassemble or modify components that are factory-installed, particularly mechanisms related to reclining or transforming features, as doing so may void the warranty and compromise safety.
Common mistakes and how to avoid them
- Underestimating the space needed. Solution: clear a perimeter around the assembly area before starting and keep tools organised on a nearby table.
- Trying to rush the process. Solution: allocate a realistic timescale, ideally with a break to re-check steps and avoid fatigue leading to mistakes.
- Mixing up bolts or fasteners. Solution: separate by length and type before starting and mark each group to prevent confusion later in the build.
- Forgetting to test the mechanism. Solution: perform a full operational test after assembly, on a flat surface, with gradual loading to check stability and function.
- Moving a nearly complete sofa without assistance. Solution: always use at least two people for lifting and positioning, especially for corner or modular designs.
Practical tips for urban living
European homes often feature compact layouts and multi-storey access. To make assembly smoother in these contexts, consider these practical tips:
- Measure doorways, stairwells, and lift access before purchasing large modular components. This helps prevent last-minute surprises and reduces the risk of damage during delivery and assembly.
- Prefer modular systems that can be assembled in stages. This approach accommodates narrow hallways and allows you to test the fit of each element before final layout.
- Use a helper to move heavy modules into place. Even when furniture is designed with handles or lighter sections, two people make the process safer and more efficient.
- Plan the installation to occur on a dry day or when the space is well ventilated, particularly if adhesives or paints are involved for any final touches or if you are handling fabric finishes that require curing time.
Conclusion: a confident, methodical approach pays off
While assembling a sofa can seem daunting at first, a thoughtful plan, the right tools, and careful attention to the manufacturer’s instructions lead to a strong, durable result. The aim is not merely to assemble a piece of furniture, but to create a comfortable, long-lasting seating solution that suits the room’s flow, enhances the interior, and remains robust for years to come. By following the steps outlined above and respecting the differences between sofa types, you can achieve professional-quality results in a European setting without compromising warranty or safety.
In summary, prepare thoroughly, verify every component, follow the assembly sequence, handle parts with care, and test thoroughly. With patience and a two-person teamwork approach, even complex corner or modular sofas can be assembled efficiently, leaving you with a stylish and dependable focal point for your living space.
You may also like these articles
 Kitchen Design
Kitchen design for timber-built homes: warmth, zoning and sustainable finishes across Europe
Timber homes deserve warm, efficient kitchens with thoughtful zoning.
Colour & Materials
Olive Green Interiors: A Timeless European Palette
A practical guide to olive green interiors across Europe: palettes, pairings, and room-by-room tips.
Small Spaces
From One Room to Two: Simple Zoning Techniques for European Homes
Transform a single room into two stylish, functional zones.