
Explore interior trends, AI design insights, styling guides and real transformations
Mastering wallpapering: a European step-by-step guide to perfect walls
Introduction
Wallpapering remains a popular, high‑impact solution for European interiors. Whether you want a calm, textured backdrop or a bold, graphic statement wall, wallpaper offers versatility, durability and an immediate transformation without the need for major structural work. Modern wallcoverings come in a broad range of materials, from traditional paper to vinyl and non‑woven formulations, each with its own application method and care requirements. For the discerning designer, wallpapering is not merely about sticking a strip to a wall, it is a precise craft that combines planning, technique and a respect for the room’s atmosphere, lighting and architectural details.
In this comprehensive guide, we walk through everything you need for a successful installation in a European context. You will find practical advice on choosing the right wallpaper, selecting the correct adhesive, preparing the walls, and executing seams with a finish that feels custom and timeless. We emphasise environmental considerations as well, such as low‑VOC adhesives and breathable wall substrates, to support healthier homes and longer‑lasting results.
Tools, materials and preparation
Before you start, assemble a well‑stocked kit and a tidy work area. A clean, well‑lit space helps you spot pattern alignment and edge trimming accurately. Here is a practical shopping list and a quick note on the choices you will face.
- Wallpaper: choose between paper, vinyl, or non‑woven wallcoverings. Consider the room’s humidity, traffic, and the desired maintenance level. For kitchens and bathrooms, vinyl or vinyl‑coated formulations offer better washability, for living rooms and bedrooms, non‑woven or traditional paper with a thick backing can deliver a more refined finish.
- Adhesive: select an adhesive compatible with your wallpaper type. Options include ready‑mixed pastes and traditional powder pastes, as well as ‘paste the wall’ systems for non‑woven wallpapers. Always follow the manufacturer’s recommendations and test on a small area if in doubt.
- Tools: a sharp utility knife with extra blades, a metal straight edge, a spirit level or laser line, a plumb line, a measuring tape, a pencil, a smoothing brush or wallpaper brush, a seam roller, a sponge, a bucket of clean water, a ladder or stable scaffold if needed, and clean rags for wiping excess paste.
- Preparation supplies: filler and sandpaper for wall repairs, a primer suitable to the wall surface and wallpaper type, and drop cloths or protective sheets for floors and furniture.
European homes vary in plaster, lime, or gypsum walls, often with historic finishes under modern coverings. It is essential to ensure the wall is clean, smooth, dry, and well‑primed. Any loose existing wallpaper should be removed, and cracks or uneven patches filled and sanded. A sound, stable base is the secret to long‑lasting results and uninterrupted pattern alignment.
Assessing and preparing the walls
Wall preparation is the foundation of a successful wallpaper project. Neglecting this step is a common cause of failures such as air pockets, blistering, or torn seams. In European contexts, common wall surfaces include plaster, cement render, painted surfaces, and occasionally historic lime or plasterboard constructions. The goal is a flat, dry, and clean surface that will hold paste evenly and allow the wallpaper to sit with consistent contact.
- Remove existing wallpaper completely if the backing is loose or incompatible with the new wallcovering. If some layers are well bonded, it may be possible to strip only the loose areas and prepare the surface for direct wallpapering.
- Inspect for cracks, holes or raised joints. Use filler appropriate to the wall type, then sand smooth after drying. For lime or plaster walls, miniature pinholes or microcracks may be present, treat with a compatible filler and, if necessary, a sealing primer to prevent paste from soaking too quickly.
- Dust, grease, and mould must be eradicated. A damp wipe or mild cleaner can be used on washable surfaces, allow to dry completely before applying paste or wallpaper.
- Prime the wall with a suitable primer if the wallpaper requires it. Priming helps control absorbency and improves paste transfer. This is especially important for highly absorbent plaster or new gypsum boards.
Remember the environment: maintain a moderate room temperature (ideally around 18–21°C) and stable humidity during installation. Extreme temperatures or draughts can cause wallpaper to dry too quickly, leading to edge lifting and reduced adhesion.
Planning, measurement and layout
Thoughtful planning saves time and reduces waste. Start by calculating how many strips you will need, accounting for pattern matching, waste, and the room’s dimensions. Pattern matching depends on the wallpaper design, some patterns require careful alignment across strips, while others are non‑matching or have a simple repeat. Always factor in the pattern repeat length to determine how much extra length you’ll need for each strip.
- Measure the height of the wall from skirting to ceiling. Do not include the skirting itself, note the measurement to the nearest millimetre and add 5–10 cm for trimming at the top and bottom. This allowance ensures you can cut the top and bottom cleanly after hanging each strip.
- Take multiple measurements at different points of the wall, since some walls may be uneven due to plaster irregularities or the floor tilt. Use the longest measurement as your reference and cut strips to that length, trimming to fit as you go.
- Establish a vertical starting line. In practice, many installers run a plumb line or laser line 50 cm from a window or fixed edge, then align the first strip so its edge sits on the line. This creates a consistent, perfectly vertical reference that helps subsequent strips align seamlessly.
- Plan for a clean edge along ceilings and skirting boards. Leave roughly 3–5 cm beyond these edges so you can trim precisely after the paste has set. A sharp knife and a rigid straight edge are essential for neat, straight cuts.
Pattern matching requires careful marking. If your wallpaper has a repeating motif, you’ll need to measure the pattern repeat and record the offset for each strip. For example, if the pattern repeats every 53 cm, you’ll want to cut each strip to accommodate the required offset so the motifs align across adjacent strips. A simple calculator or pattern plan sheet can save time and avoid mistakes on site.
Adhesive selection and preparation
The adhesive you choose should be compatible with the wallpaper type and the wall surface. In contemporary European practice, there are several common systems:
- Ready‑mixed pastes: easy to mix, convenient for smaller rooms or DIY installations. Suitable for traditional paper and some vinyl wallcoverings.
- Powder pastes (mixed with water): cost‑effective for larger projects or professional use. Works well with most standard wallpapers when prepared to the correct consistency.
- Paste‑the‑wall systems (often used with non‑woven wallpapers): the adhesive is applied to the wall rather than the back of the wallpaper. This method can speed up installation and improve seam integrity in some designs.
Always test a small piece of wallpaper with the chosen adhesive on a discreet wall area. Check for excessive shrinkage, extended drying times, or finish quality before proceeding with the full installation. Follow the manufacturer’s guidance for mixing ratios, pot life, and curing times. In damp or humid environments, use adhesives formulated for high moisture resistance and ensure the wall is completely dry before hanging.
Step-by-step hanging process
With the planning complete and all preparations in place, it is time to hang the wallpaper. The following steps describe a straightforward, reliable method suitable for most European homes. Adapt the sequence if you are working with a paste‑the‑wall system or non‑woven wallpaper with unique installation requirements.
-
Mark the vertical reference and position the first strip
Using the plumb line or laser level, mark a vertical line along the prepared wall where the first strip will sit. This line should be perfectly vertical, with a tolerance of no more than 1–2 mm over the length of the wall. Align the top edge of the first strip to the ceiling line, leaving a small excess at the top edge for trimming later. If you are starting near a window, ensure the reference line accounts for any sunlight exposure that could cause differential drying and edge lifting.
-
Apply adhesive and position the strip
If using traditional paste on the back, evenly coat the backing with adhesive, avoiding over‑saturation that could cause cockling or sagging. For paste‑the‑wall systems, apply the adhesive to the wall as directed. Fold the strip back on itself along the crease line to prevent it from sticking to itself while you position it. Then, align the top edge with the vertical reference line and press the upper part to the wall, working from the centre outward.
-
Smooth from the centre outward
Using a smoothing brush or a clean wallpaper smoother, firm the strip to the wall, pushing out any air pockets from the centre toward the edges. Apply steady, vertical strokes to avoid creating ridges. If your wallpaper has pattern matching, ensure the motifs align with the previous strip before continuing. Do not rush this step, consistent pressure yields a seamless seam and a flawless finish.
-
Trim the top and bottom edges
Once the glue has had a moment to set, trim the excess at the ceiling and skirting with a sharp knife and a straight edge. Hold the edge of the blade steady and guide it with the straight edge to achieve a clean, straight cut. It is better to trim gradually in small strokes than to attempt a single long cut, which can lead to ragged edges.
Repeat the process for each subsequent strip, taking care to align the pattern and ensure the edges match precisely with the strip beneath. When hanging in long corridors or large rooms, check each seam after application and adjust if needed before the glue fully dries. A level or laser line helps confirm the vertical alignment remains true as you progress.
Handling tricky areas
There are common challenges in European homes where radiators, sockets, corners, and irregular ceilings require careful technique. Below are practical approaches to each scenario.
Behind radiators and near heating pipes
If it is impossible to remove the radiator, cut the wallpaper across the area where pipes and fittings protrude. Use a sharp knife and a straight edge to make precise, straight cuts that allow the wallpaper to lay flat around the pipes. Smooth the surface with a stencil brush or a small, clean scraper to bleat out air pockets and ensure a secure bond. After installation, wipe away any excess adhesive from the wallpaper surface and around the radiator connections to prevent staining or corrosion.
Corners
In external corners, apply a strip to the adjacent wall first and let the edge slightly overshoot the corner. For the next strip, cut the edge so that it overlaps by a few centimetres on the previous strip to maintain a crisp seam. Use a sharp utility knife and a straight edge to remove the excess along the corner line. This overlapping method helps maintain a continuous pattern where two walls meet, avoiding gaps or misalignment.
Around electrical outlets and switches
Switch and outlet boxes require careful cutting. Turn off the mains supply and remove the faceplates. Trace a clean cross pattern on the wallpaper across the centre of the box, score and cut inside, and fold the edges into the box. Reattach the faceplate to protect the cut edges. If you do not want to cut into the wallpaper, consider a pre‑cut template sized to the box and trim around it with a sharp blade for a precise fit.
Ceiling line and skirting boards
To achieve a neat ceiling line, trim the top edge after the glue sets but before it dries completely to avoid ragged edges. If your ceiling line is uneven, cut away small amounts from high points to maintain a flat, straight line. At the skirting, trim the wallpaper close to the edge but not flush, allowing a tiny overlap if necessary to guarantee a tight bond along the seam. Finish by carefully trimming with the knife and straight edge for a crisp, professional line.
Finishing and aftercare
With the wallpaper fully installed, there are a few finishing touches and maintenance tips that help preserve the look and longevity of the finish. Pay attention to ventilation and moisture, particularly in kitchens, bathrooms, or rooms with high humidity, to prevent adhesive failure and mould growth. Wipe off splashes of paste immediately with a damp sponge, using a gentle touch to avoid lifting the edges. Allow the room to dry completely before moving furniture back into place or subjecting the walls to heavy use.
- Check seams after installation, press any slightly raised edges back into place with a clean smoothing tool.
- A light dusting with a soft cloth can help maintain the wallpaper’s appearance over time. For vinyl or washable wallpapers, follow the manufacturer’s cleaning instructions, which typically permit mild soap and water.
- Avoid aggressive solvents or abrasive cleaners that could damage the finish. If in doubt, perform a spot test on a hidden area first.
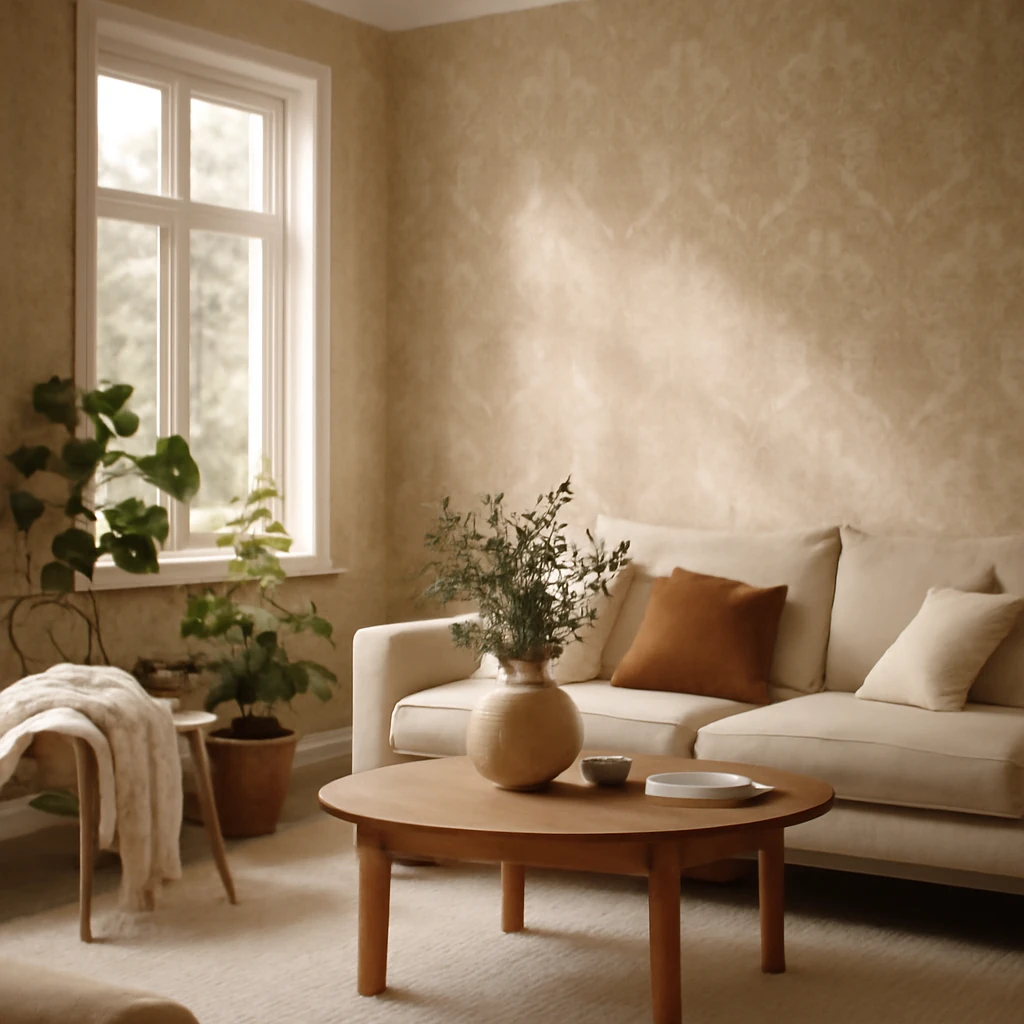
As you gain experience, you may experiment with textures, colours, and patterns to create nuanced spaces. In European interiors, the interaction between natural light, wall texture and furniture can dramatically influence how a wallpaper reads in a room. A pale, matte background with a subtle pattern may feel calm in a sunlit living space, while a bold geometric or metallic finish can set a dramatic tone in a dining area or corridor.
Special considerations for European homes
European homes range from modern apartment blocks to restored historic dwellings, each presenting unique challenges and opportunities for wallpapering. The following considerations can help ensure a durable, aesthetically pleasing result across diverse contexts.
- Humidity and ventilation: In kitchens and bathrooms, choose vinyl or vinyl‑coated wallpapers with adhesives formulated for moisture resistance. Ensure adequate ventilation during and after installation to facilitate proper drying and reduce the risk of mould growth.
- Wall substrates: Plaster, plasterboard, cement render, or lime plaster each require specific primers and sealants. With historic walls, use breathable primers that accommodate moisture diffusion while providing a stable base for wallpaper adhesion.
- Pattern scale and room proportion: Large patterns can overwhelm small rooms, while subtle patterns can add depth in long, narrow spaces. Consider the room’s light exposure and furniture scale to select a wallpaper that complements rather than competes with the architecture.
- Energy efficiency and maintenance: For energy‑efficient homes, consider textures that trap light differently and reduce glare. When cleaning is a priority, avoid heavily textured wallpapers in high‑traffic areas where dust can accumulate in crevices.
Removal and future updates
When the time comes to refresh a space, wallpaper removal should be planned with care to protect underlying surfaces. Soak or mist old vinyl wallpapers gradually if the backing is well bonded, for non‑woven materials, removal is often easier and quicker. In older European homes with lime or plaster finishes, removing wallpaper may require professional assistance to avoid damaging delicate surfaces. Always check the wall after removal for repairs, re‑priming, and redecoration before applying a new finish.
Conclusion
Wallpapering is a trusted route to refresh interiors with texture, colour and pattern. A thoughtful approach - careful wall preparation, precise measurement, appropriate adhesive selection, and meticulous hanging - results in a beautifully finished surface that endures. By embracing best practices, you can achieve a seamless, elegant wall that enhances natural light, complements architectural lines, and contributes to a comfortable, well‑balanced European home. Whether you are renovating a compact city flat or reimagining a refined townhouse, wallpaper offers an adaptable, reliable solution that remains a cornerstone of contemporary interior design.
You may also like these articles
 Tips & How-To

Crafting a Personal Christmas: 13 Handmade Ornaments for a European Tree
Create unique, eco-aware Christmas tree decorations with everyday materials.
Tips & How-To
Low Ceilings, High Impact: Visual Solutions for European Homes
Practical strategies to brighten European homes with low ceilings.
Interior Design
Scandinavian Interiors for European Homes: Light, Texture and Practicality
A practical, light-filled guide to Nordic-inspired interiors across Europe.