
Explore interior trends, AI design insights, styling guides and real transformations
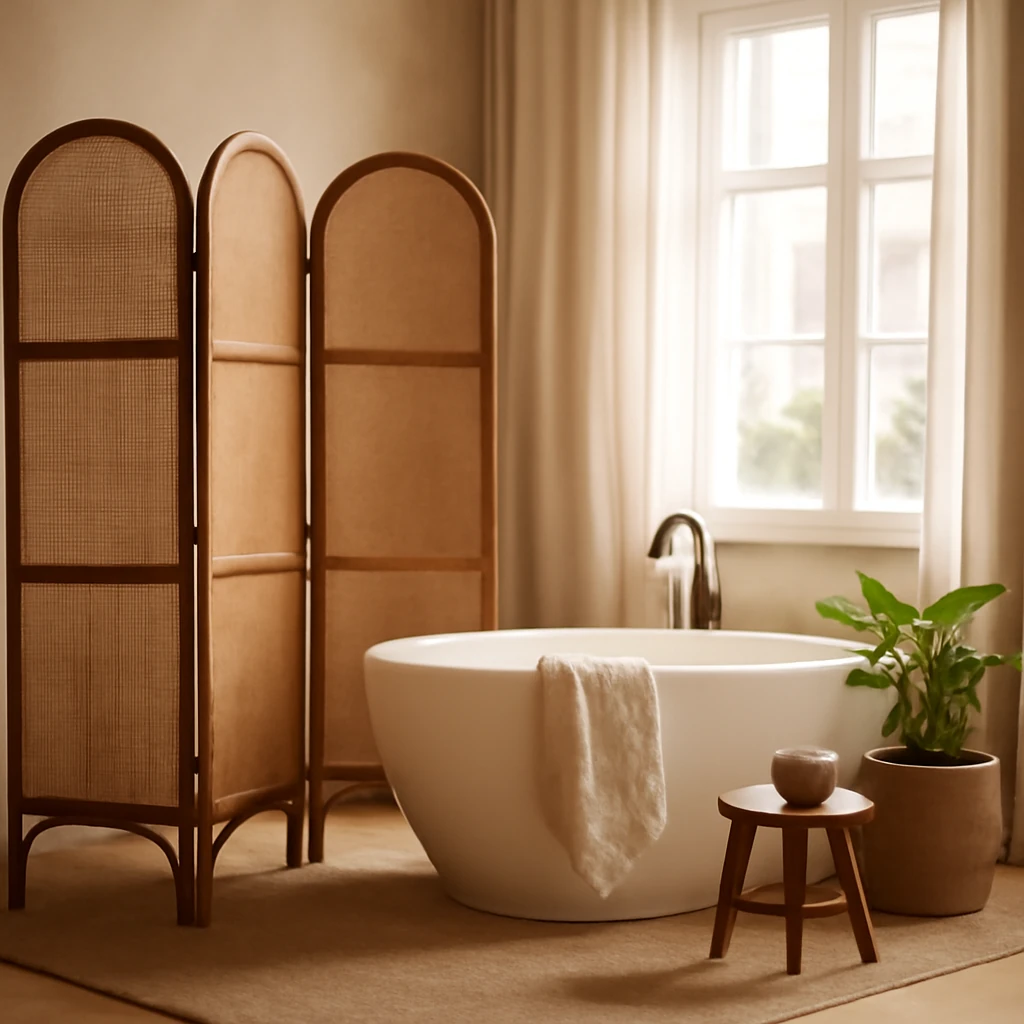
Screening the Bath: Four Simple Screens for European Bathrooms
Introduction
In many European homes, the space beneath a bathtub is one of the trickier areas to finish with clarity and comfort. A well-designed screen can conceal plumbing and services, provide practical storage, and protect adjacent walls from moisture. This article offers four straightforward approaches to creating bathtub screens suitable for contemporary European bathrooms. From quick-fit panels to more substantial brick-and-plaster solutions, you’ll discover materials, build sequences, waterproofing essentials, and design considerations to suit a range of spaces, budgets, and finishes.
Understanding the role of a bath screen
A bath screen serves several functions in one compact element. It hides exposed pipework and access panels, controls moisture splash, and raises the overall aesthetic by defining the bath area. A properly designed screen should be watertight at joints, compatible with bathroom ventilation, and easy to maintain. In European residences, where bathrooms often vary in size and shape, it pays to think in terms of an integrated solution that complements the tilework, fixtures, and overall colour palette.
Types of screens
Screening under a bath can take several forms, depending on the function you prioritise - purely decorative concealment, integrated storage, or both. Below are the main typologies commonly used in European bathrooms.
Solid or monolithic screens
A solid screen is a single, continuous panel that spans the space under the bath. It is quick to install and can be customised to match the surrounding materials. The main drawback is accessibility: if plumbing requires servicing, the wall or panel may need to be opened. Solid screens are ideal for long, linear baths in larger bathrooms where a clean, uninterrupted finish is desired.
Sliding screens
Sliding screens are especially practical in compact bathrooms where space is at a premium. A tracked panel or a pair of panels glides along rails to reveal or conceal the bath area. The main considerations are the track hardware’s durability in a high-humidity environment and ensuring there is sufficient space for the panels to move without obstruction.
Hinged or with doors
Screens with hinged doors offer convenient access to the plumbing while maintaining a refined appearance. This option is well suited to larger bathrooms where service access is important, and where a more substantial, cabinet-like screen can be integrated with cabinetry or vanity units.
In all cases, the screen’s shape should respond to the bath’s geometry. Rectangular baths benefit from straight-edged screens, while curved or freestanding baths may require curved or modular elements. Where baths have irregular profiles, bespoke screens - built to the exact contours - are sometimes the best solution.
Screen materials and construction approaches
European bathrooms favour materials with strong moisture resistance, stable dimensions, and ease of maintenance. The following four approaches summarise the most common, versatile routes to a bath screen.
Brick-built screen
A traditional brick-built screen provides substantial rigidity and a classic, robust appearance. This approach starts with careful planning of the wall line and drain/access points. A half-brick wall is often built along the edge of the tub, leaving a slim access void for maintenance. The wall is then finished with tiles or decorative plaster to match the surrounding surfaces.
How to approach this method:
- Prepare the space by locating the bath edge and ensuring the floor is level. Use a spirit level to mark vertical and horizontal lines that will guide the brickwork.
- Mix a durable cement-based mortar and lay bricks to form a wall that partially encloses the toilet or bath area, leaving a service access point as required. Do not fully load the bath edge, maintain a small air gap for expansion and movement.
- After the brickwork sets, install a lightweight door or panel hinge, if a service hatch is required. Consider a lift-up or removable panel for easier access.
- Finish the brick surface with tiles or decorative plaster in a colour that harmonises with the room. The edge near the tub may be waterproofed with a sealant and appropriate mould-proof grout.
Pros: exceptionally sturdy and timeless, cons: labour-intensive and less flexible if plumbing changes.
Gypsum board (drywall) screen
Drywall-based screens are popular for their clean lines, lightweight nature, and relative affordability. They are especially suitable where a bathroom requires a custom, fully flush screen that integrates with tilework. The key is to use moisture-resistant boards and proper waterproofing details around the window, valve, and any penetrations.
Carcass construction
The screen’s frame is typically built from metal studs or hardwood, but given humidity is better managed with metal profiles. A well-proportioned frame creates a rigid skeleton for mounting panels and doors. If using wood, treat it with a sealant or specialist bath-proof coating to resist moisture and mould growth.
Step-by-step approach (gypsum board)
- Establish a vertical and horizontal reference line using a level. Mark where the lower edge of the screen will sit on the floor and along the bath perimeter.
- Cut and install the metal profiles to form a light but strong frame, fixing into the floor and wall with appropriate anchors for the substrate (concrete or timber).
- Attach moisture-resistant gypsum boards to the frame. Leave a small gap between boards for expansion and sealing at joints.
- Cut an access panel in the board at a convenient location for plumbing maintenance. Attach hinges and a simple latch if a door is required.
- Seal all joints with a waterproof tape and one or two coats of bathroom-grade primer. Finish the surface with ceramic tiles, a decorative plaster, or a waterproof covering supplied for bathrooms.
Important: Use green-board or cement-bonded boards in contact with water-prone areas, and always seal edges with silicone or a compatible sealant after tiling. Ventilation remains important to prevent damp problems.
MDФ panels (MDF) screen
Medium-density fibreboard (MDF) offers a smooth surface suitable for painting or veneering, and it can be finished with moisture-resistant coatings for bathroom use. For screens, MDF is typically used in conjunction with a sealed frame and a ventilated design to prevent condensation buildup.
Construction notes:
- Pre-treat MDF panels with a moisture-resistant primer and two coats of a water-repellent finish on both sides.
- Affix panels to a metal or moisture-resistant wooden carcass. Include ventilation slots or small perforations on the far side to promote air movement and reduce dampness.
- Seal all panel edges with silicone where they meet tile or plaster to ensure a watertight finish.
MDF screens can be highly customisable and finished in painted, veneered, or laminated surfaces to suit contemporary European interiors. They are best used in bathrooms where the climate allows careful humidity control and where a lighter aesthetic is desired.
Plastic panels (PVC/ABS) screen
Plastic panels are the most practical option for a quick, affordable, and moisture-friendly screen. PVC or ABS panels resist humidity, are straightforward to cut, and can be mounted on a simple frame. For a neat appearance, panels are fixed to a slim wooden or aluminium subframe, with a floor track to anchor the bottom edge. The lower edge should be sealed to the floor with a flexible adhesive or silicone to prevent water ingress.
Application steps:
- Install a structural frame along the bath perimeter, with a reinforcing member at the mid-span for extra rigidity.
- Fit the plastic sheets vertically, with the bottom edge resting on a lightweight floor guide. Avoid overtightening fixings to prevent panel bowing.
- Join panels with a compatible solvent-based or contact adhesive, following manufacturer guidance to avoid warping.
- Seal the junctions with silicone around the edges and at the floor to ensure a watertight finish.
Advantages: very resistant to humidity, easy to clean, economical. Consider choosing a finish in a colour or texture that complements the tiling and fixtures for a coherent look.
Finishing and sealing: getting it right
Regardless of the chosen method, finishing and sealing are critical to performance. Moisture and moulds thrive where joints and edges are left unsealed. The finishing stage should address the following:
- Seal all joints between panels and the bath, using a high-quality silicone sealant suitable for bathrooms. Apply a neat bead and tool for a smooth finish.
- Where a tile finish is chosen, ensure grout is water-borne and designed for wet rooms. Use mould-resistant grout in darker colours to disguise stains and ensure lasting cleanliness.
- Consider installing a thin ventilation gap behind the screen to facilitate air movement. If a veneered or painted surface is used, ensure paints and varnishes are rated for bathroom use and humidity exposure.
- Test for leaks by running water along the screen edges for an extended period, and observe for any drips or damp spots on surrounding walls.
Practical design considerations
When selecting a screen type, think about style, maintenance, and how it integrates with the rest of the bathroom. A few design principles to guide your choice:
- Harmonise with the overall bathroom palette. If your tiles feature a busy pattern, opt for a solid screen in a complementary colour, if your tiling is minimalist, a screen with a subtle texture can add depth.
- Choose materials with proven bathroom performance. Europe’s climates vary, so moisture resistance and dimensional stability are essential.
- Think about cleaning. Panels with easy-to-clean surfaces and minimal grooves are more hygienic and user-friendly in daily life.
- Plan for accessibility. If a household includes children or elderly residents, consider a screen with a door that opens smoothly and does not trap moisture in corners.
- Respect the bath geometry. Irregular or curved baths may require bespoke solutions or modular components that can be fitted to the contours.
Installation steps: a practical guide
While the exact steps vary by material, the following sequence offers a robust framework for a successful installation. The process assumes a standard bath with surrounding wall surfaces that are flat and plumbed correctly.
- Plan the screen height and width. A typical height is 1,200–1,500 mm, depending on whether it covers the full bath side or only the lower portion above skirting boards.
- Prepare the bath edge. Clean and dry the edge to ensure good adhesion for sealants and any floor or wall fixings.
- Construct the frame. Install metal or wooden profiles along the bath edge and adjacent wall, ensuring verticals are perfectly plumb and horizontals are level.
- Mount panels. Attach gypsum boards, MDF panels, plastic sheets, or brickwork elements to the frame using appropriate fixings. Leave a small expansion gap where necessary.
- Finish the surface. Apply the chosen finish - tiles, decorative plaster, laminate, or painted surfaces - ensuring a continuous, seamless edge against the tub and wall.
- Install door or access panel if required. Attach hinges and a latch or handle, ensure smooth operation and a watertight seal when closed.
- Seal joints. Run a continuous bead of bathroom-grade silicone along all joints and at the interface with the floor and walls. Tool for a neat profile.
- Test for leaks. Run water along the screen’s edge for several minutes and check for seepage or dampness on adjacent surfaces.
Maintenance and long-term care
Maintenance can extend the life of any bath screen and keep its appearance pristine. Consider these routine practices:
- Wipe down surfaces after use to remove soap and mineral deposits, especially on plastic or painted finishes.
- Inspect silicone joints annually and re-seal as necessary to address hairline cracks or discolouration.
- Check panel fixings for looseness every few months and tighten where appropriate to maintain structural integrity.
- Avoid abrasive cleaning tools that could scratch finishes, opt for soft cloths and non-abrasive cleaners.
- Ensure adequate ventilation in the bathroom to prevent mould growth around screen edges and joints.
Cost considerations and choosing the right solution
Costs vary widely based on material choices, bathroom size, and whether the screen is a bespoke fit or a modular system. Brick-built screens and gypsum-board constructions typically require more labour but can deliver a highly custom look. Plastic panel solutions offer considerable value and fast installation. When budgeting, consider not only the initial price but also long-term maintenance, moisture resistance, and the impact on resale value. A well-executed screen should endure for many years with modest upkeep.
Design ideas and real-world applications
In European bathrooms, the screen is often a focal point that complements the tile scheme and the bathroom’s personality. A few design directions to consider:
- Minimalist bathrooms benefit from a clean, white or light-grey screen that integrates with large-format tiles for a seamless look.
- Warm interiors can accept screens with wood-toned frames or warm-toned veneers paired with neutral or earthy tiles.
- Historic or eclectic spaces may embrace a brick-built element or a tile-clad screen to reflect traditional detailing.
- Glossy plastic panels in bold colours or with a subtle texture can create a playful contrast in contemporary settings while remaining easy to maintain.
Final considerations
Before finalising a design, measure carefully, review the bath’s geometry, and consult with a professional if in doubt about load-bearing considerations or moisture management. A well-planned bath screen, properly installed and sealed, can transform a functional space into a refined part of the bathroom that endures the test of time and daily use.
Conclusion
Whether you favour the solidity of a brick-built screen, the lightness of a gypsum-board panel, the versatility of MDF, or the practical resilience of plastic panels, a carefully designed bath screen is a versatile, valuable addition to any European bathroom. By balancing function, aesthetics, and maintenance, you can create a screen that conceals pipes neatly, enhances the room’s geometry, and remains easy to clean - today and for years to come.
You may also like these articles
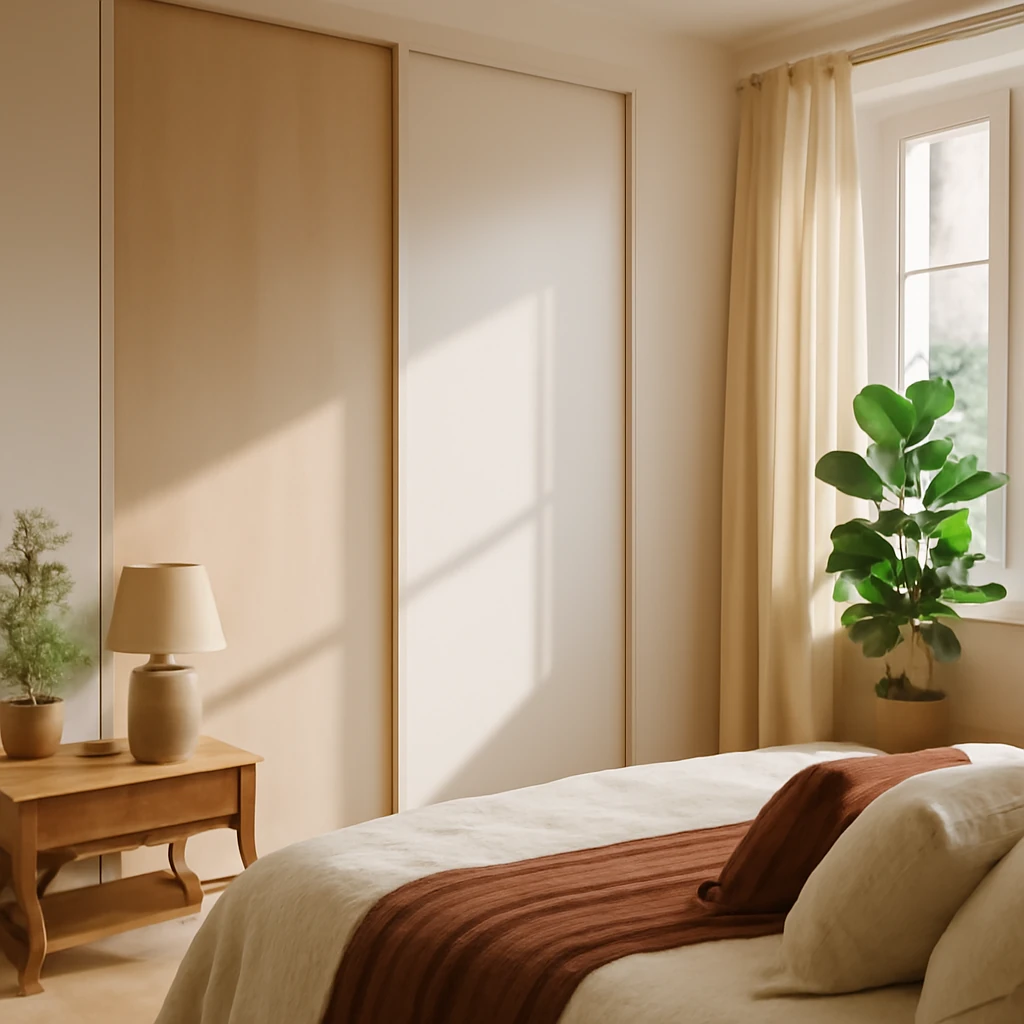
Mastering the Sliding Wardrobe: Planning, Zoning and Customisation for European Homes
A practical guide to planning and filling sliding wardrobes across Europe.
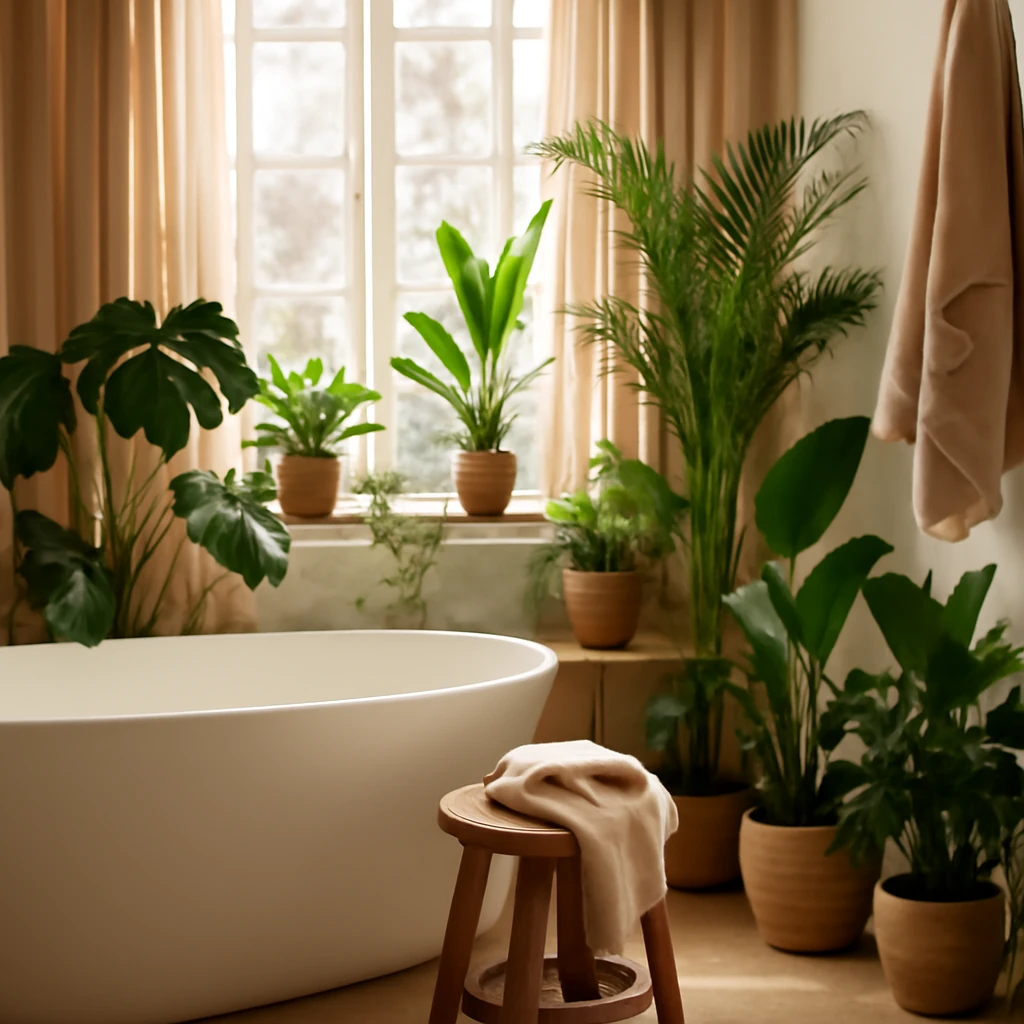
Ten bathroom plants for a lush tropical vibe across Europe
Revitalise small bathrooms with robust, low-light tropical plants.
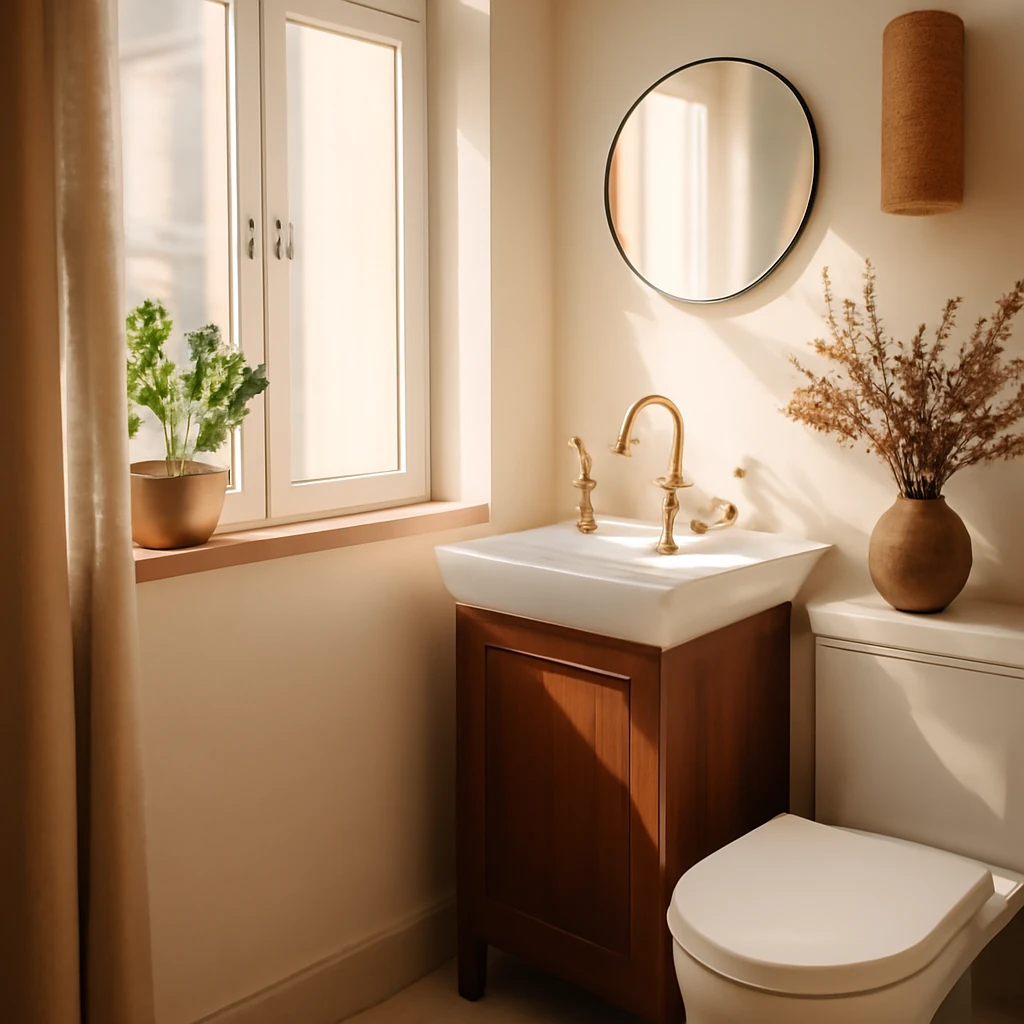
Designing a Small Bathroom: Practical Ideas for Compact European Homes
Smart layouts, light-filled rooms and clever storage for tiny baths.