
Explore interior trends, AI design insights, styling guides and real transformations
Painting Walls: 10 Practical Mistakes and How to Get It Right

Introduction
Painting walls is a transformative step in any European home. Done well, it refreshes a room with colour, light and atmosphere, rushed or ill‑considered, it can reveal every surface flaw and drive up the cost of correction. This guide identifies ten common mistakes seen in contemporary interiors - from city apartments with plaster walls to period homes with lime plaster and timber detailing - and offers practical remedies that work across a range of European contexts. Whether you are refreshing a living room, corridor or bedroom, the goal is a durable, evenly coloured surface that ages gracefully.
Mistake 1: Painting unprepared walls
Even small defects, dust, or residues from previous coatings can telegraph through a fresh paint film. Walls in modern homes may be traditional plaster, lime plaster, fibreboard, gypsum board or brick, each with its own quirks. If you skip preparation, you may see shiny patches, pinholes, or bumps under gloss finishes. In short, you will pay later with more labour and less satisfactory coverage.
- What to do: start with a thorough surface inspection. Remove loose paint, fill cracks and holes with a compatible filler, and sand until the surface is level. If the wall is very smooth or glossy, abrade lightly to create a key. Dust the wall again and, if necessary, wash greasy stains with a mild soap solution and rinse. Allow the surface to dry completely before priming.
- What to do: address any lingering dampness or mould before painting. If the wall has signs of moisture, treat the cause and allow the wall to dry fully.
- What to do: test for porosity - spray a small amount of water on a patch. If the water is absorbed quickly, the surface is porous and will require a primer to achieve an even finish.
Mistake 2: Skipping or mismatching primer
Primer is the bridge between substrate and topcoat. A porous or uneven surface will absorb paint at different rates, leading to uneven colour and higher consumption. In spaces with smoke, water marks or kitchen grease, a stain‑blocking or sealer primer is essential. Primers also improve adhesion for subsequent coats and can reduce the number of topcoats needed.
- What to do: choose a primer matched to the surface and the paint type. For porous plaster or fibreboard, use a universal acrylic primer. For difficult stains or smoke, select a stain‑blocking or shellac‑based primer. Allow the primer to dry fully according to the manufacturer’s instructions before applying colour.
- What to do: apply primer with a brush along edges and corners, then roll to cover the field. A light, even coat is usually sufficient, avoid heavy build‑ups that could raise the grain or cause cracking when the topcoat is applied.
Mistake 3: Incorrectly diluted paint
Paint dilution is a nuanced issue. Thinning too much can weaken the binder, reduce gloss retention and create cobwebby or patchy finishes. Conversely, applying paint straight from the can can lead to brush or roller marks on textured surfaces. It is essential to follow the product guidelines and not mix bases without understanding their compatibility.
- What to do: read the label and follow the manufacturer’s dilution recommendations. For most modern water‑based emulsions, only a small amount of water is needed, if any. For solvent‑borne products, use the recommended thinner. Do not over‑thin, thick coatings can also create an uneven surface once dried.
- What to do: mix thoroughly using a mechanical mixer or an appropriate paddle, and rest the paint briefly to relieve air bubbles before use.
- What to do: perform a dilution test on a small quantity in a separate container. Apply a thin layer to a hidden patch and observe after drying to confirm the colour and texture are satisfactory.
Mistake 4: Not testing colour in real lighting
Colour perception changes with daylight, artificial light and neighbouring furnishings. A shade that looks ideal in the shop or studio can read very differently on your wall, particularly in rooms with large east or west light or in spaces with coloured furnishings. Testing in the actual room is essential to avoid a prolonged repaint cycle.
- What to do: select several sample pots or create small test boards and apply them to a discreet area of the wall. Review under different lighting conditions by day and night, and observe after the paint dries in both indirect daylight and artificial light.
- What to do: consider the impact of décor and flooring. A cool white may feel sterile in a warm wood environment, a warm grey can pick up the undertones of timber.
- What to do: once you have a final choice, repaint a larger area to confirm consistency before committing to the entire wall or room.
Mistake 5: Incorrect tool selection
The right brush and roller are as important as the right paint. The tools influence coverage, edge control and finish quality. Using the wrong nap for a textured or smooth surface can lead to roller marks, shedding fibres or uneven colour application.
- What to do: pair the tool with the surface. For flat plaster or gypsum board, a roller with a short nap of 4–9 mm is typical for first coats, for rough walls or lime plaster, a longer nap (9–12 mm) may be appropriate. Use a high‑quality angled brush for cutting in at edges and around fixtures.
- What to do: ensure your brush has natural bristles for oil finishes or synthetic bristles for water‑based paints. Keep tools clean and free of dried paint to avoid marks in the final coat.
- What to do: have a dedicated tray or pan, and avoid loading the roller with excess paint to prevent drips and thick edges.
Mistake 6: Painting with inconsistent brush and roller direction
A common error is to switch directions mid coat. Variations in direction become visible after drying, especially with contrast colours or high‑gloss finishes. Consistency matters because the final surface should read as uniform under different lighting.
- What to do: choose a single direction for each stage of a coat - ideally vertical on one application and horizontal on the next, or vice versa. When applying multiple coats, you can vary directions to even out strokes, but keep the base approach clear and deliberate.
- What to do: work quickly but evenly, keeping a wet edge to avoid lap marks. Use overlapping strokes and avoid pausing mid‑section where the paint could dry unevenly.
Mistake 7: Applying too thin or too thick a coat in a single application
One coat rarely delivers the required depth, even with light colours over pale substrates. Inferring that one coat is enough can result in a chalky or streaky finish, particularly when changing from a light to a dark shade or when painting over a strongly coloured base.
- What to do: plan for two or three coats as necessary. The first coat distributes the paint evenly and starts to fill irregularities, subsequent coats build colour density and smoothness, while helping to hide imperfections.
- What to do: allow adequate drying time between coats according to the product instructions and the room conditions. In European homes, consider the influence of humidity and room temperature on curing times.
- What to do: if you are changing from a light to a dark shade, have extra paint on hand for subtle touch ups after the final coat dries.
Mistake 8: Painting over surfaces that are not fully dry
Rushing to finish while a layer is still tacky or damp leads to peeling, blistering or poor adhesion. This is particularly risky with oil enamels or high‑solids finishes that require longer cure times. In damp climates or poorly ventilated rooms, drying can take longer than expected.
- What to do: follow the label guidance for drying times and recoat intervals. Use gentle, constant ventilation to speed up drying without creating echoes of dust or debris on the surface. Do not rush the process by applying a second coat to a damp surface.
- What to do: for exterior or high‑humidity spaces, consider a breathable finish or one designed for damp environments to prevent mildew and peeling.
Mistake 9: Underestimating the amount of paint needed
Running out of paint mid‑project is both frustrating and expensive. In addition, additional coats or mismatched batches can create tonal differences. Proper planning helps avoid awkward colour matching and patching repairs.
- What to do: calculate the area to be painted and multiply by the number of coats. Paint coverage varies by product, a typical emulsion may cover 8–12 m2 per litre per coat, depending on surface texture. Add 10–15 per cent extra for contingencies, repairs and waste.
- What to do: keep extra paint in a sealed container for touch ups in the future. When using tintable paints, ensure you have the same batch or colour reference if you need more later.
Mistake 10: Poor timing and lighting decisions
Applying paint under harsh light or direct sun can cause rapid drying, visible brush marks and uneven sheen. In temperate European climates, the sun can be intense at midday, while artificial lighting can mask imperfections that become apparent once the room is lit differently.
- What to do: aim for daylight hours with indirect light, avoiding direct sun streaming through windows. If you must work in the late afternoon, consider warm but controlled artificial lighting to inspect the finish as you go.
- What to do: on southern facades, plan to paint in the morning or late afternoon when the sun is lower. Ensure the room is well ventilated to accelerate drying and minimise odours, especially in smaller spaces.
Additional guidance for European homes
Beyond the ten mistakes, a few practical considerations help ensure a successful outcome across diverse European contexts. The choice of finish matters as much as the colour itself. For living rooms and bedrooms, a washable, stain‑resistant finish such as an eggshell or satin emulsion can withstand everyday wear while maintaining a refined look. Kitchens and bathrooms benefit from finishes with higher moisture resistance and cleaning durability, while exterior spaces require paints designed to withstand temperature fluctuations and UV exposure.
- Ventilation and temperature: maintain a stable environment between 15–25°C where possible, avoiding extremes. Excess humidity slows drying and can promote mould growth.
- Surface compatibility: consider the substrate when selecting products. Lime plaster walls require breathability to avoid moisture entrapment, while plasterboard can be primed and painted with standard emulsion after proper sealing.
- Eco and comfort considerations: prefer low VOC or zero VOC paints for interior spaces, particularly in bedrooms and nurseries. Proper disposal of leftovers and empty cans is essential for environmental responsibility and local regulations.
Conclusion
With careful preparation, a thoughtful choice of products and a disciplined painting technique, walls across European homes can achieve a durable, beautiful finish that ages gracefully. The ten mistakes outlined here are common pitfalls, but they are easily avoided with a clear plan: inspect and repair the surface, choose compatible primers and finishes, apply colour in deliberate coats, test colour in real lighting, select the appropriate tools, maintain consistent brushwork, allow proper drying between coats, forecast paint needs accurately and choose suitable timing for painting. By following these principles, you will transform spaces with confidence, achieving a cohesive look that harmonises with architecture, furnishings and light - without surprises when you pull back the blinds in the morning.
You may also like these articles
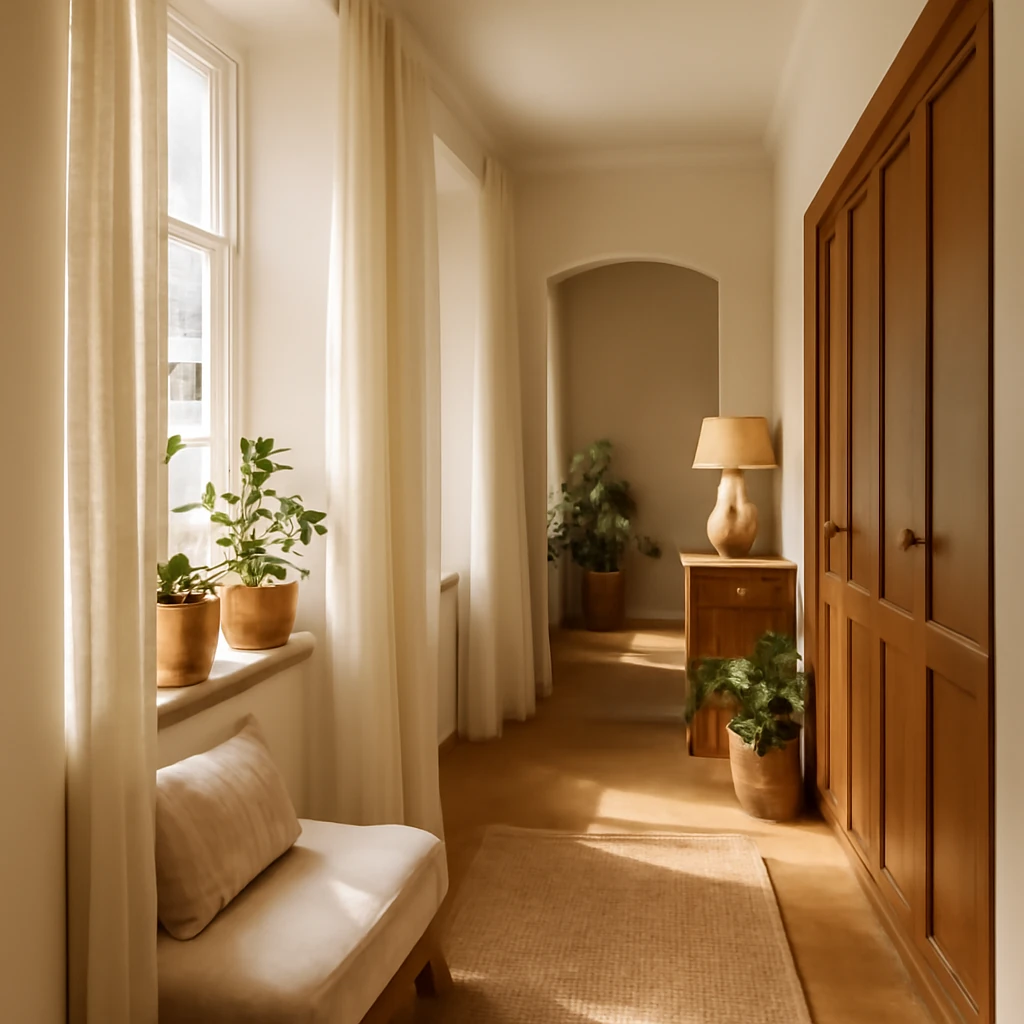
Designing a Narrow Hallway: European Strategies for Light, Storage and Flow
Smart layouts, light finishes and compact storage transform narrow halls.

Art Deco Interiors: The Timeless Allure of Geometry and Glamour
Uncover how Art Deco luxury translates into modern European homes.

Decorative plaster: textures, finishes and how to apply
A comprehensive guide to decorative plaster finishes for European homes.