
Explore interior trends, AI design insights, styling guides and real transformations
The Kitchen Island: A Complete Guide to Planning, Layouts and Styles Across Europe
The Kitchen Island: a practical centrepiece for European homes
In many European kitchens, the island has become more than a trend – it is a versatile hub that combines preparation space, storage and sociable dining. Whether you are renovating a compact city apartment or designing a more generous family kitchen, a well-planned island can improve the flow of work, help organise tasks and create a welcoming focal point. This guide offers practical guidance on sizing, layouts, lighting and finishes to help you design an island that works across diverse European interiors and living patterns.
What is a kitchen island for?
Across different homes and configurations, the island serves several core functions that can be combined in a single module:
- extra surface for food preparation and plating – particularly convenient if the island houses a cooking hob or sink nearby;
- storage – drawers and cupboards on both long sides offer space for equipment, dry goods and utensils;
- dining and socialising – with a suitable overhang, the island can double as a casual breakfast bar or informal dining zone.
In European layouts, islands are often used to reinforce the “work triangle” between hob, sink and fridge, while providing a social hub that keeps the cook connected with family and guests. The exact arrangement will vary with the size and shape of the room, as well as the level of openness to adjacent spaces such as living or dining areas.
Planning essentials
Installing an island dramatically affects the spatial experience. Below are the key decisions that will determine whether the island feels practical or obstructive, and how to design a space that remains comfortable and coherent.
Module size
The most comfortable width is typically between 80 and 120 cm. The length depends on function: 120–140 cm is usually enough for a primary food-prep zone, 150 cm or more supports a combined cooking surface with a bar/ber seating area. When space allows, islands can extend up to 2.5–3 metres in very large rooms. In compact apartments, reserve enough counter length for primary tasks while keeping room to move freely around the module.
When planning, consider fit for standard equipment: a 60 × 60 cm oven or warming drawer, a standard sink, and the necessary services. A well-proportioned island will leave a dedicated working area and still offer social space without creating bottlenecks in circulation.
In denser city apartments and contemporary European homes, the island is often a long, slender module that sits parallel to a wall or extends from a wall to create a delineated social zone without fully closing the space.
Height
The typical island height sits around 90 cm, matching a standard kitchen work surface. However, heights should be tailored to the user’s comfort, much as with any worktop. If you intend to use part of the island as a bar or counter seating area, raise that portion to around 110–115 cm to create a comfortable bar-height surface. Having one level for food prep and a higher portion for casual dining can simultaneously enhance ergonomics and sociability, while helping to visually separate the cooking zone from the dining area.
Adjusting the height may also assist with accessibility considerations for family members who spend more time at the island, ensuring the space remains inclusive and easy to use.
Clearance around the island
To move around comfortably, allow at least 60 cm of clearance on all sides of the island. If the island is opposite tall cabinets, dishwashers or pull-out units, increase the circulation width because users will need extra space to open doors and drawers without obstruction. In open-plan rooms, generous clearances help maintain a balanced flow between kitchen and living areas and prevent the island from feeling like a barrier.
In compact rooms, you may choose a more compact island with a longer overhang on one side to provide seating while preserving a clear main work corridor. The key is to maintain a sense of openness and to avoid cramping the surrounding zones.
Lighting
Because the island often sits at the junction of two zones, it requires dedicated lighting that is distinct from the general kitchen or living room lighting. Pendant lights or recessed ceiling spots are common choices. Position lighting so that glare on the work surface is minimised for the person seated, while ensuring adequate illumination for food preparation. A typical guideline is to keep lighting at 75–90 cm above the countertop, adjusting to seat height and personal preference. Layered lighting – including task lighting over the island and soft ambient lighting for the surrounding space – enhances clarity and ambience without overpowering the scene.
With careful planning, lighting can also accentuate the island as a design feature, revealing the colour and texture of materials and the craftsmanship of the finishes.
Island configurations
There are several common configurations, each with its own advantages depending on room size, shape and lifestyle. Below are the main options you’ll encounter in European homes, with practical tips for each scenario.
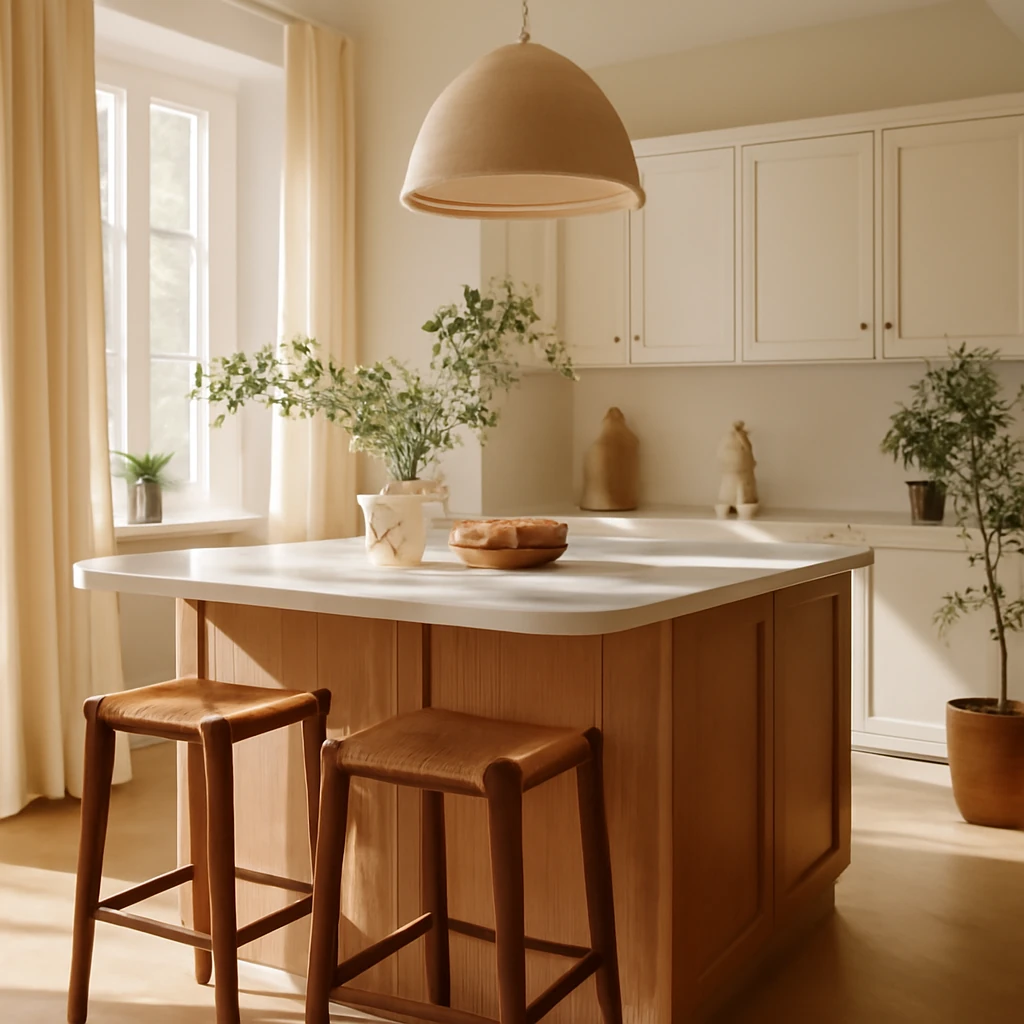
Island against a wall
For smaller spaces, an island that sits along a wall can be highly efficient. This arrangement keeps one side free for seating and circulation, while the other side functions as a practical work surface. The seating side should typically extend 40 cm beyond the rear edge of the island to allow comfortable legroom. Semi-bar stools – shorter than full bar stools – maintain a cohesive height with the adjacent kitchen units and allow easy conversation with guests seated nearby.
When the island is placed next to a wall, consider a modest overhang on the seating side to accommodate legs, while ensuring there is still ample knee room and a practical depth for plates and glasses.
Freestanding island
A freestanding island offers storage on both ends and often provides better access to appliances, outlets and water connections. This layout can accommodate a cooking hob or oven on the island, and the sinks or refrigeration can be positioned on adjacent counters to optimise workflow. With a freestanding island you can create a distinct social zone on one side while maintaining a dedicated preparation zone on the other. Remember to plan for ventilation and drainage if appliances are placed on the island.
Linear kitchen with an island nearby the main run
In a linear layout, where the main kitchen run is against a wall, a narrow island placed parallel to the run can extend the work surface and provide a casual dining area without interrupting the corridor. Ensure there is at least 120 cm of free width between the island and the opposite wall or cabinetry to allow easy access to drawers and to open appliances fully.
Corner (L-shaped) kitchen with an island
Corner configurations can benefit from an island that helps zone the space into cook and eat areas. The island can serve as additional storage and a mint of counter space, while the corner itself remains a practical hub for prep and taking a quick bite. This arrangement is useful for adding extra storage without sacrificing room for movement.
Island with appliances
When appliances such as a hob, the oven or the dishwasher are placed on the island, plan for dedicated electrical feeds and, where needed, robust ventilation. A vent hood above the hob is essential, and it may be most efficient to locate the exhaust in a ceiling or wall, rather than attempting to conceal it in a floating unit. If extraction is challenging, consider a downdraft vent or a ceiling exhaust that aligns with the island’s position.
Island with sink
A sink on the island is particularly convenient for washing and serving at the dining zone. The key requirement is reliable water supply and drainage. The island should be large enough to keep splash zones contained and to provide space for drying and prep close to the sink. If possible, position the sink near existing plumbing to simplify installation and reduce disturbance to other parts of the kitchen.
Island as storage
An island dedicated to storage benefits from deep drawers, corner carousels, vertical dividers for lids and trays, and open shelving for frequently used items or decorative touches. Consider integrated panels for appliances to maintain a sleek, cohesive look. Adequate lighting inside and under shelves will improve accessibility and usability in day-to-day tasks.
Island with dining zone
An elongated overhang creates a practical dining barrier that doubles as a social space. A comfortable dining zone typically requires a countertop depth of at least 40 cm for plates and glassware, while seating space should allow 60 cm per person. For seating, plan a counter height 110–115 cm, with chair heights about 25–30 cm lower than the work surface to ensure ergonomic seating. Leave adequate legroom and ensure that the edge of the overhang is finished to be comfortable against the arms and thighs.
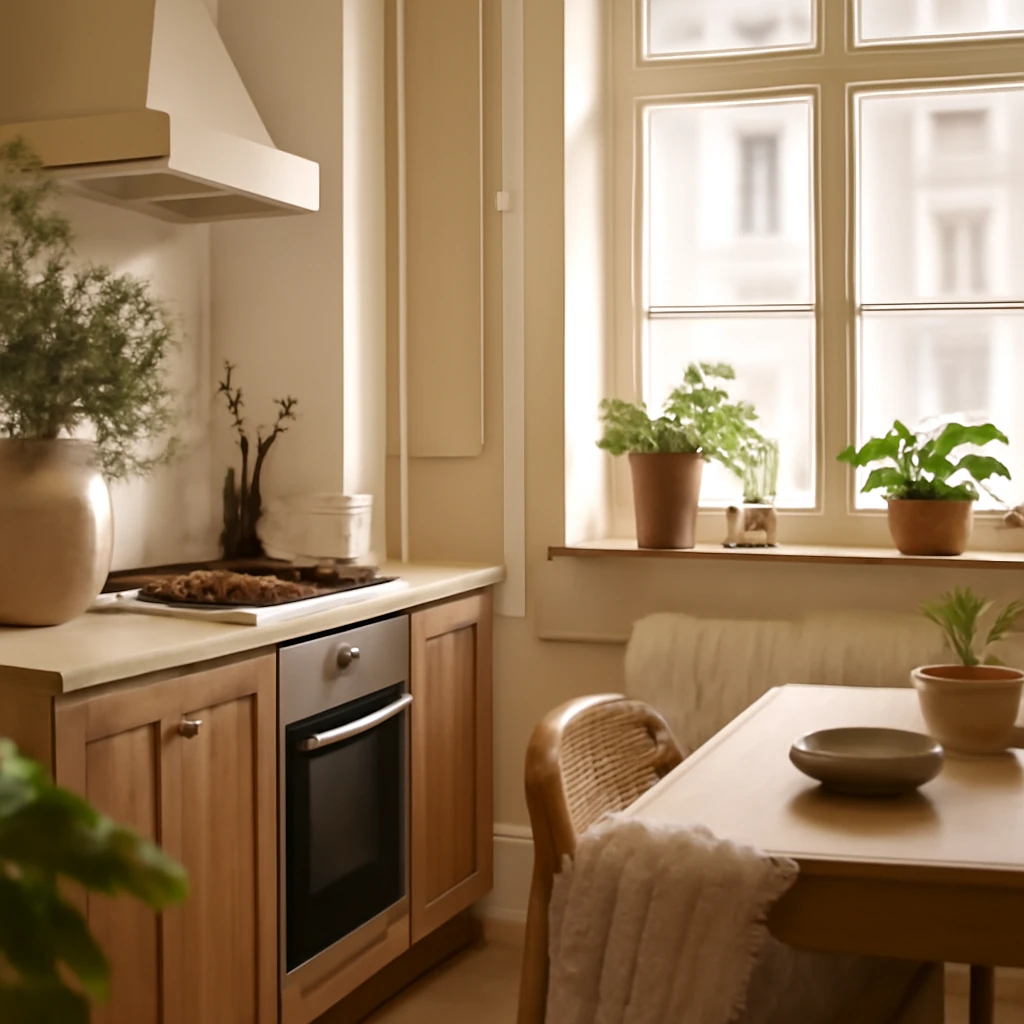
Islands for small spaces
In very compact spaces (less than around 12 m²), consider lighter, more flexible options that preserve movement and openness. Practical solutions include mobile islands on casters, slim consoles only 40–50 cm wide, or a drop-leaf extension that folds away when not in use. A cantilevered or partially overhung counter can offer seating without visually overwhelming the room. Light-coloured finishes with glossy or satin surfaces help reflect light and create an impression of greater space. If a full island isn’t feasible, a compact peninsula or a slim workstation can provide essential functionality while maintaining airiness.
Design styles for kitchen islands
Kitchen islands translate across a broad spectrum of European aesthetics. There are no hard boundaries: contemporary and minimalist spaces can sit perfectly alongside more opulent, neoclassical interiors, while rustic and traditional schemes can be tempered with modern materials for a balanced look. The island can be the unifying piece that ties materials and finishes across the kitchen and living areas.
Modern and minimalist setups often favour clean lines, concealed storage and materials such as quartz, glass or light timber. In Scandinavian-inspired interiors, pale timber tones, white surfaces and tactile fibres create a calm, uncluttered feel, with brass or brushed steel details for warmth. In classic or neoclassical kitchens, marble or marble-look surfaces paired with brass or gilt details can produce a refined, timeless effect. In more contemporary European contexts, porcelain or large-format ceramic slabs offer durability and a pristine surface that complements lighter cabinets and dramatic hardware choices.
Regardless of style, the proportion of the island to the room matters. A kitchen island should read as part of the space rather than a separate island of furniture. A well-proportioned island respects circulation, echoes the line of the cabinetry and resolves into the surrounding architecture with finish and colour that feels coherent and deliberate.
Practical tips for planning and installation
- Ensure there is enough space to move around: 120 cm of clear space for the main aisle and at least 60 cm around the island itself.
- Whether the island houses a hob or a sink, protect the wall behind it and plan splash zones with appropriate tiling or enamel finishes that are easy to clean.
- Consider additional outlets for small electrical devices and chargers. Place outlets on the working surface or on the sides of the island to keep surfaces free of clutter.
- Plan for dedicated lighting at the design stage. Task lighting over the island is essential for precise preparation, while ambient and accent lighting will enhance the surrounding space and create a welcoming mood.
In European homes, careful planning also means coordinating with heating, ventilation and plumbing. If you place a sink or a hob on the island, ensure there is a practical route for services and a reliable ventilation strategy that keeps the space comfortable and odour-free. A service hatch for access to connections keeps the area neat and facilitates maintenance without disrupting the living space.
Key takeaways
- The island is a multifunctional element that can expand cooking, storage and social spaces in one module.
- Size, height and clearance must be tailored to the room and users to avoid crowding and to maintain efficient workflow.
- Multiple configurations exist, from the wall-aligned island to freestanding models with appliances integrated on the island and seating on the opposite side.
- Small spaces benefit from lighter finishes, compact forms or mobile solutions that preserve openness while delivering essential functionality.
Frequently asked questions
How can I make a functional island with a dining area?
Divide the island into three zones: a primary working area (roughly 40–60% of the island), a storage zone (25–35%), and a social/eating area (15–25%). For a balanced layout, allocate a 60 cm-wide space per person for seating, and keep the counter’s usable depth at 60–90 cm for comfortable plate handling. If space allows, a higher seating counter of 110–115 cm can serve as a bar while preserving a generous primary surface for cooking and prep.
- Working area: deep enough for pans and prep boards, incorporate built-in appliances where feasible.
- Storage: opt for a mix of drawers, pull-out units and corner carousels to maximise accessibility.
- Social space: ensure the bar area is comfortable for guests and that electrical outlets and USB ports are accessible for charging devices.
In smaller rooms, a compact island with a shallow overhang can still provide a social edge without compromising circulation. The principal aim is to keep the work triangle efficient while enabling social interaction at the same time.
Which materials are best for island countertops?
- Engineered quartz is practical, highly resistant to scratches, heat and moisture, and its non-porous surface resists odours and stains with straightforward maintenance.
- Moisture-resistant laminate with a durable edge is a cost-effective option for a contemporary look.
- Natural stone such as granite or marble is timeless and tactile but requires periodic sealing and careful maintenance.
- Porcelain slabs offer exceptional durability and can be manufactured in large formats for seamless surfaces.
Choose a material that aligns with your lifestyle, maintenance preferences and the room’s overall design language. If you anticipate heavy use or active cooking, a durable surface like quartz or porcelain can provide long-term resilience with minimal upkeep.
How do I configure an island with a hob, sink and other appliances?
- Provide a dedicated electrical line for all island appliances and ensure adequate power supply with convenient access to sockets.
- Place the hob in proximity to a venting solution. A high-quality cooker hood with a capacity appropriate to the hob (typical guidance is around 600 m³/h) is advisable. The ideal hood height is often around 75–85 cm above the hob.
- Position the sink close to existing plumbing to simplify installation and minimise disruption. Flexible connections can be useful, but ensure slopes and waste lines are correctly planned to prevent backflow or stagnation.
- If the oven is on the island, place it at a comfortable eye level and provide ventilation gaps (typically around 4–5 cm) if it sits within a cabinet module.
- Consider a service hatch or access panel to reach connections without compromising the design’s cleanliness.
In cases where ventilation is challenging, a bespoke solution with a quiet, efficient extraction system can be more practical than trying to retrofit a hidden hood. The priority is achieving a safe, functional kitchen without compromising aesthetics.
You may also like these articles
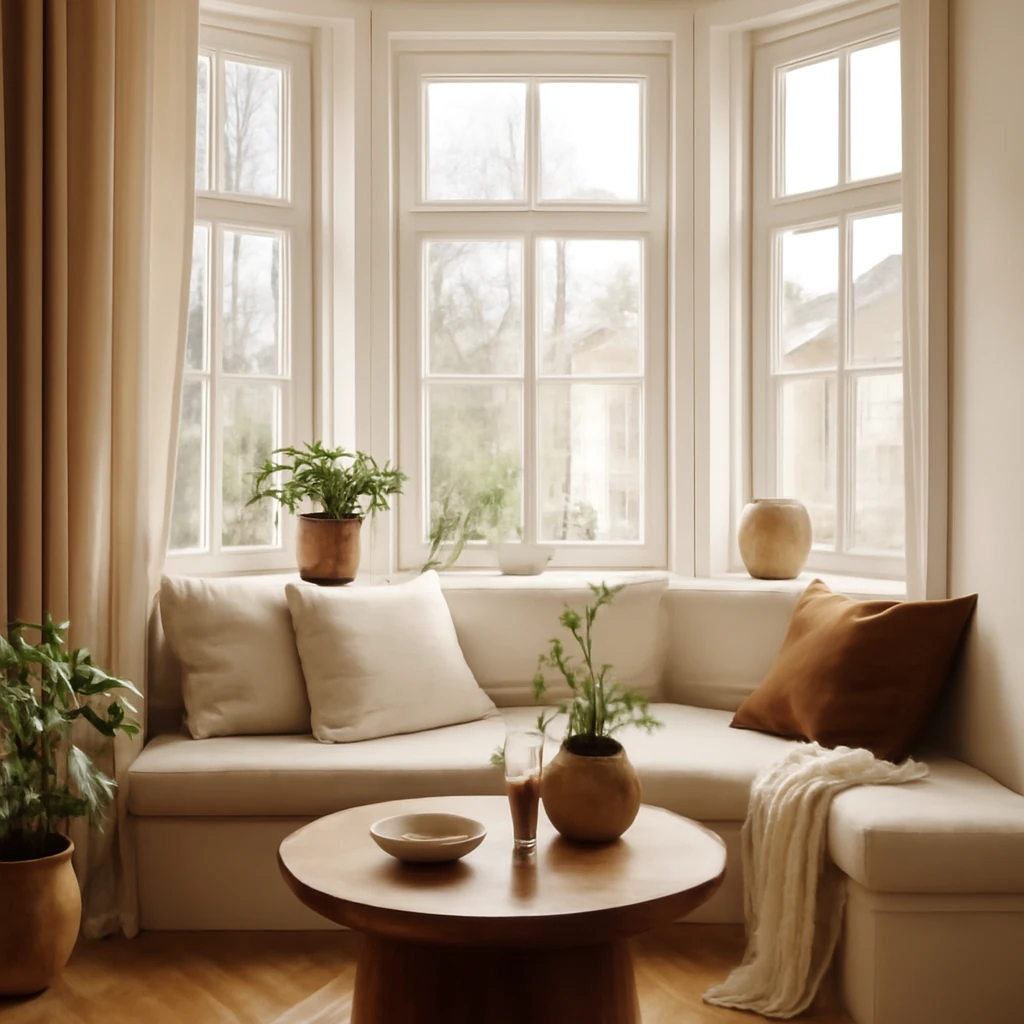
Bay Windows: Design Focal Points for European Homes
Turn bay windows into light-filled, flexible spaces with clever layouts.
Gas pipes in European kitchens: 10 lawful design ideas for a seamless look
Balancing safety and style: compliant kitchen pipe décor across Europe.
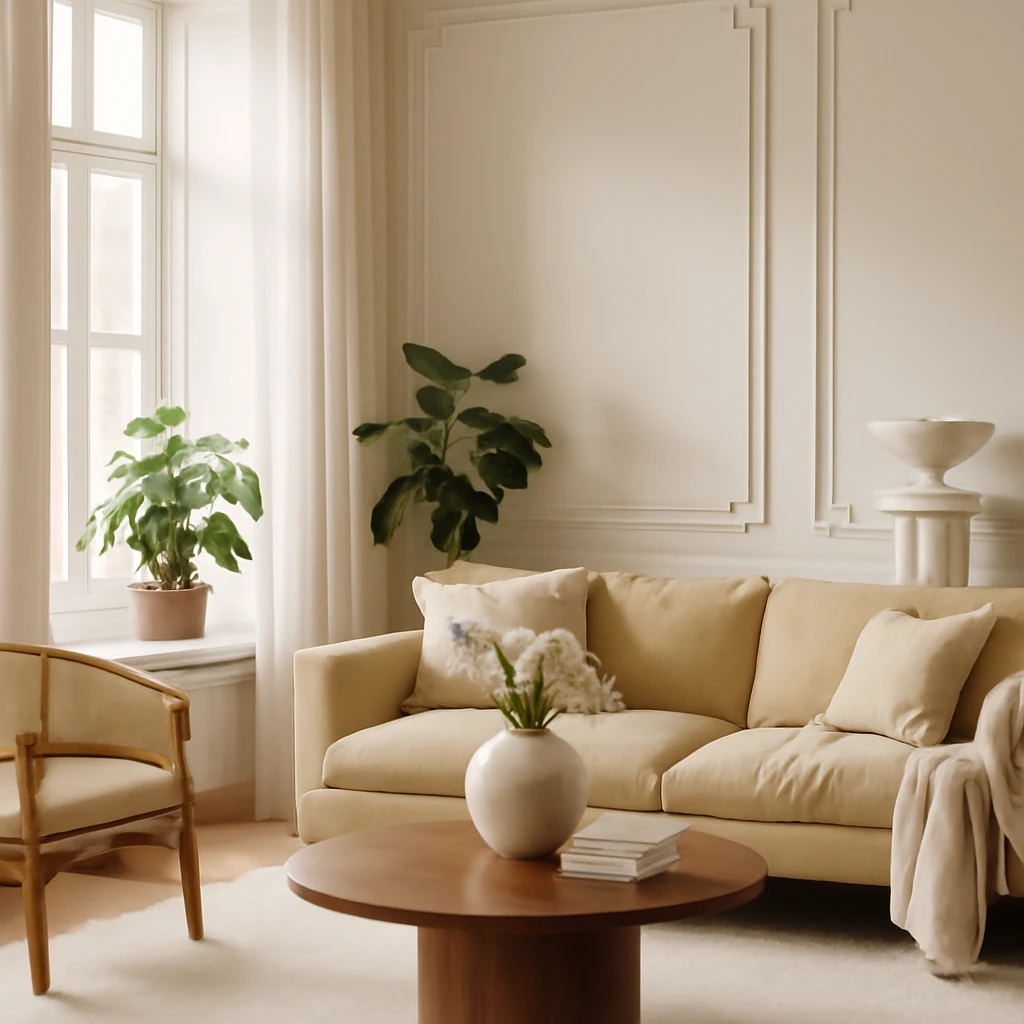
Modern Classic: Reimagining Neoclassical Interiors for European Homes
Modern neoclassical design for European homes: timeless elegance meets contemporary living.