
Explore interior trends, AI design insights, styling guides and real transformations
Cosmetic Renovation: Refreshing Your European Flat with Simple Makeovers
Cosmetic renovation for European flats
Cosmetic renovation offers a practical, cost‑efficient route to refreshing an apartment without the disruption and expense of a full rebuild. Across Europe, homes range from narrow town‑houses to compact city flats, often sharing walls with neighbours and constrained by building regulations and seasonal weather. A well‑planned cosmetic refresh focuses on surfaces, fittings and light, while retaining core structures and essential layouts. It promotes sustainability by reusing existing materials, upgrading where it matters, and introducing simple, high‑impact details that transform a space. This guide provides a practical, room‑by‑room approach with a clear project sequence, budgeting tips, and material selections suitable for European rental and owner‑occupied homes alike.
Cosmetic renovation is not about disguising fundamental flaws or undertaking heavy trades. It’s about controlled renewal: carefully selecting finishes that withstand wear, implementing smart storage for clutter, refining lighting to create atmosphere, and coordinating textures and colour for a coherent home story. The aim is to improve daily life - a brighter hallway, a calmer bedroom, a more functional kitchen - with attention to acoustics, air quality and timeless design. The steps below assume a typical European flat where access through shared corridors is necessary, noise and dust must be contained, and work can be staged to minimise downtime in primary living areas. Where professional intervention is required (plumbing, electrical upgrades, structural concerns), the plan makes clear where a qualified tradesperson should be engaged.
Before any project begins, perform a simple audit: measure each room, note any persistent damp or mould, test ceiling and floor conditions, and list items that truly need replacing versus items that can be repaired or updated. A modest budget applied with a strategic plan often yields a more satisfying result than a larger spend on a few standout pieces. With practical materials, modular strategies and a focus on durable finishes, a cosmetic refresh can make a home feel newly curated while respecting building constraints and neighbourly considerations.
1. Working on site without moving out
In many European flats, residents perform cosmetic upgrades while continuing to live in the space. This requires careful planning, clear communication with neighbours and a practical sequence of works. Here is a concise approach to manage a refresh without relocating:
- Define the scope and sequence. Decide which zones will be tackled first and how to phase works so essential living areas stay usable. Plan to finish one room before moving to the next to minimise cross‑contamination of dust and debris.
- Assess building rules and permissions. Check lease agreements and, where relevant, building management requirements for works that affect common areas, ventilation, or noise. Cosmetic tasks such as painting, wallpapering, flooring refinishes and the replacement of finishes typically fall within local regulations, but always confirm to avoid delays.
- Establish dust and noise containment. Use solid dust barriers, sealed reveals and plastic sheeting to create containment. Employ high‑quality vacuums with HEPA filters and seal off doors to the work zones. Schedule noisier activities during day hours when neighbours are most tolerant, and communicate a calendar with expected finish dates for each room.
- Select low‑odour, low‑VOC products. Water‑based paints, sealants and adhesives reduce indoor emissions and are kinder to occupants during ongoing use. Choose washable paints for high‑traffic walls and surfaces in hallways and living rooms.
- Protect floors and furnishings. Lay robust dust sheets, protect door frames and skirting boards, and plan temporary storage for larger items. Consider reusing or relocating lightweight furniture to free up space for works and ensure it remains undamaged.
- Ventilation matters. Maintain good airflow during painting and drying. If natural ventilation is limited, use portable air purifiers and plan ventilation breaks in less sensitive spaces to maintain air quality.
- Document progress and adjust as needed. Keep a simple log of tasks completed, materials used and any issues encountered. Short daily reviews help keep the project on track and reduce the risk of overruns.
Small, deliberate upgrades are often the most efficient route. When electrical or plumbing components surface as concerns, pause and consult a licensed professional. Cosmetic work should never compromise safety or building integrity.
2. Hallways and entryways: durable finishes and smart lighting
The hallway is a high‑traffic, high‑visibility zone and often the first impression guests have of a home. European entrances frequently combine practical storage with a compact footprint, hallways may also link multiple rooms in a constrained plan. A well‑considered cosmetic refresh in this zone focuses on durability, ease of cleaning and controlled lighting to extend the sense of space.
- Wall finishes that withstand daily wear. Choose washable emulsions, scrubbable satin or semi‑gloss paints in light, neutral tones. If a decorative option is desired, consider a textured plaster or durable wall panels that can be wiped clean. Avoid very porous or easily scuffed finishes in high‑traffic zones.
- Flooring that stands the test of time. In hallways, resilient materials such as luxury vinyl planks, ceramic tiles or polished concrete are pragmatic choices. If existing flooring is in decent condition, a targeted refinishing treatment or a seamless seal can refresh the surface without full replacement.
- Entry door and hardware upgrade. A refreshed door or upgraded hardware dramatically improves the first impression and can enhance security. If a new door is not feasible, modern door handles, hinges and a fresh coat of paint can make a noticeable difference.
- Lighting for mood and safety. Layered lighting is essential in hallways: a combination of ceiling ambient light, wall sconces to reduce shadow, and a slim, glare‑free cloakroom light helps perception of space and improves user experience. Use energy‑efficient LEDs with a warm colour temperature to create a welcoming glow.
- Smart storage solutions. Minimal, well‑organised storage can transform the entry. Consider a slim console, a mirror with integrated hook rail, or modular storage that fits within alcoves. If space allows, a bench with hidden compartments doubles as a seating area and a storage unit.
A well‑executed hallway refresh should feel cohesive with the rest of the home. Keep colour and lighting consistent with adjoining rooms to unify the flow and enhance perceived space.
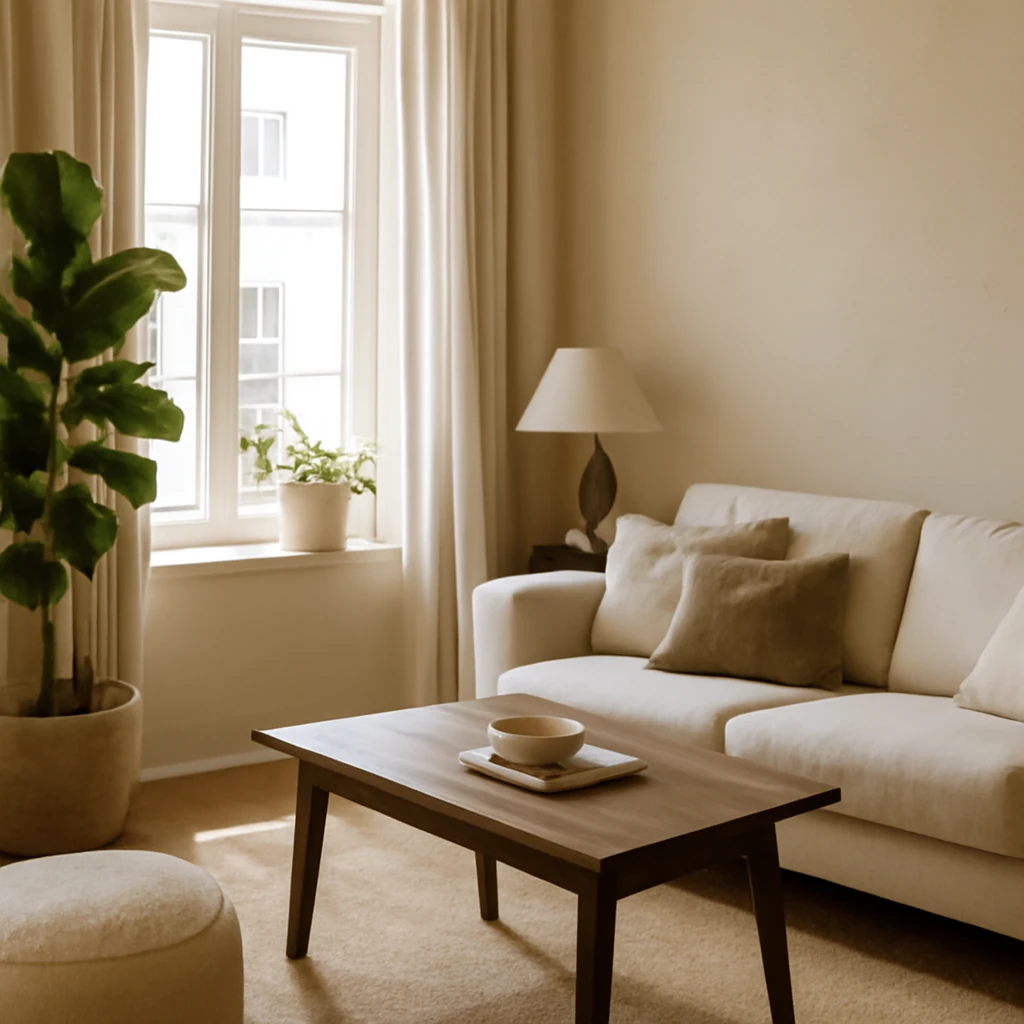
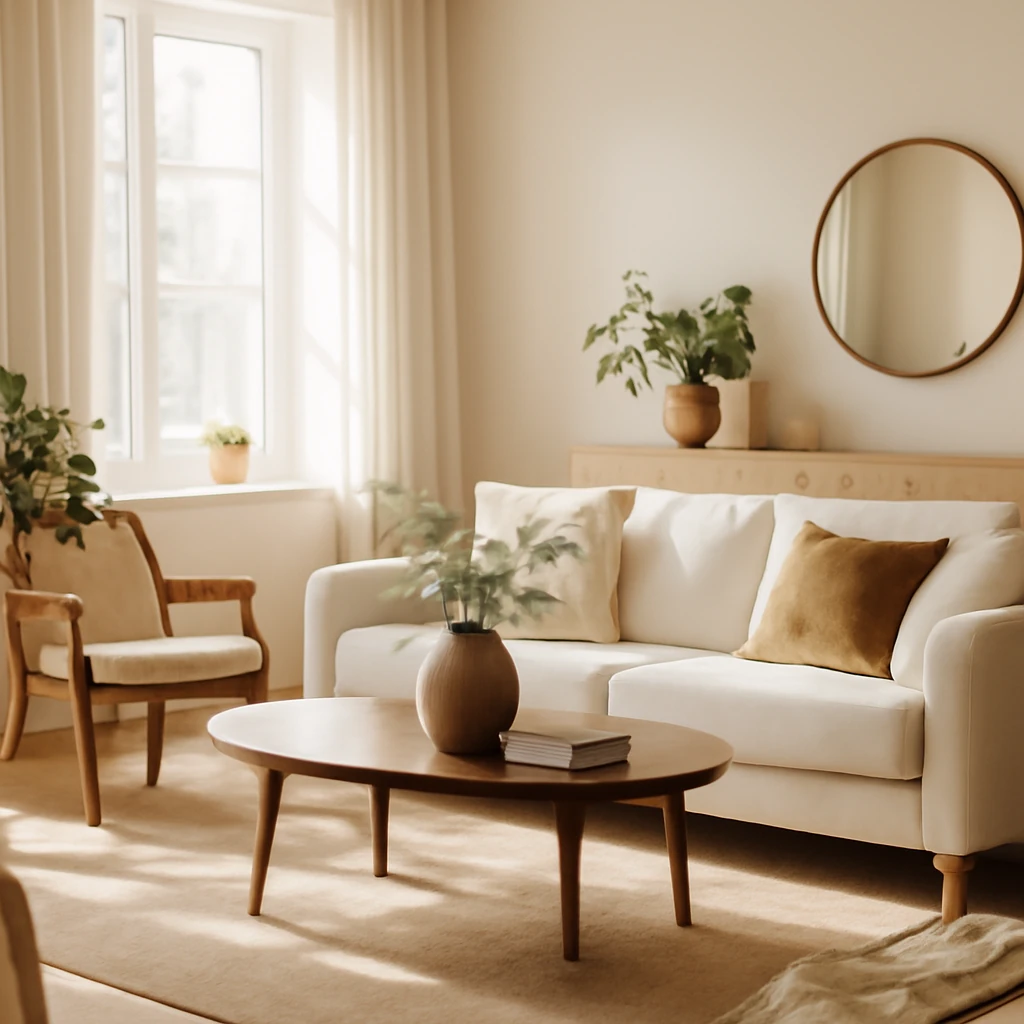
3. Living room: a quick, high‑impact refresh
The living room is a multi‑use space in most European homes: it functions as a social hub, a workspace, a relaxation zone, and sometimes a dining area. A fast, budget‑friendly makeover can improve ergonomics, light, acoustics and comfort without a full rebuild. The key is to refresh the basics first and layer in personality with textiles and lighting.
- Reassess layout for better flow. A simple reconfiguration of furniture can improve circulation, create distinct zones (sitting, dining, work) and maximise window access. Consider removing heavy, solid‑fronted pieces that visually close the room and replace them with lighter, modular elements.
- Lighting as a design tool. Introduce a range of lighting sources: overhead ambient, floor lamps for reading corners, and wall sconces to reduce clutter on surfaces. Dimmer switches let you tailor the atmosphere for evenings, movies, or work sessions.
- Textures and colour as a unifying layer. A cohesive palette - neutral walls with a restrained accent colour - helps unify furniture and textiles. Introduce colour through cushions, throws and small art pieces rather than large commitments. Textiles absorb sound and add warmth in open, airy spaces.
- Refresh surfaces without major changes. If walls are in decent condition, a fresh coat of washable paint in a lighter tone can illuminate the room. For a tactile update, consider a new fabric or foam upholstery on a key seating piece, or reupholster cushions and curtains.
- Update radiators and devices discretely. A new radiator cover, a paint refresh on the radiators, or a low‑profile panel can modernise a wall without changing the room’s proportions. Consistent finish across metal fixtures creates visual harmony.
For many households, the living room is the best place to begin a cosmetic journey because it’s typically where family life unfolds. Even modest changes - new lighting, a rearranged layout, updated textiles - can yield a perceptible lift in comfort and cohesion.
4. Bedroom refresh: eight practical steps to a calmer retreat
The bedroom is a sanctuary, a cosmetic refresh should prioritise tranquillity, storage efficiency, and a quiet palette. If you’re not ready for a full renovation, eight practical steps can yield a noticeable upgrade without disruption.
- Repair and prepare surfaces. Start with any surface imperfections: repair scuffs on walls, fill cracks in skirting boards, and smooth any cracked varnish on wooden furniture. A clean, well‑prepared surface ensures the next steps look polished.
- Refresh flooring without a full replacement. If the floor is in decent condition, simple solutions such as sanding and re‑sealing wooden boards or applying a lightweight vinyl overlay can restore a neat appearance. For laminate or engineered floors, patch repairs or a targeted refinishing may suffice.
- Restore and protect furniture. Sand and re‑finish worn wooden pieces or re‑paint metal and wood components. Tighten loose joints and replace worn handles to improve function and longevity.
- Seal the ceiling and crown mouldings. A tidy ceiling with a fresh coat of paint lifts the whole room. Fix minor cracks or gaps in mouldings to improve overall finish and reduce dust collection areas.
- Enhance storage with smart solutions. Introduce compact wardrobe organisers, under‑bed storage, or modular shelves. A clutter‑free room feels calmer and larger.
- Lighting for mood and sleep. Layer lighting with a dimmable bedside lamp, a warm overhead light, and soft mood lighting. Avoid harsh blue lighting late in the day to protect sleep cycles.
- Textiles and soft finishes. Upgrade curtains or blinds to filter light gently, add a plush rug, and select bedding in a soothing palette. Textiles absorb sound and improve acoustic comfort in smaller rooms.
- Small touches for a polished look. Install simple hooks for robes, add a mirror to visually enlarge the space, and choose a cohesive colour story to tie everything together.
Bedroom refreshes benefit from restraint: a calm palette, soft textures, and well‑considered storage create the illusion of space and a peaceful environment for rest and renewal.
5. Kitchen details: careful restoration for daily use
The kitchen is often the hardest working room in a home, combining watertight surfaces with functionality. In European flats, where full kitchen replacement can be costly and disruptive, many improvements can be achieved through careful cosmetic work and selective upgrades. The goal is to refresh surfaces, improve hygiene and keep the space fully functional during the process.
- Ceiling refresh first. A bright, clean ceiling can lift the entire room and reduce the sense of enclosure. Use moisture‑resistant paint suitable for kitchens if there are any high humidity areas.
- Repair cracked or worn tiles and junctions. Replace any cracked ceramic elements around the splashback or countertop where feasible, and re‑grout grout lines with a durable silicone or cementitious grout to restore integrity and ease of cleaning.
- Refresh worktops and doors with careful planning. If cabinet doors are dated but structurally sound, reface or repaint them rather than replacing. Upgrading handles and hardware instantly updates the look with minimal mess.
- Improve cleaning and maintenance. Ensure behind‑cabinet walls and drawers are clean and sealed. Introduce easy‑to‑clean finishes on wall panels or splashbacks such as tempered glass or ceramic sheets in lieu of high‑maintenance alternatives.
- Conceal radiators or pipes with practical solutions. Screen radiators with low, aesthetically pleasing covers or panels that blend with the cabinetry. This not only hides unsightly elements but can improve heat distribution and safety in a busy kitchen.
- Task lighting and storage. Install under‑cabinet lighting to illuminate work surfaces and brighten activity zones. Consider open shelving for frequently used items to keep counters clear and the space feeling lively.
- Keep the rhythm of the room. Maintain a coherent colour palette that aligns with other living spaces. A single accent colour on a tile edge, appliance panel, or cabinet interior can provide a unifying thread across the home.
- Plan for gradual updates. If budgets are tight, divide the project into stages: ceiling, splashback, then cabinets. This approach ensures the kitchen remains useable throughout the process while distributing cost over time.
A thoughtful kitchen refresh focuses on hygiene, ease of cleaning and ergonomic improvements. By prioritising components that wear quickly and enhancing lighting and storage, a kitchen can feel almost brand new without a full renovation.
6. Bathroom makeover: a pragmatic, low‑disruption approach
Bathrooms present unique challenges due to moisture and sanitaryware. A full remodel is often expensive and time‑consuming, a cosmetic approach can deliver a reliable, durable upgrade with minimal downtime. Focus on lighting, finishes, and fittings that enhance function and comfort.
- Update lighting for mood and function. Replace dated fixtures with IP‑rated, energy‑efficient lights. Aim for layered lighting: ceiling, mirror‑adjacent task lighting, and warm ambient accents to create a welcoming environment.
- Repair or refresh tiles and grouting. Replace broken or missing wall tiles where feasible and re‑grout the joints with an appropriate sealant to restore water resistance and hygiene. Clean, bright grout makes the space appear larger and cleaner.
- Refresh the sanitaryware and hardware. If the vanity, taps or shower fittings show wear, upgrade to corrosion‑resistant finishes. Replace missing or loose fittings to improve reliability and aesthetics.
- Restore the bath and enclosure. For enamelled baths, consider a professional enamel restoration or a thorough cleaning to restore a glossy, inviting surface. If a shower enclosure is cracked or inefficient, exchange panels for a single, easy‑clean design.
- Ventilation and moisture control. Ensure the bathroom has proper ventilation to prevent mould and damp. If ventilation is insufficient, a compact extractor fan or an inline vent may be necessary to maintain healthy air quality.
- Seal the surfaces for longevity. Re‑seal around tiles, bath, and fixtures with high‑quality silicone to prevent water ingress and extend the life of the cosmetic updates.
- Soft touches for a spa‑like feel. Add fluffy towels, a simple vanity mirror with storage, and a tasteful colour palette to create a refreshed, serene atmosphere while keeping practicality in mind.
With careful selection of materials and fixtures, a bathroom can feel significantly more contemporary and comfortable without the upheaval of a full rebuild. The emphasis should be on moisture resistance, durability and ease of maintenance to ensure long‑term satisfaction.
7. Balcony and outdoor spaces: minimal finish, maximum impact
Balconies and terraces are valuable extensions of living space in many European homes. A considered cosmetic refresh can transform an outdoor zone into a lounge, a small garden or a private workspace, even in compact urban settings. The goal is to create a weather‑proof, low‑maintenance area that still reads as part of the home’s design language.
- Weather‑resistant flooring. Use outdoor‑rated decking, porcelain tiles, or composite materials that withstand sun, rain and temperature fluctuations. Choose finishes with slip resistance for safety and easy cleaning.
- A robust, compact furniture plan. Select slim, weather‑proof seating and a small table that fits the balcony width without crowding. Foldable or stackable pieces maximise flexibility when space is scarce.
- Planters and greenery. Introduce vertical planters or railing planters to maximise greenery without encroaching on floor space. Native or drought‑tolerant plants require less maintenance and suit many European climates.
- Lighting and atmosphere. Use weather‑sealed lighting and candle lanterns to create moments of ambiance. A subtle, well‑placed light can extend the usability of the balcony into the evening.
- Moisture control and privacy. Ensure proper drainage and sealing for rain exposure. Consider screens or privacy panels to create a secluded feel while maintaining airflow.
A balcony refresh can dramatically extend the perceived size of the home and offer a retreat for relaxation or work. A carefully chosen palette that harmonises with the interior creates a seamless transition between indoors and out.
Planning the cosmetic project: practical guidelines and materials
To maximise success, approach the project with a practical framework that applies across European homes. Consider the following steps to refine your plan, select appropriate materials and schedule tasks sensibly.
- Set a realistic budget and timeline. Identify a total budget, then allocate provisional amounts to surface finishes, lighting, storage upgrades and any professional trades. Build a cushion for unexpected issues, which are common when working in older buildings with varied construction standards.
- prioritise informed material choices. Prioritise washable, durable finishes for kitchens, hallways and bathrooms. For living spaces, materials with subtle texture and warmth (such as matte paints, fabric wall coverings or wood veneers) create a timeless look that ages well.
- Plan for air quality and comfort. Prioritise ventilation and moisture control, particularly in kitchens and bathrooms. Use low‑emission products in living areas to maintain a healthy indoor environment while works progress.
- Think about acoustics from the start. In multi‑unit buildings, sound transmission is a key concern. Choose floor coverings with good acoustic properties, implement soft furnishings to dampen echoes, and ensure door and window seals are in good condition.
- Preserve resale value with timeless design. While trends are tempting, opt for classic palettes and durable hardware that remain relevant beyond seasonal fashions. A well‑curated palette and cohesive lighting plan help the home feel aligned and refined over time.
- Maintain essential services during work. If possible, keep essential kitchen or bathroom services functioning. Staging the work in batches allows daily life to continue with minimal disruption.
- Engage professionals when required. Cosmetic work rarely involves significant structural changes, but electrical, plumbing or damp issues require licensed trades. Use qualified professionals for safety‑critical tasks and obtain receipts and warranties for any materials used.
In the end, cosmetic renovation is about clarity, discipline and a sensitivity to the living rhythm of a European home. When planned thoughtfully, even modest upgrades can dramatically improve everyday life, increase comfort and refresh the sense of belonging in a beloved space.
If you are unsure where to start, consider a phased approach: begin with the most used room or the corridor that opens into multiple spaces, then extend the refresh in stages. Keep a log of decisions, keep receipts for materials, and maintain a flexible mindset. The aim is not to complete a perfect project in one season, but to cultivate a well‑considered, enduring home narrative formed by thoughtful detail and restrained ambition.
You may also like these articles
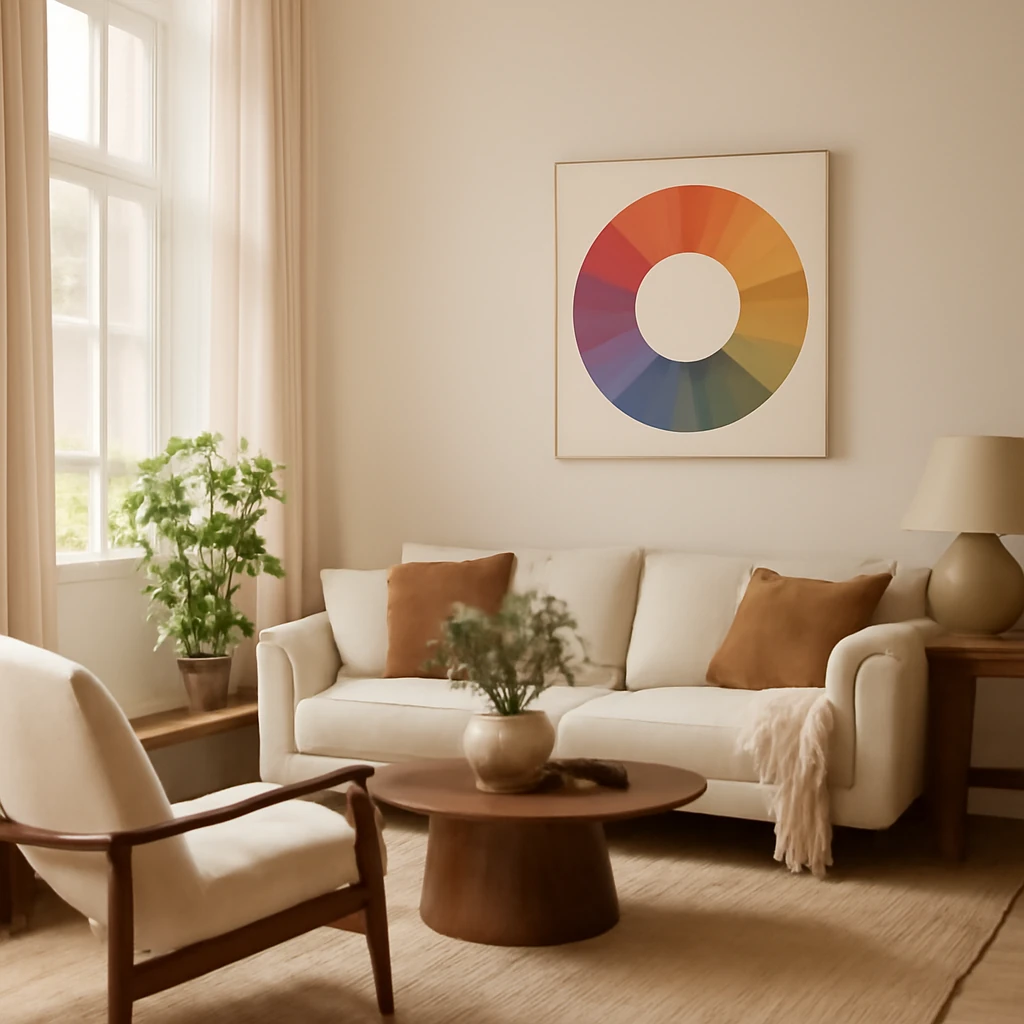
Colour, Circles and Calm: The Itten Wheel in European Interiors
A practical guide to using the Itten wheel for harmonious European interiors.
Scandinavian Style Reinvented: 75 Ideas for Light, Comfortable Interiors
Nordic calm: light, natural, and cosy interiors for European homes.

Small-space Mastery: European apartments redefined for city living
Ten compact European homes show how small spaces can feel expansive.