
Explore interior trends, AI design insights, styling guides and real transformations
Wall Levelling: A European Guide to Perfect Walls

Wall levelling in European renovations: a foundation for any finish
Flat, true walls are the starting point for wallpaper, paint, tiling and built-in joinery. In many European homes, walls bear the legacy of construction, settling, humidity and temperature changes. The result can be dips, humps, and hairline cracks that simply won’t do for modern interiors. This article examines the main methods used to level walls, weighing their advantages and pitfalls, and provides a practical, step-by-step guide for both professionals and skilful DIYers.
Two principal strategies for achieving a plane wall
European practice primarily relies on two approaches: a traditional wet plaster method guided by beacons, and a more visual, straightedge-based levelling that minimises visible deviations in finished finishes such as paint or wallpaper. The choice depends on the substrate’s condition, the intended final surface and the room’s size and function.
Beacons and plaster: the classic route to a perfectly level surface
Beacons are plastering references fixed to the wall to establish a true plane. They are usually made from metal or timber strips and are installed at regular intervals - commonly 20–50 cm apart. A profile or straightedge rests on the heads of screws, creating a level guide across the surface. When you run a plaster layer over the wall, the beacons act as a scaffold for thickness control, allowing you to bring high points down and fill low spots evenly.
To set the beacons correctly you need an accurate vertical and horizontal reference. A spirit level or laser line helps you establish true corners and edges, ensuring that the final plane runs true from floor to ceiling. This method is particularly advantageous when you plan to install patterned wallpaper or very tight tile layouts, where misalignment would be glaring.
Visual levelling: achieving a near-perfect plane with a straightedge
Visual levelling (sometimes called feathering or planing) accepts that minor imperfections may remain after finishing. It relies on careful inspection and targeted filling rather than building a perfectly custom plane across the entire wall. The process involves pressing a straightedge or rule along the wall, identifying depressions and high spots, and filling them with appropriate plaster or filler. The goal is a surface that reads as flat to the eye and under typical room lighting, rather than an absolute mathematical plane.
This approach is well suited to walls intended to be painted or wallpapered without heavy patterns. It’s also a practical choice in rooms where a full plaster skim would be labour-intensive or generate excessive dust. While not creating the absolute plane achieved by beacon-based plastering, visual levelling can deliver excellent results with less disruption and cost in many European homes.
Materials for wall levelling: dry and wet methods
Making walls true is achieved through two broad families of methods: wet and dry. The decision typically hinges on the wall’s condition, the desired finish, and the project timeline.
- Wet plastering (also called traditional plastering): a cementitious or lime-based mix is applied as a continuous render, skimmed to a smooth plane, and allowed to cure. This method yields a seamless, solid substrate ideal for durable paint finishes, limewash, or plaster finishes.
- Dry-lining (plasterboard systems): gypsum boards are fixed to a frame or directly to a prepared backing. This dry method is faster, cleaner and allows for integrated insulation and services, though it reduces usable room area slightly.
Comparative overview: wet plastering vs. dry-lining
| Aspect | Wet plastering | Dry-lining with plasterboard |
|---|---|---|
| Speed | Slowest of the two, multiple coats and curing time | Faster, especially on larger surfaces |
| Finish | Very smooth, seamless finish, ideal for plaster textures | Excellent for straight planes, good for articulated finishes |
| Insulation options | Limited unless combined with insulation render | Easy to incorporate insulation in the cavity |
| Impact on room size | Minimal to none | Can reduce room volume slightly due to boards and frame |
| Dust and disruption | High during the process | Lower, especially with dry workspaces |
| Durability | Very durable when cured properly | Durable, but joints can be noticeable if not properly finished |
Wet plastering: step-by-step guide
When the substrate needs to be genuinely level across extended areas or in rooms with heavy traffic, wet plastering with beacon guides often delivers the best results. Here is a practical, professional approach, suitable for skilled DIYers and tradespeople alike.
Tools and materials you’ll need
- Plastering trowels and hawk
- Plastering beacons or profiles
- Angle rule and straightedge
- Mixing container and drill with paddle mixer
- Water and plaster mixes (cementitious or lime-based)
- Plastering mesh (where required)
- Primer/sealer
- Rubber mallet and float
- Protective sheets and masking tape
Always follow the manufacturer’s instructions for any mix and observe the local building regulations and ventilation requirements. Keep the work area well ventilated and use appropriate PPE.
1. Preparation
Before you start, remove loose paint, wallpaper or crumbling plaster. The surface should be sound, clean and dry. If the wall is porous or dusty, apply a compatible primer to improve adhesion and uniform drying. If you’re applying more than a 2 cm layer, reinforce with a mesh or fibre-reinforced mesh to prevent cracking and to help control thickness.
2. Setting the beacons
Position beacons at regular intervals - typical spacings range from 20 to 50 cm, depending on wall size and the ability to maintain a consistent thickness. Use a level to ensure they are perfectly plumb and aligned at both edges of the wall. The beacons create a reference plane that guides the thickness of each plaster coat.
3. Mixing the plaster
Follow the product instructions precisely. Generally, mix with clean water until you achieve a smooth, lump-free consistency similar to thick cream. Always add plaster to water, not water to plaster, to avoid premature setting and lumps. Let the mix rest briefly after mixing to achieve a stable consistency.
4. Application and levelling
Start at a bottom corner, applying a thin layer and pulling the plaster over the entire wall in a consistent direction. Use the straightedge or rule as a guide, pressing the plaster with a confident motion to embed it and remove excess. Work in small sections, keeping the thickness uniform across the surface. If you work from left to right, finish each strip with an upward stroke to avoid creating ridges.
Allow the first coat to begin stiffening, then apply subsequent coats as needed to build thickness and fill deeper imperfections. Between coats, maintain a light dampening to reduce dust and improve surface cohesion.
5. Finishing and curing
Once the final coat has been applied and levelled, leave the wall to cure in a controlled environment. When the plaster has hardened sufficiently, use a straightedge to identify any remaining high spots or troughs, and lightly skim those areas. Avoid overworking the surface, which can lead to cracks. Finally, sand using a fine abrasive once the surface is completely dry, moving gradually to a very smooth finish.
6. Post-plastering considerations
After plastering, apply a suitable primer to achieve optimal adhesion for paint or wallpaper. If a lime-based finish is planned, consider appropriate breathable primers and finishes to maintain moisture regulation in the wall assembly.
Pros and cons of wet plastering
- Pros: Extremely durable, seamless finish, excellent for large surfaces and patterned finishes, long-term stability and moisture compatibility when properly executed.
- Cons: Labour-intensive, dust-generating, longer project timelines, requires skilled tradespeople to achieve top results.
Practical tips: do not premix the entire batch if you plan multiple coats, only mix enough for a couple of hours. Allow each coat to cure before applying the next, and protect the area from rapid drying or moisture fluctuations.
Dry-lining with plasterboard: two common layouts
Dry-lining offers a versatile and efficient route to a flat wall, with two principal configurations: non-frame (direct-fixed boards) and frame-based (a lightweight metal or timber frame). Each has its own advantages, depending on the substrate, required insulation, and access requirements for electrical or plumbing.
Non-frame dry-lining (direct fix)
In this approach, gypsum boards are fixed directly to the wall backing using adhesive or mechanical fixings. The joints are taped and skimmed, providing a smooth finish suitable for painting or wallpapering. It’s ideal for walls with minor irregularities or where a fast turnaround is required. Key steps include:
- Surface preparation: clean, dry, and sound backing;
- Board cutting to size and edge detailing;
- Adhesive application or mechanical fixing;
- Fixing boards to the background with screws or nails,
- Jointing and finishing the seams with tape and filler;
- Primer and topcoat or wallpaper application.
Pros: quick installation, lightweight, good for irregular walls where a frame would be excessive. Cons: less robust to structural movement, careful detailing needed at corners and openings.
Frame-based dry-lining
The framed approach uses a metal or timber stud or track system to create a cavity into which boards are mounted. This method is preferred when significant wall irregularities exist (often more than a few centimetres), or when additional insulation and service runs (electrical, plumbing) are required. Steps typically include:
- Preparing the wall and eliminating protrusions;
- Constructing a vertical and horizontal frame grid, carefully plumb and level;
- Installing insulation within the cavity if required;
- Fixing plasterboards to the frame with appropriate screws;
- Sealing joints, skimming, and final sanding;
- Priming and finishing with paint or wallpaper.
Pros: excellent for insulation and services, robust and tolerant to building movement, cons: generally more material cost and higher installation time, potential reduction in room width.
Pros and cons of plasterboard strategies
- Non-frame dry-lining: fast, clean, good for straightforward refurbishments, may be less forgiving for substantial undulations.
- Frame-based dry-lining: highly adaptable, great for significant irregularities and integrated services, but requires more space and skilled installation.
Costs and budgeting for wall levelling across Europe
Costs vary across countries and regions, influenced by local labour rates, material choices and the complexity of the project. The following ranges provide a practical guide for budgeting in many European contexts. Keep in mind that larger projects often benefit from economies of scale and supplier discounts.
- Wet plastering with beacons: roughly €28–€55 per m² for labour, depending on wall condition and complexity.
- Beacons installation: typically €5–€12 per m² due to materials and labour intensity.
- Mixing and applying plaster: part of the plastering rate above, expect part of the cost to cover multiple coats where required.
- Dry-lining on a frame: labour about €25–€60 per m², plus materials (plasterboards, frame, insulation) which can add €15–€40 per m².
- Dry-lining without frame (direct fix): labour €20–€50 per m², materials €8–€25 per m² depending on board type.
- Skimming and finishing: included in most quoted rates, may be charged separately at €5–€15 per m² for extra coats or specialised finishes.
When budgeting, obtain detailed written quotes that distinguish labour, materials, and any sub-contracting costs. If a project is comprehensive, many contractors offer package deals or staged milestones with warranties on workmanship.
A typical comprehensive wall levelling project across a standard European apartment may range from €40–€120 per m², depending on the method chosen, the condition of the existing walls and the level of finish desired. Always consult with a licensed professional to receive an accurate assessment for your specific property and locale.
Doing it yourself: is wall levelling feasible for homeowners?
Homeowners can tackle minor imperfections and certain dry-lining tasks, but major levelling projects, especially those requiring large plaster coats or substantial structural adjustments, are best left to experienced professionals. If you plan to take the DIY route, start with smaller walls or patch repairs to build confidence. For larger rooms or historic properties with uneven foundations, hire a skilled tradesperson to ensure long-term stability and a uniform finish.
Tips for DIY success:
- Assess whether your walls require a full replacement, or whether patching and lightweight board repair will suffice.
- Use quality materials and follow manufacturers’ guidelines for mixing and curing times.
- Protect surrounding surfaces and maintain consistent humidity and temperature during curing.
- Practice with offcuts or a test panel before applying to your actual walls.
How to hide wall irregularities without full levelling
If you want to improve aesthetics without a full levelling program, there are several effective strategies. These options can reduce visual imperfections, especially in living spaces where the finished look matters but absolute perfection is not essential.
- Textured or fabric-backed wallpaper with a bold or irregular pattern can disguise minor dips and ridges.
- Natural or engineered wood panels and decorative wall claddings can mask uneven backing and provide a warm, tactile finish.
- Dark finishes in navy, charcoal or forest green absorb light, making small flaws less noticeable.
- Strategic lighting with wall-wash or grazing lighting emphasizes textures while minimizing visible irregularities.
- Textiles and soft furnishings such as tapestries, fabrics, or large textiles can hide imperfect wall areas while adding ambience.
- Large-scale artworks or panels positioned centrally can visually balance irregularities by drawing attention to the artwork rather than the wall character.
These methods offer flexible, aesthetic solutions for many European interiors where structure and budget constraints limit the extent of levelling work.
What you need for wall levelling: essential materials and tools
- Appropriate plastering mixes (cement-based, gypsum-based or lime-based) matching the substrate and finish
- Mixing containers and a drill or mixer, with clean water for proper consistency
- Primer or bonding agents to improve adhesion
- Plastering mesh or reinforcement as required
- Beacons or plastering profiles for establishing a true reference plane
- Straightedges and levels for accurate alignment
- Trowels, floats, and a hawk for application and smoothing
- Jointing compound and tape for plasterboard finishes
- Plasterboard (standard, fire-rated, moisture-resistant variants) and, if needed, insulation for frame-based systems
- Protective coverings, masks and eye protection
Choosing the right materials influences finish quality, durability and maintenance. For historic or highly damp walls, consult with a professional to select breathable, compatible products and ensure long-term stabilisation.
What happens after levelling: finishes and protection
After the wall has been levelled, you’ll typically proceed with priming and finishing. The choice of finish will depend on your design language and the room’s use.
- Paint: a smooth primer followed by quality interior paints for a refined look. Consider vinyl-safe or washable finishes for kitchens and bathrooms.
- Wallpaper: ensure the substrate is perfectly flat, heavy vinyl wallpapers require a very stable base with minimal movement.
- Decorative plaster: lime or gypsum plasters can add texture and depth, especially in historic or modern Scandinavian-inspired interiors.
- Tile backing: when tiling, ensure the substrate is robust and free of cracks to prevent hollow tiles or grout issues.
Maintenance and periodic checks are advisable in regions with significant seasonal movement or humidity fluctuations. A well-leveled wall is the foundation for enduring finishes and harmonious interior design.
Frequently asked questions
- Can I level a wall myself, or should I hire a pro? For minor imperfections, DIY repairs can work. For large-scale levelling or historic buildings, hire a professional to guarantee the correct process and warranty.
- How long does wall levelling take? Timings vary with method, room size and wall condition. Wet plastering tends to take longer due to curing times, whereas dry-lining can be completed more quickly, especially in well-organised crews.
- Is plasterboard robust enough for every room? For most living areas, plasterboard is suitable, especially when combined with frame support and proper finishing. In high-moisture zones, select moisture-resistant boards and proper sealing details.
- Will levelling affect room dimensions? Dry-lining can slightly reduce floor-to-ceiling and wall dimensions due to board thickness, while wet plastering has negligible impact on finished dimensions when properly executed.
Conclusion: choosing the right path for your space
In European homes, the decision between wet plastering and dry-lining depends on the wall’s condition, the desired finish, budget, and timeline. Beacons and plaster offer the most precise, long-lasting plane for patterned wallpaper or bold tile patterns, while visual levelling and dry-lining provide speed, practicality and flexibility in many renovations. By weighing the pros and cons, consulting with a qualified contractor, and budgeting for the specific demands of your project, you can achieve walls that not only look straight and true but also support a durable, beautiful interior for years to come.
You may also like these articles

Finishing a European Home: The Complete Guide to Clean Finishes
Design-led tips for flawless clean finishing in European homes.
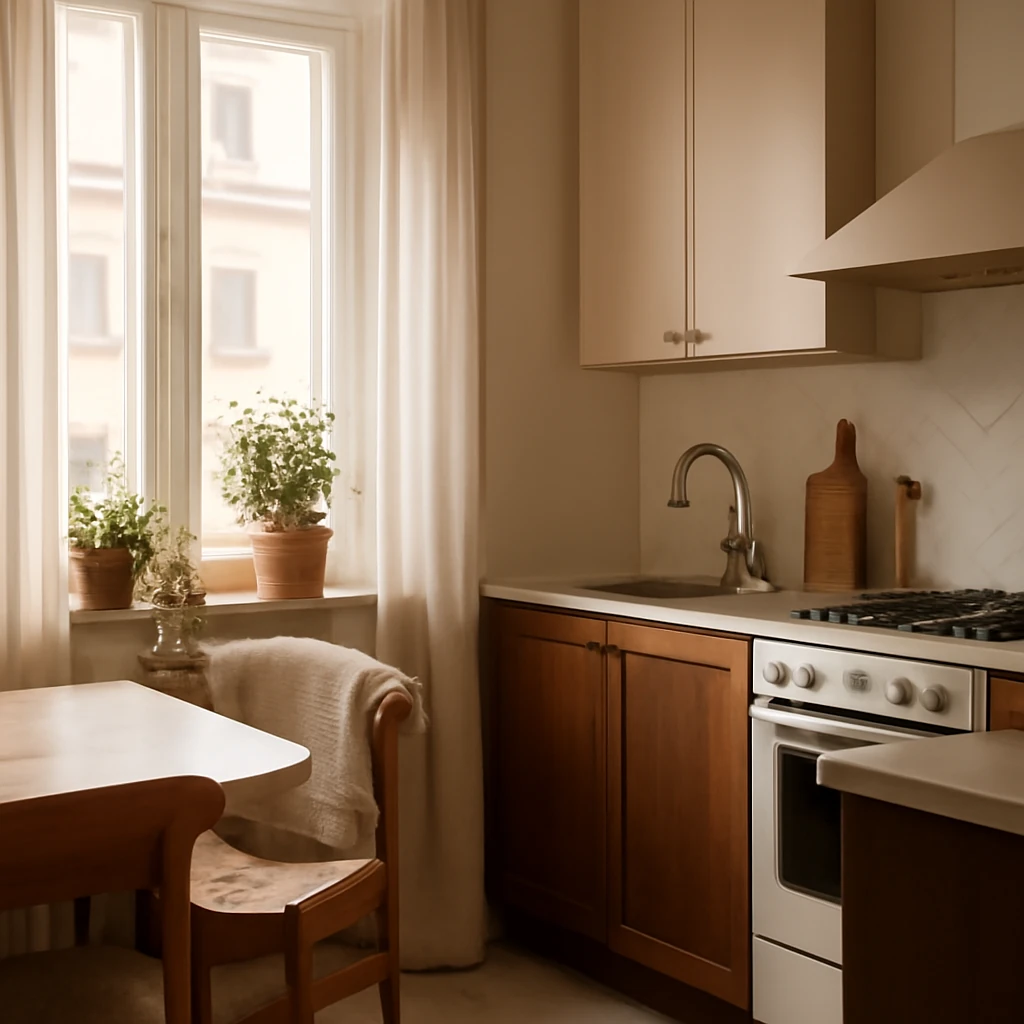
Crafting a functional 5 m² kitchen: layout strategies for European homes
Smart ways to outfit a 5 m² kitchen with clever storage and style.
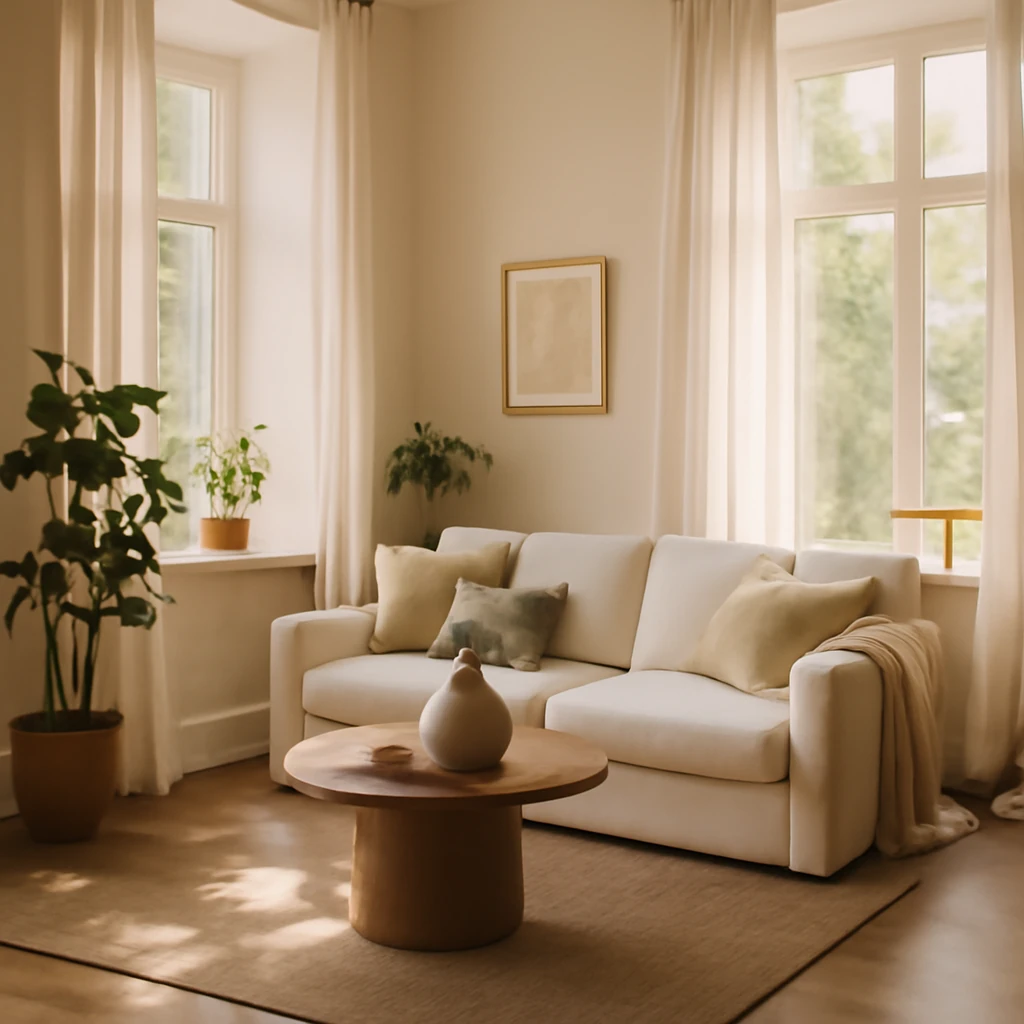
The European Living Room: Planning, Palette and a Timeless Way to Light
Inspiration and practical guidance for European living rooms.