
Explore interior trends, AI design insights, styling guides and real transformations
Balcony Cabinets for Small Spaces: A European Guide
Balcony storage: turning a small outdoor area into a functional extension
In many European cities, the balcony or loggia is a valuable extension of daily living. For compact apartments, well-designed balcony storage can be the difference between clutter and calm, providing space for seasonal clothing, gardening tools, canned provisions, and outdoor equipment. The aim is to create a storage system that respects the balcony’s climate, preserves usable floor area, and blends with the overall interior design. Below is a comprehensive guide to choosing, configuring and styling a balcony cabinet that works across diverse European contexts.
Before selecting a model, it helps to recognise the differences between insulated and non-insulated balcony spaces. An insulated loggia that is heated like a regular room can accommodate furniture much as a living room would, with materials and finishes chosen to withstand humidity and temperature fluctuations. On wind-prone, sun-drenched or uninsulated balconies, it is wise to opt for lighter, moisture-resistant constructions and to plan for a modular system that can be reconfigured as needs evolve.
Key questions to answer before buying a balcony cabinet
- What is your balcony type - balcony or loggia - and how is it glazed?
- Is the space insulated? If so, is the glazing multi‑chamber or single‑chamber?
- Are the floor, walls and ceiling adequately protected from moisture and temperature changes?
- What will you store in the cabinet (seasonal clothing, garden tools, groceries, cycling gear, or cleaning equipment)?
In insulated loggias, the furniture selection is similar to indoor rooms, with finishes and joints designed for damp conditions. On open or partially glazed balconies, a compact, moisture‑resistant cabinet - possibly with a weatherproof shell - will perform best. A bulky, solid timber cabinet may not cope with humidity and heat over time unless it is properly treated and sealed.
Features of balcony furniture
The shape and arrangement of the balcony space strongly influence cabinet placement. Consider these practical scenarios:
- A loggia with a wide, uninterrupted view benefits from a low, unobtrusive cabinet that does not obstruct light or sightlines.
- A balcony with an irregular or circular plan is suited to an integrated, built‑in cabinet that follows the curves or angles of the space.
- A space enclosed on one or two sides can support freestanding furniture, such as a full‑height cabinet or a compact shelving system along the wall.
- On a wide balcony, you can combine an L‑shaped or U‑shaped cabinet with a projecting corner unit to maximise surface area without blocking access to the door or window.
When space is scarce, open shelving can be a lightweight alternative to a closed cupboard. Open storage makes it easy to access frequently used items while keeping the area visually lighter, particularly on narrow balconies.
Placement options for balcony cabinets
The form and glazing of the balcony influence how a storage system can be placed. Consider these common configurations:
- On a loggia with panoramic glazing, opt for a short, low cabinet to preserve views and daylight.
- For a balcony with a curved or irregular outline, a built‑in cabinet that follows the wall contours creates a seamless aesthetic.
- In spaces glazed on one or two sides, a modular framework along the wall provides flexibility to rearrange modules as needs change.
- Across a wide balcony, a corner cabinet and a straight run along a wall can be combined to form a practical rhs bookcase or storage wall inside the home.
If space is truly limited, consider floating or wall‑hung components above a compact desk or seating area. This keeps the floor area free for movement and creates a lighter overall silhouette.
Materials for balcony cabinets
Choose materials that resist sunlight, heat, moisture and fluctuations in humidity. For well‑warmed or clearly damp spaces, use finishes and boards appropriate for bathrooms or kitchens, where moisture resistance and easy maintenance are standard. Viable materials include:
- Laminated boards (melamine or equivalent) with moisture‑resistant cores
- Medium‑density fibreboard (MDF) with water‑based finishes or veneer
- Solid wood or plywood with UV‑resistant sealants or paints
- Metal frames or supports for robustness, paired with wooden or composite panels
- Weatherproof outdoor panels or high‑quality composites for external faces
Protective finishes are essential. Wood should be sealed with a water‑repellent, UV‑stable coating, painted or veneered surfaces can be treated with marine‑grade varnish or specialist exterior coatings. Sealing edges and applying moisture barriers around joints prevents warping and swelling over time.
Cabinets and storage units in common European settings
Ready‑made cupboards and wardrobes suitable for balconies typically use robust edge bonding and reinforced carcasses. They are commonly constructed from laminated particleboard or MDF with protective edge strips, and frequently feature weatherproof edging to guard against humidity. Depths generally range from 30 cm to 60 cm, with 40–50 cm being a popular compromise between storage capacity and accessibility.
Shapes and sizes for balcony cabinets
The cabinet shape should respond to the geometry of the balcony and the items to be stored. Common configurations include:
- Straight module along a wall to create a tidy row of shelves and drawers
- Corner cabinet to maximise underutilised angles
- Built‑in full‑height wardrobe along the length of the wall
- Open‑stave or bookcase style with tempered glazing for indoor‑outdoor continuity
Storage for crockery or pantry items can be achieved with a cabinet featuring adjustable shelves and fixed racks. For garden tools, cycling gear or sports equipment, plan a deeper, reinforced section with stronger shelving and accessible doors. Typical internal heights and dimensions may include:
- Built‑in standard height: 250–270 cm
- Adjustable shelves up to 200 cm to ensure comfortable reach
- Top space reserved for overhead storage or a ceiling alcove
- Storage for clothing or textiles: 170–180 cm high with 40–50 cm wide shelves
- Depths around 52–56 cm are comfortable for most garments and items, shallower depths (35–45 cm) suit lighter, open storage
In practice, most balcony cabinets can be designed to span a full wall or occupy a portion of it, depending on the available width. For narrow balconies, a slim, modular system that can be expanded later is a wise choice.
Internal organisation and accessories
- Small items benefit from a mix of shelves of varying heights and widths, positioned at different levels for quick access
- Metal baskets are excellent for loose items and vegetables - they are easy to clean and ventilate well
- Drawers store tools, gadgets and pantry items that benefit from a contained space
- If the cabinet doubles as a wardrobe, include a hanging rail for coats and dresses
- Overhead compartments are ideal for rarely used items or seasonal belongings
- Keep a portion of the cabinet clear for a vacuum cleaner, mop, or drying rack
For utility spaces, consider a frame made from corrosion‑resistant aluminium profiles. They resist damp, last longer and are easier to clean than many other materials.
Examples of practical storage components
When selecting add‑ons, focus on durability and ease of maintenance. For example, consider a combination of:
- Cabinets with solid doors for contained storage
- Open shelving for herbs, pots and daily accessories
- Lockable drawers for security and organisation
Door options for balcony cabinets
The door style should suit the balcony’s space and usage. Options include:
- Folding doors (accordion) - compact when opened, they do not collide with the window or radiator, but may allow dust infiltration and require more moving parts.
- Roll‑up shutters or slatted doors - integrate neatly with a balcony aesthetic, ideal for corner units, the interior surface may be less adaptable for shelves or hooks.
- Sliding doors (two or more panels) - excellent when the windows project beyond the cabinet, access is from one side only, which may limit reach.
- Hinged doors - provide full access to the contents, best when there is adequate clearance for doors to swing without obstruction
If doors are not required, a shelving system can act as a display and storage unit, great for plants, seed packets, and seasonal decor. On glazed balconies, open shelving can work well as a light, sunlit interface between indoors and outdoors.
Ready-made versus custom cabinetry
The simplest option is to purchase modular, ready‑made cabinetry designed for living spaces, bathrooms or kitchens and adapt it for balcony use. Benefits include lower cost, faster installation and straightforward assembly. When evaluating ready‑made options, assess:
- Module dimensions and whether they can be combined to fit the balcony width
- Edge finishing and moisture resistance for exterior exposure
- Weight and floor support if you plan to place heavy units on a balcony
Alternatively, a bespoke cabinet that fits the balcony’s exact dimensions can deliver a seamless look and optimised storage. A professional cabinet maker or carpenter can tailor height, depth, door style and internal configuration to the space, ensuring structural integrity in a high‑humidity environment and a finish that harmonises with interior decor.
How to build a balcony cabinet yourself
If you prefer a hands‑on approach, building a balcony cabinet from scratch is feasible with careful planning and the right tools. Here is a practical outline to guide a small project:
- Materials and hardware: timber battens or metal profiles for the frame, screws and brackets, moisture‑resistant boards for panels, edge strips, hinges or drawer runners, a power drill, a circular saw, a level, and a tape measure.
- Plan and sizing: determine the cabinet’s purpose, choose a location, and measure width, height and depth. Include room for door movement and any obstructions such as railings or windows.
- Assemble the frame: secure a sturdy frame to the wall or create a freestanding base with a solid foundation. Ensure the structure remains level and square.
- Install panels and shelves: cut panels to size, attach horizontal shelves at planned heights, and reinforce with internal cleats if needed.
- Doors and hardware: build a frame for doors, attach panels or timber cladding, and fit hinges or runners according to chosen door type.
- Finishing touches: sand rough edges, seal with moisture‑resistant finishes, and apply exterior grade paint or veneer. Add weatherproof edging and test access before finalising.
Safety is essential. If the balcony is on an upper floor or above living spaces, secure the cabinet to prevent tipping and comply with local building and safety regulations. For any doubts, consult a professional for structural checks and moisture protection.
Practical tips for balcony storage on smaller spaces
- Opt for modularity: a base cabinet plus a few open shelves can be expanded later without a full redesign.
- Consider a lighter colour palette or matte finishes to visually expand the space, reflective surfaces can also help maintain a bright atmosphere.
- Use adjustable shelves to adapt to changing storage needs, such as garden tools in spring and extra pantry items in autumn.
- Choose durable, moisture‑resistant finishes and seal edges to prevent swelling and warping.
- Plan for ventilation if the cabinet stores vegetables or damp items, ensure some airflow to prevent mould and stale odours.
Remember that the balcony should remain a pleasant transition space. A well‑concealed cabinet with a slim silhouette can provide essential storage while preserving daylight, views and the character of the living room behind the balcony door.
Design ideas: balcony cabinets that work in European homes
From compact Parisian loggias to sunlit Adriatic balconies, the goal is a practical, cohesive look that respects architectural context and weather. Here are a few ideas to inspire different layouts:
- Minimalist run: a continuous wall of low cabinets with a few open shelves above to keep the space airy while providing essential storage.
- Corner integration: a bold corner cabinet that follows the angle of the balcony, creating storage without breaking sightlines or seating areas.
- Two‑tier system: a tall, narrow cabinet on one side for coats and brooms, paired with a lower, wider module for groceries or plants.
- Open‑and‑closed mix: use closed doors for cleaning items and pantry staples, with open shelves for pots, tools and planters that benefit from light and air.
- Natural materials with contemporary detailing: combine weather‑proof timber panels with aluminium frames and soft‑closing hinges for a timeless, contemporary look that ages gracefully.
In all cases, ensure the cabinet finishes are warranted for exterior use or protected by high‑quality interior finishes when the balcony is enclosed. A coherent palette that echoes the home’s interior helps the balcony feel like an extension rather than an afterthought.
Closing thoughts: balancing function and beauty
A balcony cabinet is more than a storage solution - it is a design decision that shapes how a home breathes and functions. In Europe, where apartment layouts often require clever use of every square metre, a well executed balcony storage system can free up living space, streamline daily routines, and even influence the way you arrange furniture inside the home. By carefully considering the balcony’s type, climate exposure, and the items you plan to store, you can select or design a cabinet that remains durable, stylish and highly functional for years to come.
You may also like these articles
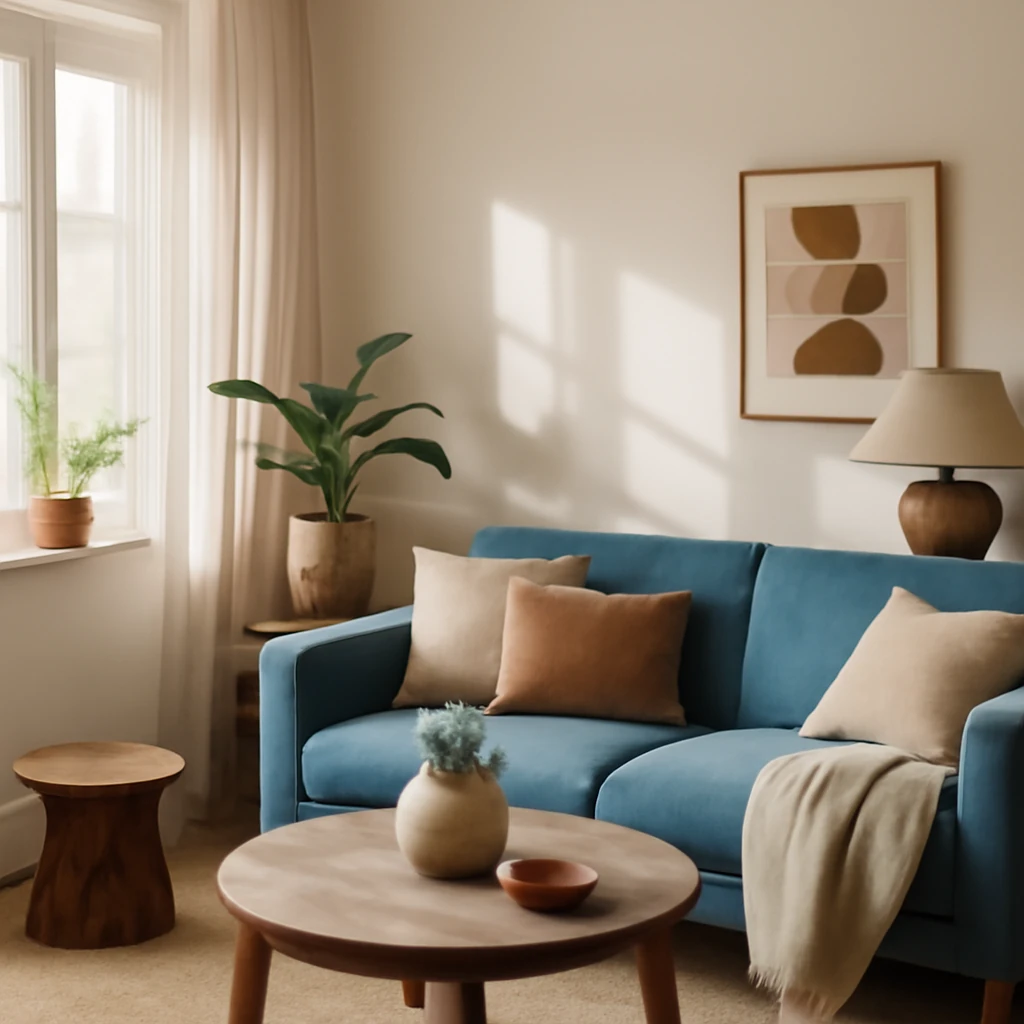
Blue in the Interior: Eight Winning Colour Pairings for European Homes
A European guide to pairing blue with perfect companions.
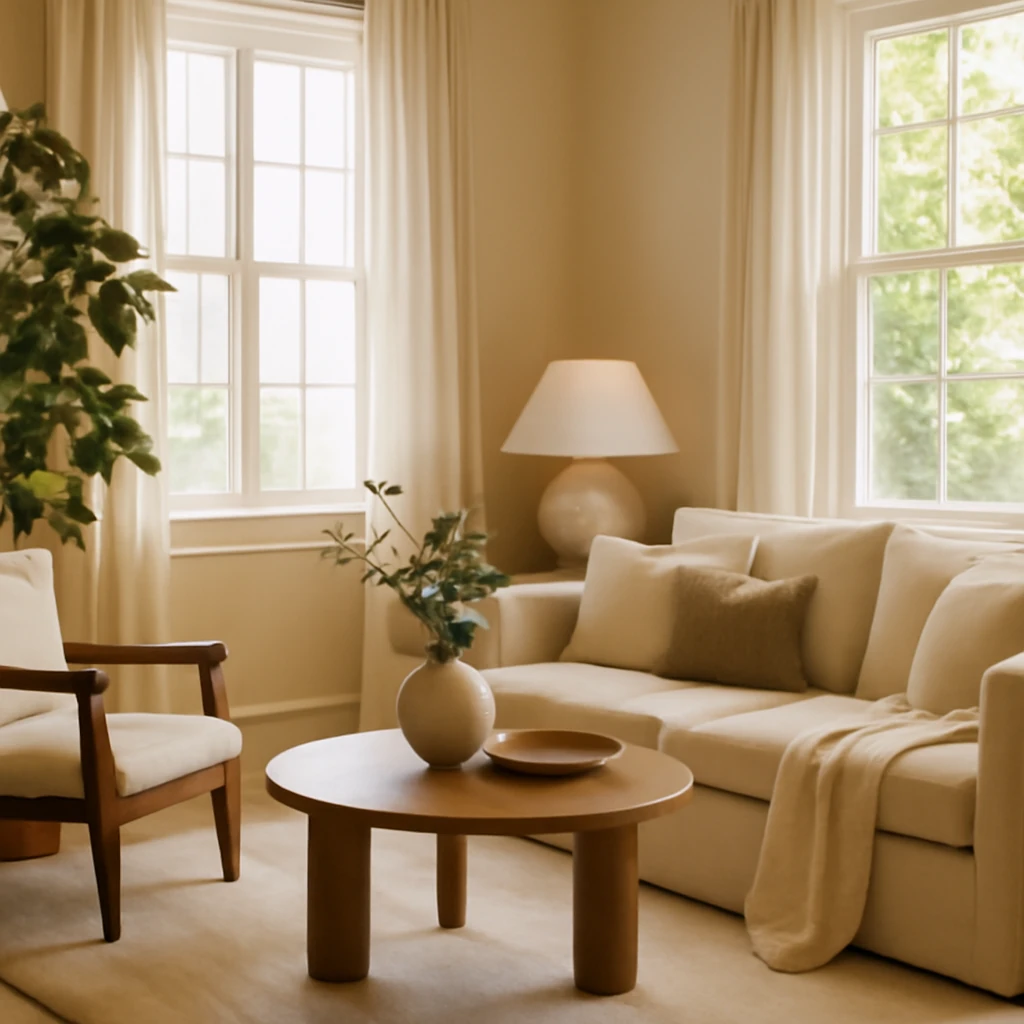
Beige as a Foundation: Elegant Pairings for a Calm, Sophisticated Home
Beige as a versatile neutral: how to pair with colour and texture across rooms.

Designing and Filling the Hallway Wardrobe for European Homes
Smart, spacious hallway storage ideas for European homes.