
Explore interior trends, AI design insights, styling guides and real transformations
From jar to jewel: 12 handmade candle holders that elevate modern European interiors
Introduction: the quiet warmth of handmade candle holders
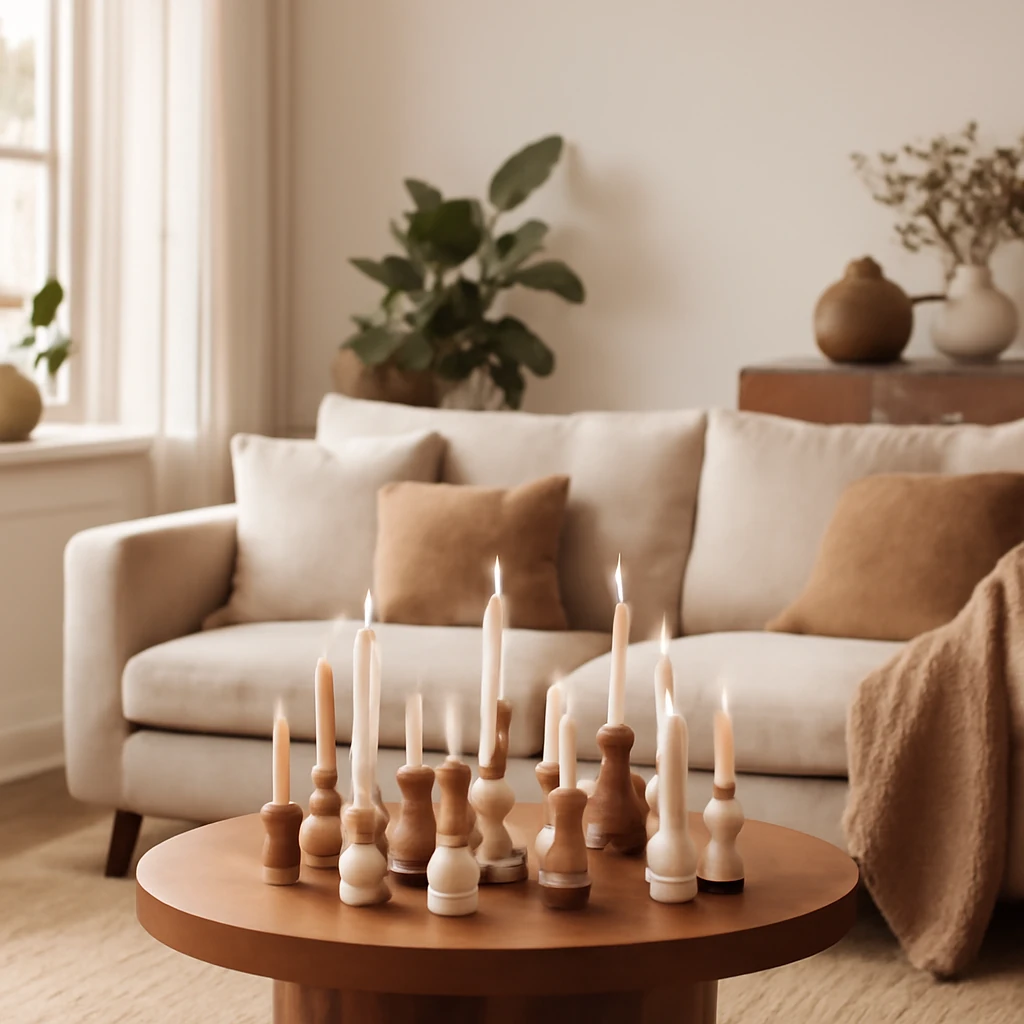
Decorating with candles is one of the most timeless ways to imbue a room with atmosphere. A handmade candle holder does more than hold a flame, it adds texture, colour and a sense of personal touch that mass-produced pieces simply cannot match. For European homes - from compact city apartments to light-filled living rooms in larger dwellings - a well-crafted candle holder can become sculpture, focal point or subtle companion to your everyday moments.
In this guide we explore a range of accessible, beautifully simple techniques for creating your own candle holders. The aim is maximum character with minimum fuss: practical, safe, and repeatable for a variety of spaces and seasons. All projects use common materials and can be adapted to different aesthetic preferences, from minimal Scandinavian-inspired to rustic, warm Nordic ensembles.
Remember to follow fire safety rules: never leave burning candles unattended and place them on heat‑resistant surfaces.
Principles for DIY candle holders: safety, materials and finish
Before starting, consider three guiding principles. First, safety: use heat‑resistant bases, ensure the holder is stable and suited to the candle type - tea lights, votive candles, or standard pillar candles. Second, durability: choose materials that can withstand heat and handling, and finish them with a protective coating where appropriate. Third, adaptability: design with a view to seasonal changes, so a single base can host different decorations throughout the year.
In Europe, there is a rich palette of materials to draw on. Cork coasters from the Mediterranean region, timber from local forests, glassware with a long tradition of reuse, and plaster or alabaster for a contemporary, tactile look. The following ideas prioritise simplicity and reusability, allowing you to experiment with texture, scale and colour while keeping projects approachable for weekends or a quiet weeknight.
Universal candle holders: practical, stylish options
Whether you have a grand mantelpiece or a compact coffee table, there are reliable, striking ways to display candles. Below are several core ideas that can be customised with your favourite colours and finishes.
From a jar or glass
Jars and glasses are among the easiest vessels to adapt into candle holders. Heat‑resistant containers protect the flame and allow you to play with interior effects without creating a cluttered look.
Ways to decorate and use jars or glasses:
- Float a tea light inside a clear jar, leaving a small gap at the top for safe access to the wick. Colour the interior with a touch of paint or leave clear for a crisp, glowing silhouette.
- Wrap the exterior with natural fabrics, a textured jute cord, or a satin ribbon. Tie a wooden charm, a small pinecone, or a sprig of evergreen to the knot for seasonal interest.
- Decorate the neck with a simple band of twine or a narrow belt of metallic paint for a contemporary edge.
Tips for success: choose jars with a wide enough mouth to access the candle safely, and ensure the bottom is stable on a heat‑proof surface. For a longer-lasting finish, seal decorated jars with a clear, heat‑resistant varnish or wax layer.
From a bottle
A slender bottle can yield a graceful, architectural candle display. Use a long taper candle or a candle insert that fits snugly, ensuring the flame remains safely above the rim.
- Clean the bottle and trim any sharp edges, smooth out the neck if needed.
- Insert a taper candle and fix with a small amount of non‑drip adhesive at the base if required.
- Let the candle burn gently and watch the wax flow create natural, decorative patterns along the glass.
- Finish with a light decoration around the neck - dried citrus slices, evergreen sprigs or a thin ribbon - to enhance the silhouette.
If the candle leaves wax drips, position the bottle so drips run down the interior walls and consider a contrasting wax colour for a romantic look. This method invites experimentation with colour and material harmony, particularly in dining rooms and living spaces where a sculptural piece acts as a subtle centrepiece.
On a wooden or cork base
A simple cork base provides natural warmth and excellent stability. Use a cork disc about 12–15 cm in diameter as a platform for a single large candle or a small cluster of votives.
To create seasonal arrangements, place greenery, berries or pinecones around the base. Secure with a hot glue gun for a lasting hold, and finish with a light spray of matte sealant to protect the cork from wax residue.
- Spring: greenery and fresh blossoms in soft greens and pale pinks.
- Autumn: warm yellows, copper tones, and dried seed heads.
- Winter: pine needles, cones, red berries and a dusting of faux snow.
From plaster or alabaster
Gypsum plaster, sometimes referred to as alabaster, offers a tactile, contemporary feel that suits minimalist interiors. It’s forgiving to work with and can be formed into compact bases that pair well with various candle shapes.
- Prepare a simple mould or use a reusable container as a mould, the latter makes disassembly straightforward.
- Mix plaster with water to a thick custard consistency, pour into the mould, and insert a wax insert or a hollow for a tea light.
- Let set for about 30 minutes, remove, and sand rough edges with fine grit sandpaper.
- Seal or paint the surface if you wish to alter colour, matte finishes emphasise the material’s softness, while metallic or coloured coats add a contemporary twist.
Plaster pieces benefit from a protective coat that resists wax residues, preserving their appearance over time.
From a wooden slice or baton
Natural wood brings warmth and texture into a room. A round wooden slice or a short baton can hold a single candle or a small cluster and can be treated to increase resistance to heat and moisture.
- Sand the surface to remove splinters and create a smooth, safe base.
- Drill a centred recess using a Forstner bit to seat a candle securely, ensure the cavity depth fits the chosen candle.
- Finish with a light coat of oil or matte varnish in a colour that complements your scheme. A dark beech, warm ash, or natural oak tone looks particularly refined.
- Arrange several pieces to form a small constellation of light on a console or shelves.
Alternatively, glue small glass inserts to a wooden base to create a built‑in candle cluster that can be rearranged as desired.
From a roll of tape or cord
Wrap a hollow tube, such as a cardboard roll, with jute twine, thick yarn or hemp cord. Secure with a hot glue gun and insert a candle into the top, trimming the base so it sits evenly.
These lightweight holders are perfect for temporary décor or outdoor gatherings where a minimal, textural finish is desirable. For extra polish, conceal the join with a thin band of fabric or paint the exterior with a colour that matches your interior palette.
New Year and seasonal candle holders: festive ideas
Seasonal celebrations are an ideal excuse to experiment with textures and shapes. The following ideas work well in many European homes where a winter palette - soft whites, deep greens, rich woods - dominates the décor.
Polymer clay houses: a Nordic‑inspired winter village
Small houses built from polymer clay create a charming, candle‑lit village around a central tea light. The trick is to sculpt tiny, windowed façades that allow light to glow softly through the cutouts.
- Prepare simple templates for the house fronts on paper or card.
- Roll out polymer clay to a thickness of about 2 mm and cut out shapes for walls and roofs.
- Carefully cut out windows and doors, these openings become the light’s passage when the candle is lit.
- Air-dry or bake the pieces according to the clay’s instructions, then assemble with a glue gun.
- Assemble on a flat base, painting with subtle winter colours if desired, and place around a central candle for a soft village glow.
Keep the pieces small and light for easy arrangement on a mantel or shelf. The result is a gentle, hygge-inspired winter display that remains timeless beyond the festive season.
Compositions with pine cones and evergreen sprigs
Natural textures are particularly inviting in European interiors during winter. Combine cones, artificial or fresh evergreen sprigs, small pine branches, berries and a light snowfall spray to create a rustic‑yet‑refined display. A central candle anchors the composition, with surrounding foliage providing a gentle frame.
To secure delicate elements use a hot glue gun and a light hand with sprays of frosted effect. Consider selecting a neutral or whitewashed base to let the natural tones of the cones and foliage shine.
You can also build a miniature arrangement on a flat wooden disc or cork mat. A concerted mix of textures - rough, smooth, matte and gloss - creates a refined, layered look that pairs well with both modern and traditional interiors.
From a wreath base: ready‑made elegance
A ready‑made wreath can serve as a straightforward platform for a candle cluster. Mount a wreath on a shallow wooden base or a cork tray, and tuck one or more candles into the interior. If the wreath has decorative elements, you can supplement them with a few curated additions such as dried orange slices, cinnamon sticks or small pinecones.
For a less formal aesthetic, place the wreath on a plain plate or shallow dish and allow the light to radiate through the interior. This approach works well on dining tables or console spaces, offering seasonal charm with a clear, uncomplicated silhouette.
Decorating with cinnamon sticks: scent and warmth
Cinnamon is both a visual and aromatic cue for winter. Create a rustic border around a candle by arranging sticks of cinnamon in a circular pattern and securing with a flexible binding such as twine. Add a sprig of evergreen and a few dried citrus slices for a festive finish.
To stabilise, dock the cinnamon sticks into a cork disc or a small wooden tray. This method pairs especially well with amber or warm brown tones in the surrounding décor, reinforcing the cosy atmosphere of a European living room or dining space.
Seasonal care and finishing touches
Finish and care are just as important as the initial design. Here are practical tips to ensure your handmade holders remain beautiful and functional over time.
- Seal wood surfaces with a clear, matte finish to resist wax seepage and moisture. Reapply as needed to preserve colour and texture.
- For plaster and alabaster, consider a light varnish or wax to inhibit staining from candles and to ease cleaning of wax residue.
- Painted or coloured surfaces should be heat‑resistant and easy to wipe down. Test a small area first to ensure the finish does not crack with heat exposure.
- Use non‑drip candles or tea lights if you want to minimise wax drips on the holder. If drips occur, gently wipe while the surface is still warm but not hot.
- Store unfinished pieces in a dry, cool place to avoid warping or cracking. Label homemade pieces for easy seasonal rotation.
When styling, think about scale and repetition. A cluster of three different heights on a mantel creates a harmonious rhythm, while a single bold piece in the centre can act as a quiet focal point. Balance warmth with restraint: too many candles and you risk a cluttered look, too few and the space may feel underlit in winter months.
Where to source materials in Europe: practical considerations
European craft stores, local markets and online suppliers offer a broad spectrum of materials suitable for these projects. Look for heat‑resistant jars and bottles, cork bases, and plaster or alabaster options, with finishes that align with your interior palette. Natural materials such as cork, timber, linen, and cotton provide sustainable choices that age with grace.
When considering finishes, choose matte rather than glossy for a calm, contemporary feel. Matte surfaces reflect light softly and pair beautifully with natural textures like wool, linen, and raw timber. If you prefer a warmer, tactile aesthetic, experiment with lightly oiled woods and untreated cork to highlight their organic character.
A practical sequence: turning ideas into usable pieces
To help you plan, here is compact guidance for turning any of the ideas above into fully workable pieces. Adapt the steps to your chosen base and candle type, and always prioritise safety at every stage.
- Define your base: jar, bottle, wooden slice, plaster module, cork disc, or a simple roll‑form for wrapping.
- Decide on the candle type: tea light, votive, taper or pillar. Ensure the base can accommodate the chosen form and has a stable footprint.
- Prepare the base: clean, sand or seal as needed. Drill centred recesses where appropriate to seat candles securely.
- Decorate: apply paint, fabric, twine, greenery, cinnamon sticks or pinecones. Use gentle adhesive and test on a small area first.
- Finish: seal the piece if required, and allow adequate drying time before lighting.
- Test safety: ensure the flame is fully visible, the holder is stable on a level surface, and there is at least a few centimetres of clearance around the candle.
With a little planning, these ideas become a flexible toolkit for styling across seasons and spaces - from the centre of a dining table to a quiet shelf in a compact apartment.
Conclusion: make, personalise, and enjoy
Handmade candle holders are small but significant design gestures. They invite you to slow down, engage with materials, and create beauty that is distinctly yours. By combining accessible techniques with a European sensibility for colour, texture and scale, you can craft a personalised lighting scheme that harmonises with furniture, textiles and architectural details across your home. The result is not merely decoration, but a thoughtful expression of how you live and what you value in your surroundings.
You may also like these articles
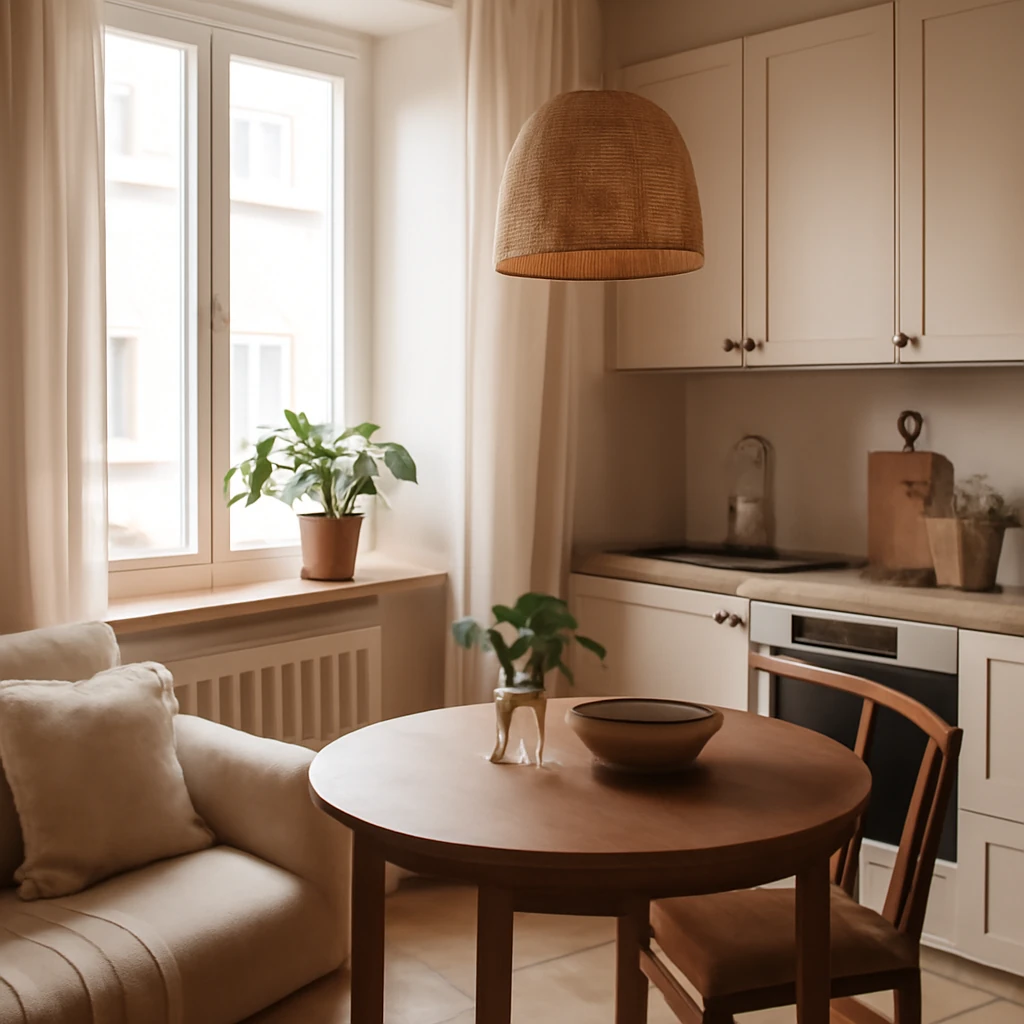
Compact Kitchen Design for Small European Homes: Smart Layouts and Storage
Smart strategies to transform tiny European kitchens into functional, stylish spaces.
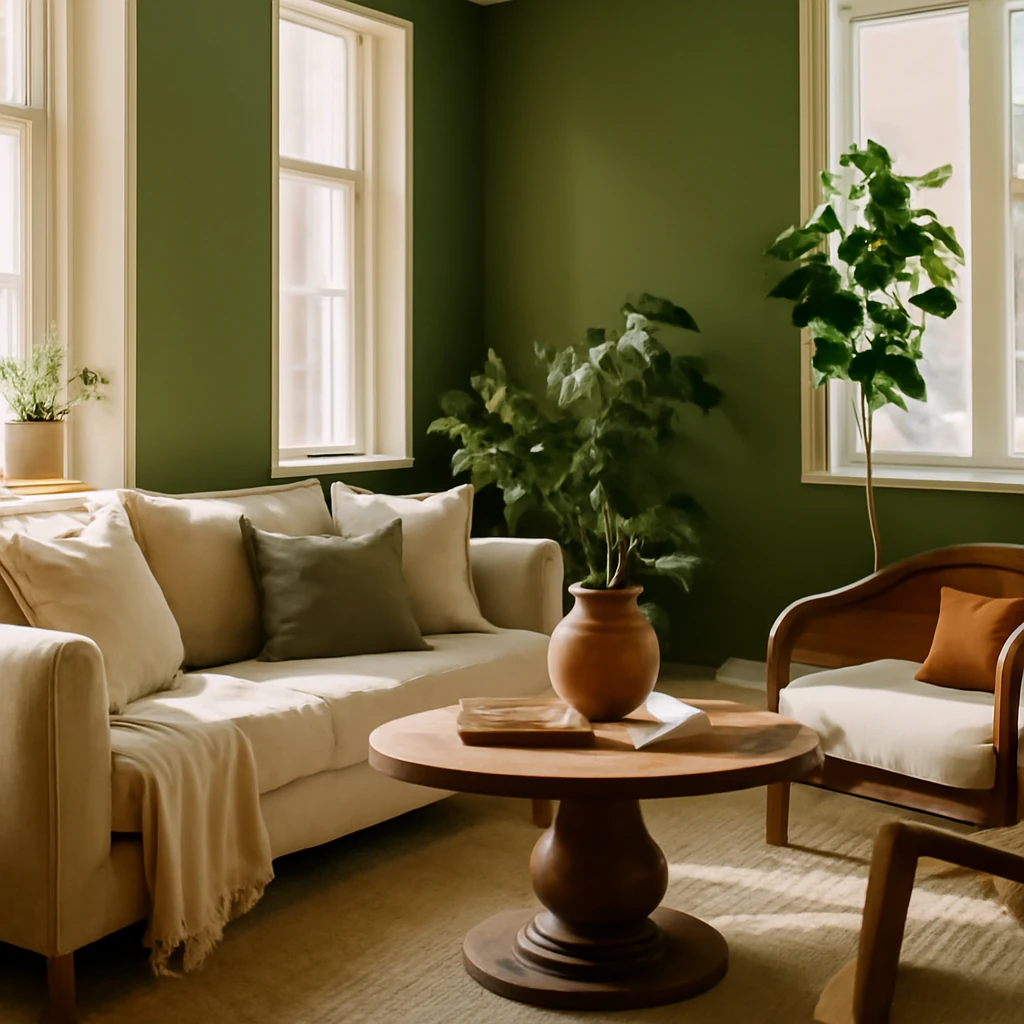
Olive Green Interiors: A Timeless European Palette
A practical guide to olive green interiors across Europe: palettes, pairings, and room-by-room tips.
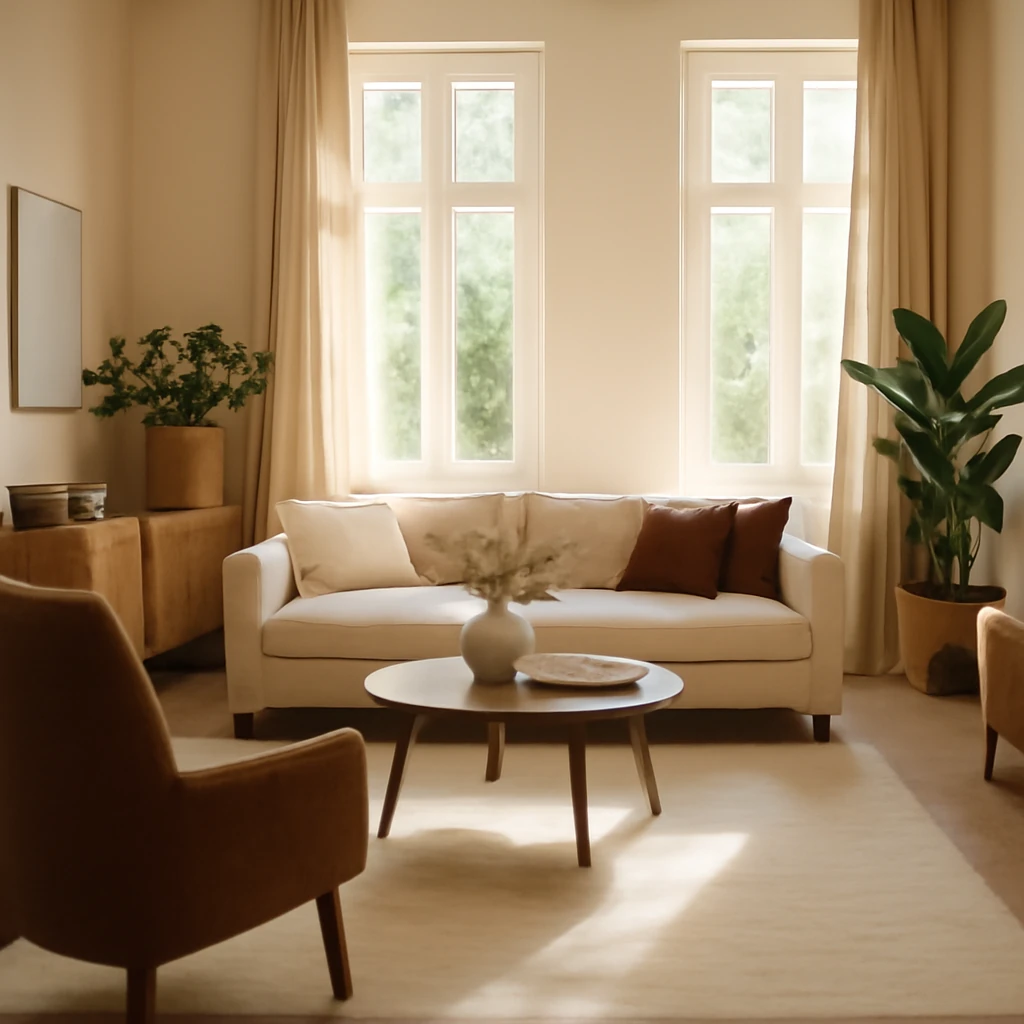
Colour strategy for European homes: palettes, proportions and practical tips
A practical guide to colour palettes for European interiors