
Explore interior trends, AI design insights, styling guides and real transformations
Four DIY Faux Fireplaces: Step-by-Step Ideas for European Interiors
Introduction: why a faux fireplace is a timeless focal point
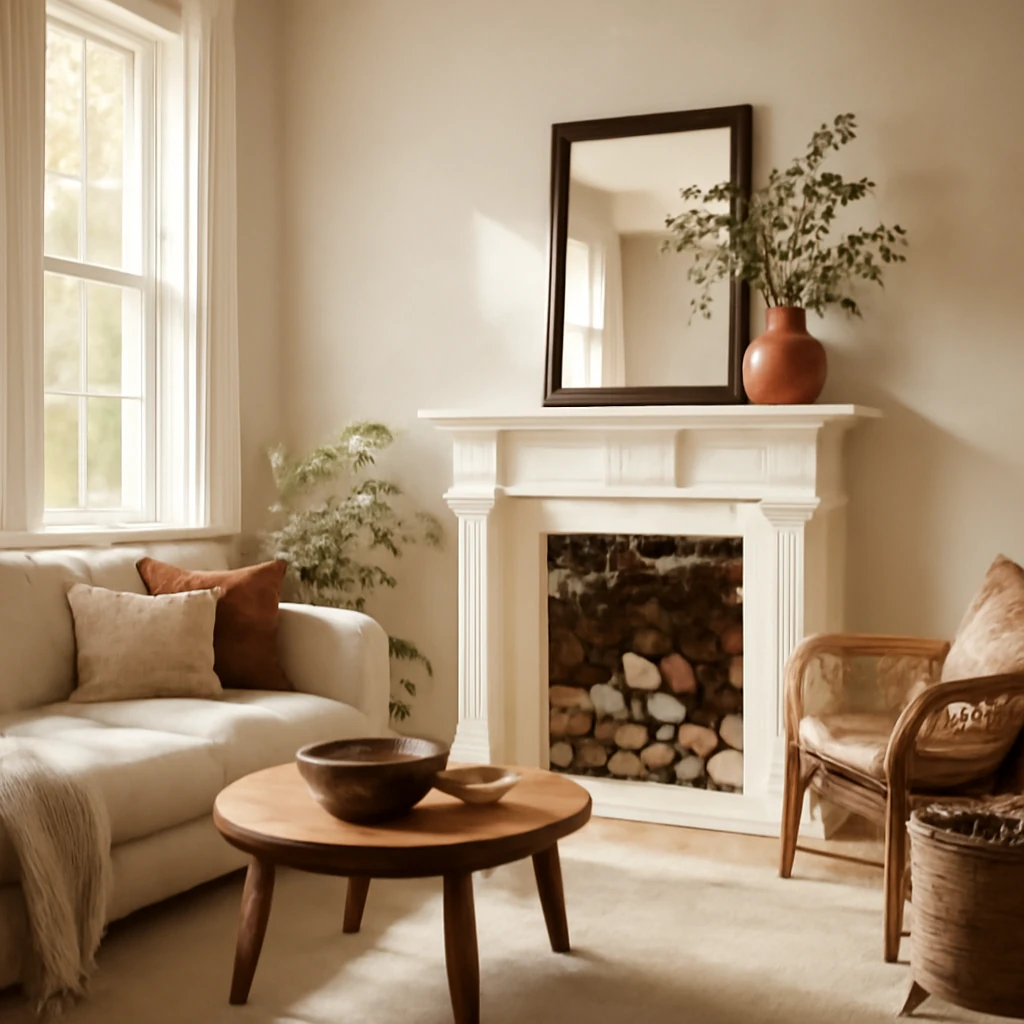
In dense urban layouts and open-plan living spaces across Europe, a well-crafted faux fireplace can offer a warm, communal focus without the complexities of a real hearth. A decorative fireplace brings texture, light, and a sense of theatre to a room, while remaining practical and safe for contemporary homes. Whether you live in a compact city apartment, a townhouse, or a family home, a convincingly designed faux portal can anchor furniture arrangements, frame seating areas, and reflect a well curated decorative scheme.
This article provides four hands-on approaches to creating a believable faux fireplace using common materials and straightforward joinery. Each method emphasises safety, modularity, and finish, so you can choose a solution that fits your space, budget, and level of DIY confidence. We also cover how to simulate flame and heat, so the end result feels authentic without a real fire.
Design considerations: space, placement, and purpose
Before you cut a single piece of timber or lay a plasterboard sheet, consider three practical questions:
- Space and proportion: The fireplace should be a visual anchor without overwhelming the room. Measure the available wall length and ensure the portal sits at a comfortable viewing height. A typical decorative surround may be 60–90 cm high with a mantle shelf at around 110–140 cm from the floor.
- Type: freestanding, wall-mounted, or corner: Freestanding units offer flexibility and are easy to reposition, wall-mounted or corner designs optimise space and can be integrated with built-in shelving or media units. The choice will influence how you frame the fire niche and carry the load.
- Ventilation and safety: Even without real flames, consider how air flows around the unit. If you add a bioethanol insert or LED flame, ensure there is adequate clearance from combustibles and that any electrical components are installed to code.
The four DIY routes: from lightweight to solid construction
Below are four practical pathways to a convincing decorative fireplace. Each route offers a different balance of cost, durability, and complexity. Choose the method that best matches your space, skill level, and how permanent you want the installation to be.
1. Cardboard portal: quick, lightweight, and family-friendly
This option is ideal for temporary installations, demonstrations, or for households wanting a truly low-cost experiment. It is also a good entry point for younger DIY enthusiasts under supervision, provided safety guidelines are followed.
- Materials: large cardboard boxes (flattened or cut to size), sturdy packing tape, scissors, ruler, and decorative wrapping or kraft paper. Optional finishing touches include lightweight foam trim or polystyrene mouldings to simulate brickwork.
- Basic framework: build a shallow frame that sits on the floor and against the wall. Use two large boxes as the base, one forms the plinth, the other becomes the top platform or mantle.
- Top and surround: cut panels to create a shallow niche, then trim the edges with paper or foam mouldings to give a finished look. Reinforce joints with tape and consider reinforcing the sides with a secondary internal box layer for rigidity.
- Finishing: cover visible surfaces with decorative paper, fabric, or faux-brick wallpaper. Avoid heavy liquids near the material and ensure any adhesives are safe for cardboard.
Step-by-step approach ensures a crisp silhouette while keeping the construction light. While this may not be a long-term solution, it can be a striking transitional piece for rental homes or short-term schemes. Use it as a mantel for seasonal decor or as a showcase for mirrors and lighting to enhance the illusion of depth.
2. Foam board and foam-plastic portal: a robust, versatile option
Foam-based assemblies offer a durable yet lightweight alternative to cardboard. They’re well suited to European living spaces where walls can bear more substantial accents without heavy structural work.
- Materials: multi-layer foam boards or extruded polystyrene panels (XPS), packing cardboard for internal bracing, wood screws, construction adhesive suitable for foam, spray or water-based paints, and a selection of decorative cladding such as faux brick panels or vinyl veneers.
- Frame and core: construct a rectangular frame on the floor that can be attached to the wall or set as a freestanding plinth. Use internal bracing to prevent bowing under decorative loads.
- Brick-effect surfaces: cut lightweight panels to form vertical surfaces showing a brick-like rhythm. You can use painted cardboard or foam bricks cut from panels and adhered with foam-friendly glue. Finish with a sealant to protect the surface over time.
- Finishing touches: apply a coat of paint with a matte finish to resemble plaster or brick. Add a shelf-like mantle using a thin foam board strip or a lightweight timber plank covered in veneer for a tactile contrast.
In addition to the visual appeal, this method allows you to experiment with proportions, trying different masonry patterns and depths without heavy demolition. It is also easier to modify or relocate compared with plaster or timber constructions.
3. Plasterboard (gypsum board) portal: a semi-permanent, highly customisable route
Using plasterboard enables a refined, durable fireplace surround with professional curves and precise dimensions. It is the most common approach for those who want a custom aesthetic that resembles real masonry while keeping the project within conventional renovations budgets.
- Materials: plasterboard sheets (12.5 mm is typical for lightweight builds, thicker boards may be used for heavier features), wooden or metal structural framework (studs or slotted channels), plaster or joint compound, corner beads, screws, plaster skim, and paint or decorative finishes.
- Framing: build a frame that can be anchored to the wall and, if desired, to a floor base for stability. Decide whether the fireplace will be a freestanding portico or a wall-integrated feature, then prepare the necessary studs and cross-members accordingly.
- Layout and erection: assemble the outer frame first, then mount vertical and horizontal supports to define the opening of the firebox. Add inner lintels or supporting beams as needed to sustain decorative elements or heavy embellishments.
- Surface finishing: apply joint tape and multiple layers of plaster to achieve a clean, seamless finish. Sand meticulously and prime before painting or applying a decorative veneer such as stone or wood cladding.
Gypsum board portals are highly customisable, enabling rounded edges, inset mantels, or shallow niches for candles and sculptures. They require careful handling and finishing but reward with a high-end, cohesive look that can be integrated into contemporary or traditional interiors.
4. Timber portal: warmth, durability, and a crafted feel
A wooden fireplace surround delivers warmth and a tactile presence that mirrors traditional European cottages and modern lofts alike. This route is best suited to spaces where a robust, semi-permanent feature is desirable and where you have access to basic carpentry tools or a skilled joiner.
- Materials: framing timber (for example, softwoods such as pine or spruce in dimensions around 40×40 mm for the internal frame, higher-grade boards for facing), a mantle shelf (custom-cut from timber or reclaimed wood), screw fixings, wood glue, filler, and decorative cladding such as veneer or faux stone.
- Skeleton and plinth: construct a solid base or plinth to support the surround. Consider incorporating a hollow storage cavity or drawers within the plinth for practical living room storage.
- Face and finishing: clad the visible surfaces with plywood or 8 mm veneer sheets, attach decorative stones, tiles, or brick slips to the inner fire surround. Ensure tight joints and sand all edges for a refined surface finish.
- Maintenance: treat timber with a clear finish to protect against humidity and wear. Regularly inspect joints, particularly around the mantle and any lighter decorative elements.
A timber portal offers the most authentic, handcrafted appearance and is adaptable to a wide range of interiors. It is ideally paired with a matching mantelpiece, corbels, or mouldings to create a true focal point that honours traditional craft while blending with modern materials.
Imitating fire: making the illusion convincing
A key aspect of a successful faux fireplace is the convincing impression of flame and heat. Even without real combustion, you can achieve a striking effect with a few well-chosen techniques.
- Visible logs or embers: place faux logs or a bed of glass beads behind a decorative screen. A shallow, combustible-safe display gives the impression of a hearth ready for a real fire.
- Bioethanol inserts: where safe and appropriate, consider integrating a closed bioethanol insert behind the fire opening. Choose models designed for ventless operation and ensure proper enclosure to prevent drafts and accidental contact.
- LED flame effects: use programmable LED lights or a flame-effect module behind a glass panel. When paired with amber or orange lighting, these create a convincing flicker that resembles real fire without heat output.
- Colour and texture: combine warm paint tones, faux brick or stone veneers, and reflective surfaces around the opening to mimic the depth and warmth of a real hearth. Subtle reflections from mirrors or glass can amplify the glow.
- Heat cues: if your design includes a plinth or shelf, incorporate a low-heat radiant heater or warm-toned lighting to simulate warmth radiating from the portal, without compromising safety.
When selecting fire-imitation elements, ensure they comply with local safety standards and building regulations. Do not install any device in a manner that blocks ventilation or introduces a fire risk. If in doubt, consult a qualified professional to review the design and electrical considerations.
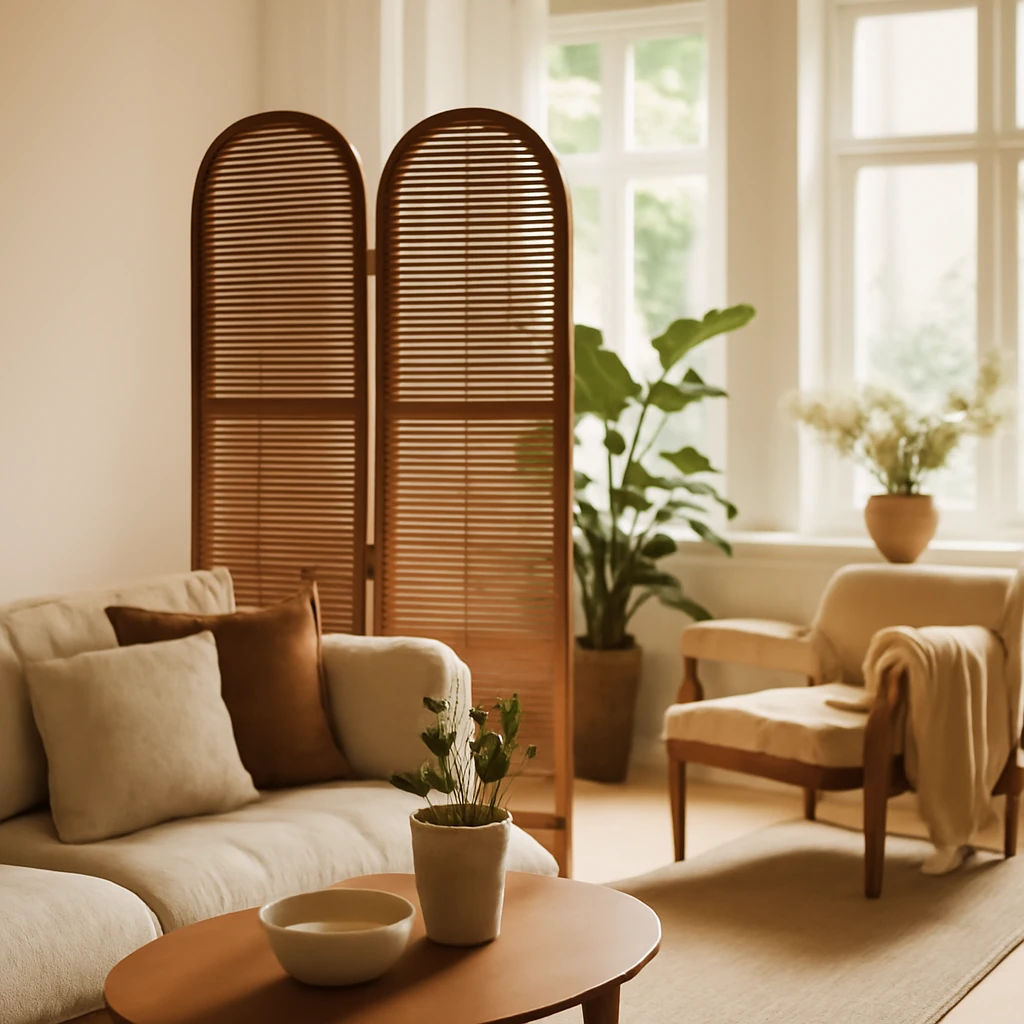
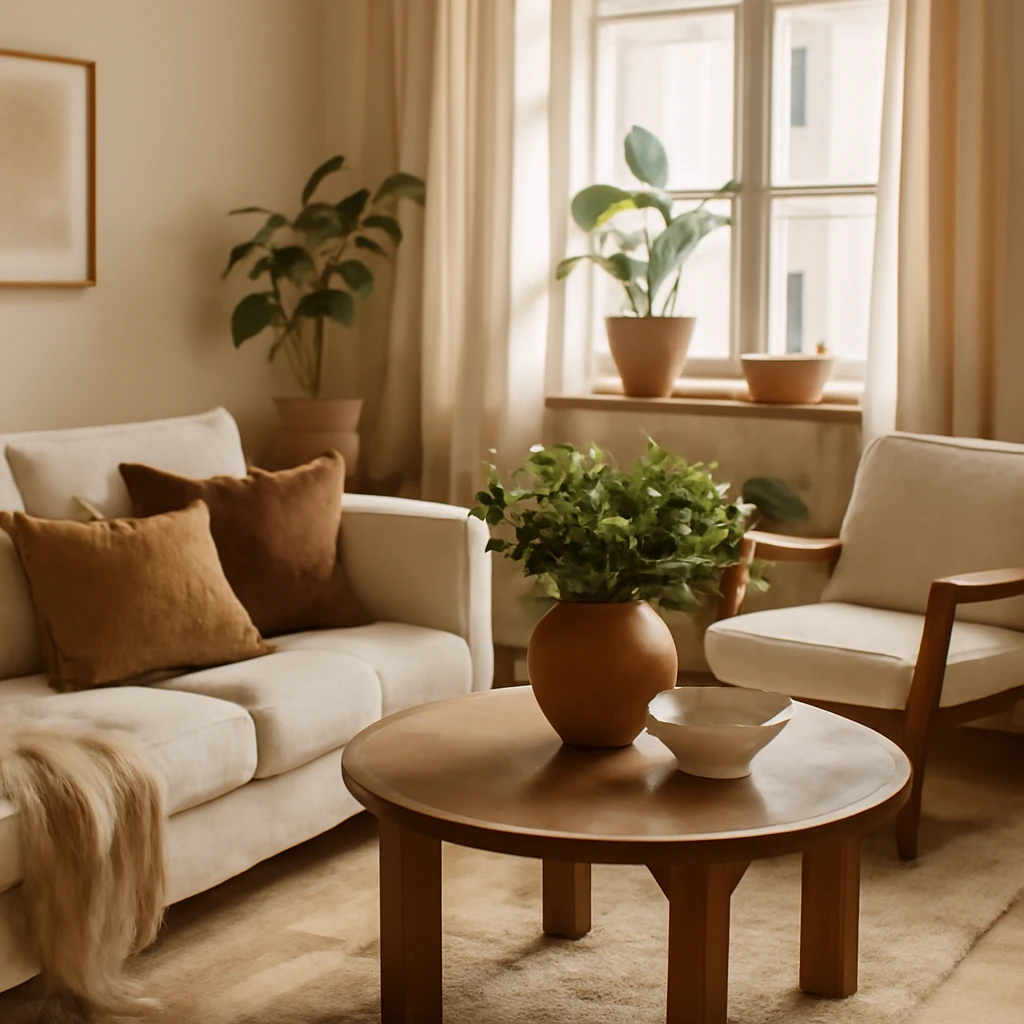
Decorating the faux fireplace: styling that enhances every room
Decoration can make or break the illusion. The approach you take should harmonise with the room’s overall mood, materials, and colour palette. Below are practical styling tips to help integrate your faux fireplace seamlessly into a European living space.
- Keep the palette cohesive: for freestanding or wall-mounted units, neutral tones such as creams, greys, and soft whites tend to be most versatile. Add warmth with wood tones, brass accents, or textured stone finishes that echo the room’s larger features.
- Balance with mirrors: placing a mirror within the fire opening or on the interior back panel doubles the perceived depth and enhances light. This trick is particularly effective in smaller rooms with limited natural daylight.
- Mantel styling: decorate the mantle with carefully chosen objects - vases, candlesticks, books, or a single piece of art. Aim for a cohesive group rather than a cluttered vignette.
- Lighting strategy: combine ambient lighting with task and accent lighting to highlight the fireplace. A hidden LED strip along the mantel or a small wall wash can create a soft halo around the surround.
- Textures and finishes: mix materials to add depth - soft textiles in sofas, a matte plaster surround, and metallic hardware on the mantel can create a sophisticated contrast.
When selecting the surrounding furniture, ensure there is room for movement and that the fireplace remains visually accessible from multiple seating positions. A well-proportioned surround can govern the room’s layout, acting as a natural divider in open-plan spaces while still inviting conversation.
Practicalities: installation, safety, and maintenance
Whether you build a lightweight cardboard portal or a robust timber surround, keep these practical considerations in mind to ensure longevity and safe use in European homes.
- Planning and permits: most decorative fireplaces do not require planning permission, but a wall-mounted or structural surround may affect wall systems or ventilation. If your project involves any structural changes, consult a professional and follow local regulations.
- Weight and fixings: heavier timber or stone-look facings demand appropriate fixings and, in some cases, a wall-anchored frame. Ensure fixings are rated for the wall type (brick, concrete, plasterboard) and that screws do not intersect electrical cables or plumbing.
- Clearance and combustion safety: even with no real flame, maintain safe distances from combustibles. If you use a bioethanol insert or electric flame, ensure there is adequate ventilation and that cords and outlets are safely concealed and protected.
- Finishing care: seal porous materials such as timber, plaster, or foam with appropriate sealants. Regularly dust and inspect joints, especially around mantels and decorative mouldings, to prevent wear from daily use.
- Accessibility: design the unit so maintenance and cleaning of any electrical components or heating elements is easy. Consider removable panels or accessible side gaps for service access.
Case for modest budgets and flexible living
One of the strengths of a faux fireplace is the ability to adapt to different living spaces and changing design tastes without committing to a permanent, heavy structure. A cardboard or foam-based surround can be repurposed, redesigned, or relocated as the room evolves. Plasterboard or timber installations, while more durable, can be customised with new veneers, re-stained or repainted to reflect evolving colour schemes. A thoughtful faux fireplace thus becomes a lasting feature that can grow with the home.
Planning your project: a simple checklist
- Measure the space precisely and decide on the type (freestanding, wall-mounted, corner).
- Choose a route (cardboard, foam, plasterboard, or timber) based on budget, permanence, and DIY confidence.
- Draft a simple plan or sketch to visualise proportions, mantel height, and decorative elements.
- Gather materials and tools, ensuring foam-safe adhesives, plaster tools, timber fixings, and electrical components comply with local regulations.
- Assemble the frame and surround, checking for level surfaces and stable anchoring.
- Apply finishes, add the flame-imitation elements, and finalise with mirrors or lighting to enhance realism.
- Test safety, clearances, and maintenance access before occupying the space and placing furnishings nearby.
Conclusion: choosing the right DIY path for your space
A faux fireplace is not merely a decorative feature, it is a staging element that can transform a living space, guiding furniture arrangements and lighting strategies. The four routes outlined here provide a spectrum of options - from lightweight, rapidly assembled portals to solid, customisable surrounds. Consider how permanent you want the feature to be, the room’s existing materials, and your comfort level with tools and finishing techniques. With careful planning, a well-executed faux fireplace will deliver a cosy atmosphere, architectural interest, and a lasting sense of character to your European home.
Whether you lean into a light, playful cardboard version for a temporary display or opt for a timber surround that you can re-finish over time, the key is to maintain proportion, finish, and a thoughtful fireplace mood that aligns with the rest of the interior. A carefully executed project can be enjoyed for years, becoming a beloved element of daily life and a safe, stylish focal point for family gatherings and quiet evenings alike.
You may also like these articles
How to split a room into two zones: 11 smart methods
Practical ways to create two zones in one room with stylish, light-filled solutions.
Choosing European Interior Styles: A Practical Guide
A practical, European-focused guide to selecting and applying interior styles.
Smart, stylish and affordable: a European guide to bathroom renovations
Create a chic bathroom on a budget with practical European-ready tips.