
Explore interior trends, AI design insights, styling guides and real transformations
How to Create a Full Design Project Yourself: A Practical Guide for European Homes
Introduction: why a methodical DIY design project works in European homes
Across Europe, homes come in a wonderful variety of shapes and sizes. Thousands of kitchens, living rooms and bedrooms were built to different standards, with evolveing layouts, daylight patterns, and structural quirks. Turning a blank vision into a coherent interior can feel overwhelming, yet a disciplined, step‑by‑step approach makes the process not only manageable but genuinely enjoyable. This guide lays out a practical workflow for designing a complete interior project by yourself, while keeping a professional eye on safety, feasibility and your budget. It is suitable for apartments and houses alike, from compact city flats to contemporary family homes, and focuses on universally applicable methods rather than country‑specific regulations. Where legal or regulatory checks are essential, you will find clear reminders to consult with competent professionals.
1. Measuring with precision: begin with truth, not wishful thinking
All design starts with accurate measurements. In European homes, complexities often arise from irregular wall lines, alcoves, chimney breasts, and varied ceiling heights. The better your data, the less guesswork you require later, and the smoother the project will run.
- Prepare a plan of the space: mark every room, corridor, and structural element you intend to change or reference.
- Measure walls, door and window openings, ceiling heights, sill heights, and the position of fixed features (heating radiators, built‑ins, pipes). Record their dimensions in centimetres and note any deviations from a straight line.
- Note the orientation of the space: which walls face south, east, north and west? Use a compass or a digital tool to indicate cardinal directions. Daylight direction informs window treatments and lighting design.
- Identify services: electrical outlets, data points, plumbing access, ventilation ducts. Mark their approximate locations on your plan.
- Draw a clean, to‑scale base plan. A common scale for interiors is 1:50 (1 cm on paper equals 0.5 m in reality). If the space is larger or more complex, you may begin with 1:100 and move to 1:50 for detail work.
Tip: keep a small notebook or a digital file for quick notes about oddities - sloping ceilings, uneven floors, or plaster thickness - so they don’t spoil later decisions.
2. Planning to scale: translating reality into a workable blueprint
With a measured base, the next step is to translate reality into a scale drawing that you can manipulate. This is the framework on which every design decision rests: furniture placement, circulation, storage, and zones of activity all hinge on accurate scale planning.
- Draw the outer walls and fixed features on the base plan, then add doors, windows, and radiators to scale. Avoid approximations at this stage, even a few misplaced millimetres can cascade into gaps or overlaps later.
- Create furniture footprints at true size. This helps you test proportions and ensures doors, drawers, and seating have adequate clearance.
- Model basic movement routes. Trace the natural flow of traffic between rooms, across thresholds, and around obstacles. Efficient circulation is as important as aesthetics.
- Explore multiple layout options. For small spaces, prepare at least three distinct arrangements - focusing on storage density, daylight utilisation, and accessibility. Compare them against your brief to decide which path best satisfies needs and constraints.
In today’s practice, many designers use general planning software or online tools that support 2D floor plans and quick 3D visualisation. Choose either a desktop program or a browser‑based planner that lets you work without upfront costs. The key is consistency: always work to the same scale and reference points to keep plans interchangeable as ideas evolve.
3. The design brief: turning wishes into workable criteria
A clear and detailed brief acts as the project’s compass. It should articulate your goals, lifestyle requirements, and the aesthetic you're aiming for, while remaining practical about the space’s constraints. The brief functions as a shared document you can refine with future contractors, suppliers, and any collaborators.
- Style and mood: describe the desired ambience (minimal, warm, eclectic, coastal, industrial‑scandi, etc.). Include sample references or mood words rather than relying on a single “look”.
- Functional requirements: storage needs, work areas, seating, zones for cooking and dining, and any specialist spaces (home office, gym corner, reading nook).
- Spatial statements: preferred room sizes, ceiling treatment, and the relationship between spaces (open plan vs. defined rooms).
- Mechanical and service needs: ventilation, heating, electrical loads, lighting levels, and data points. Consider accessibility and future adaptability as well.
- Budget envelope: allocate a realistic overall budget with a contingency (commonly 10–20%) for unforeseen items or changes.
- Inspiration library: collect photographs of interiors, materials, textures, and colours you admire. Use these to anchor the design direction in concrete cues rather than fleeting impressions.
Keep the brief concise, yet precise enough to guide decisions. If you can, supplement it with a simple material palette and a provisional furniture list to help you visualise the end result.
4. Spatial planning and zoning: turning plan into lived space
Dynamic European interiors often combine compact footprints with generous functionality. The aim is to create well‑defined zones that interact smoothly, while maintaining an open feel where desired. When you plan zones, consider both function and ergonomics: how a room is used, and how people move through it, in daily life and during entertaining.
- Define core zones: a cooking and dining area, a living or lounging zone, and private spaces (bedrooms, study). In compact homes, you may merge zones but keep a clear logic for use and access.
- Test adjacency: ensure the kitchen is close to dining spaces, the living area should benefit from daylight and be separated from noisy areas if possible. In open plans, define visual boundaries with furniture arrangements, rugs, or lighting, rather than rigid walls.
- Maximise storage through built‑ins. Custom or semi‑custom cabinetry can dramatically improve storage efficiency in smaller spaces. Plan every drawer and shelf to fit specific items, reducing visual clutter.
- Plan for circulation: allow at least 60–90 cm of clear width for main walkways and doorways. In kitchens, ensure work triangles (sink, stove, fridge) are efficient and accessible without crossing paths with guests.
When you consider bureaucracy and permissions, remember that in many European contexts minor interior changes may not require a formal permit, but partial wall movements or structural alterations typically do. Always consult with a licensed architect or engineer if you are uncertain about load‑bearing walls, plumbing routes, or the feasibility of moving services. A professional assessment can save time, money, and potential compliance issues.
5. The volumetric model: testing ideas in three dimensions
Moving from flat plans to a three‑dimensional representation helps you experience proportions, light, and scale in a tactile way before a single screw is turned. A volumetric model provides a practical reality check, revealing issues that plans alone cannot foresee.
- Build a simple 3D model of the essential space using general modelling software. Focus on the core geometry: wall positions, floor level, ceiling height, and major fixed features.
- Test materials and finishes in the model. Visualise how different surface textures interact with light and how colours change under varying illumination. Consider durability and maintenance in each material choice.
- Develop interior elevations for critical zones. Elevations are exact views of walls that show furniture heights, cabinetry depths, and the relationship between fixtures and finishes.
- Use the model to explore daylight and artificial lighting. See how natural light travels across the day and how layered lighting will perform for tasks, ambience, and energy efficiency.
Although digital tools are convenient, even a cardboard cut‑out, scaled on a grid, can help you reason about eye level sightlines, reach distances, and the ratios between different elements. The aim is to gain confidence that the space will work in everyday life, not to chase a perfect 3D render.
6. The stylistic decision: translating function into material language
With a clear plan and a defined space, you can articulate a coherent material and colour strategy. European homes value materials that are durable, comfortable, and easy to maintain in varying climates and lighting conditions. The stylistic decision should follow from the brief and the model, not the other way around.
- Material layering: pair a durable, easy‑to‑clean base with softer textures for warmth. For example, use a tough tile or sealed concrete for high‑traffic zones, complemented by warm timber, stone, or linoleum for living and dining areas.
- Colour strategy: choose a restrained primary palette and introduce colour via textiles, furniture, and small‑scale details. In European contexts, soft neutrals with one or two accent colours often create a timeless interior that remains appealing as trends evolve.
- Surface scale and repetition: combine large‑format surfaces with smaller pattern elements to create visual rhythm. Avoid competing patterns, instead, repeat a small set of motifs across materials (e.g., weave textures, a particular tile size, or a shared metal finish).
- Lighting and mood: plan layers of light (ambient, task, decorative) to adapt the spaces through the day and seasons. A well‑engineered lighting plan enhances material depth and colour perception, crucial in northern latitudes where daylight can be scarce in winter.
As you select finishes, consider their long‑term performance. Kitchens and bathrooms demand moisture resistance and easy maintenance, living areas benefit from warmth and tactility, bedrooms require a quiet, comfortable ambience. Always request sample swatches and test finishes in the actual space under different lighting conditions before committing.
7. A considered lighting strategy: light as architecture
Lighting is often the difference between a good design and a great one. A well‑thought plan can transform a space, regulate mood, and improve usability. In European homes, where daylight varies across seasons and latitudes, layered lighting is essential.
- Ambient lighting forms the room’s blanket light. Recessed fittings, coves, or pendant clusters create a soft, even glow that minimises harsh shadows.
- Task lighting supports specific activities: under‑cabinet LEDs for kitchens, reading lamps by seating, and desk lighting for work zones.
- Accent lighting adds drama and helps to articulate architecture and materials - think wall washers, display alcoves, and architectural features.
- Controls and efficiency: opt for dimmable fittings and zoned control to adapt lighting to time of day and use. Prioritise energy‑efficient sources and consider daylight‑responsive controls where feasible.
Pay attention to colour rendering indices (CRI) and colour temperature. For living spaces, a warm white (around 2700–3000 Kelvin) creates a welcoming mood, while cooler temperatures (3500–4000 K) can help with task areas and study zones. Remember that mirrors and glazed partitions can amplify light without adding energy consumption.
8. Electrical planning and sustainable design: future‑proofing the space
Electrical planning is a foundation of a safe, comfortable home. It is easier and safer to decide the layout and capacity early in the project than to retrofit later. European flats often require careful integration of power, data and mechanical services in limited spaces.
- Outlets and data points: map the planned locations for socket outlets, USB charging, and data points for workstations, AV equipment, and kitchen appliances. Leave generous spacing around work surfaces and seating areas.
- Load considerations: ensure your circuits are sized to handle planned loads, particularly in kitchens and utility zones. If you intend to add high‑powered appliances or a home workstation with multiple devices, plan dedicated circuits where appropriate.
- Data and connectivity: consider a structured cabling approach for future technologies, including robust Wi‑Fi coverage, ethernet where needed, and centralised charging hubs.
- Energy efficiency: integrate smart controls and sensors where possible to optimise heating, lighting, and ventilation. This not only reduces running costs but also enhances comfort.
When dealing with any significant electrical work, have a qualified electrician assess and approve the plan. Safety and compliance should never be compromised in the pursuit of aesthetics.
9. The technical drawings package: turning ideas into actionable instructions
The construction drawings are the essential bridge between concept and build. A clear, comprehensive package reduces miscommunication, streamlines procurement, and helps tradespeople work confidently. A robust set of drawings typically includes demolition plans, new construction or alteration plans, elevations, sections, and detailed installation drawings for finishes and fittings.
- Demolition and removal: specify what is to be removed or altered, including walls, built‑ins, flooring, fixtures, and utilities. Note any potential hazards or disposal requirements.
- New installations: provide precise locations for cabinetry, fixed furniture, appliances, plumbing connections, and lighting placements. Include dimensions, materials, and finishes.
- Finishes and detailing: provide reference notes for tile layouts, wall coverings, paint schemes, and joinery details. Include tolerances and installation sequences to avoid conflicts during execution.
- Electrical and mechanical: incorporate sockets, switches, dimmers, ventilation points, and plumbing connections with clear codes and callouts. Show the integration between electrical boxes, data points, and lighting fixtures.
- Schedules and specifications: create material schedules for finishes, hardware, and fixtures. List quantities, finishes, and installation notes to guide procurement and on‑site work.
Think of your drawings as a language: precise, unambiguous, and optimised for the teams who will interpret them. Maintain a logical order and provide a single source of truth that all stakeholders can refer to throughout the project.
10. Budgeting and procurement: turning plans into reality
Budgeting is not about constraining creativity but about ensuring the project can be executed with confidence. A well‑structured budget recognises core costs, contingency, and the realities of European supply chains and labour markets.
- Cost categories: allocate budgets for design fees, demolition and structural changes (if any), carpentry and joinery, plastering and painting, flooring, kitchen and bathroom fixtures, lighting, hardware, and decorative elements.
- Contingency: set aside 10–20% of the budget to cover unforeseen items such as rectifications, material substitutions, or delivery delays.
- Procurement strategy: decide whether you will buy components yourself or work with a project‑managed procurement package. Consider lead times, delivery windows, and storage requirements for large items.
- Value perception: be mindful that the “cheapest” option often costs more in install time and quality of life. Prioritise durable materials and reputable finishes that minimise maintenance and replacement cycles.
Keep a transparent budget file that documents prices, quotes, orders, and delivery dates. A well‑kept budget helps you monitor cash flow and avoid mid‑project financial stress.
11. Timeline and collaboration: governing the workflow
A clear timeline with milestones keeps a DIY interior project on track. Even if you are coordinating many aspects yourself, you will benefit from a structured schedule and regular reviews. Collaboration, even in a solo project, improves outcomes because it forces you to test assumptions and refine choices.
- Phase planning: allocate time for measurement, planning, model development, material selection, drawing finalisation, procurement, and on‑site coordination.
- Milestones: set review points after each major phase - plan approval, design sign‑off, material order confirmation, and start of works. Treat these as non‑negotiable deadlines to maintain momentum.
- Documentation: maintain an organised library of documents, including the plan, brief, material swatches, samples, and correspondence with trades. This reduces confusion and speeds up problem solving.
Even in a DIY context, professional input can be invaluable. Consider a one‑off consultation with a reputable interior designer or architect to review your plans, confirm structural feasibility, and refine the drawing package. A single expert review can save costly revisions later.
12. Finalising and moving into the build phase
With measurements verified, plans scaled, and drawings locked, you are ready to transition from design to build. The move from concept to execution is the most exciting stage, but it also carries the greatest risk of miscommunication if details are vague. Keep several practical checks in place as you begin:
- Walk the space one last time against the plan. Check clearances, movement paths, and the locations of outlets and fixtures when the furniture is placed in the model as well as in real life.
- Confirm order lead times and delivery schedules. Alignments between when items arrive and when trades are ready to install reduce downtime and on‑site chaos.
- Coordinate trades using the drawings as the primary source of truth. Hold a short briefing before work begins to ensure everyone understands the sequence and how changes will be captured.
- Quality control: set a practical acceptance plan. Inspect finishes, alignments, and fixtures as they are installed, and address any discrepancies promptly.
Finally, maintain flexibility. Even a well‑conceived plan may require adjustments once you see how light behaves, how acoustics feel, or how the space functions in daily life. The best outcome balances vision with practicality, ensuring your home remains comfortable, usable, and aesthetically coherent for years to come.
Working notes: practical tips for a successful DIY design journey
- Start with the essentials: obtain a robust base plan before adding high‑impact details. This keeps the project focused and affordable.
- Prioritise critical zones first: kitchen, bathroom, and shared living spaces determine everyday comfort and the project’s success early on.
- Preserve daylight and view lines: orient furniture to maximise natural light and sense of openness, even in narrow rooms.
- Choose materials with longevity in mind: durable surfaces reduce maintenance costs and help the project stay visually fresh longer.
- Document decisions in one place: a single design notebook or digital file with dated notes and images keeps everyone aligned, including future occupants or tenants.
Conclusion: a thoughtful, self‑led design project that respects place and people
Designing your own interior is a meaningful way to shape a home that truly reflects how you live. In Europe, where spaces often pose distinct challenges and opportunities, a disciplined approach - measure, scale, brief, plan, model, select, and document - delivers not just a look, but a usable, comfortable environment. By combining practical steps with a thoughtful aesthetic, you can realise a space that feels coherent, efficient, and genuinely yours. And if you ever feel uncertain, professional input is a smart ally - often the quiet cost of avoiding noisy, costly mistakes further down the line.
You may also like these articles

Budget-smart Renovation: European Designer Secrets for a Modern Home
Practical, stylish renovation tips for European homes on a budget.

Gas pipes in European kitchens: 10 lawful design ideas for a seamless look
Balancing safety and style: compliant kitchen pipe décor across Europe.
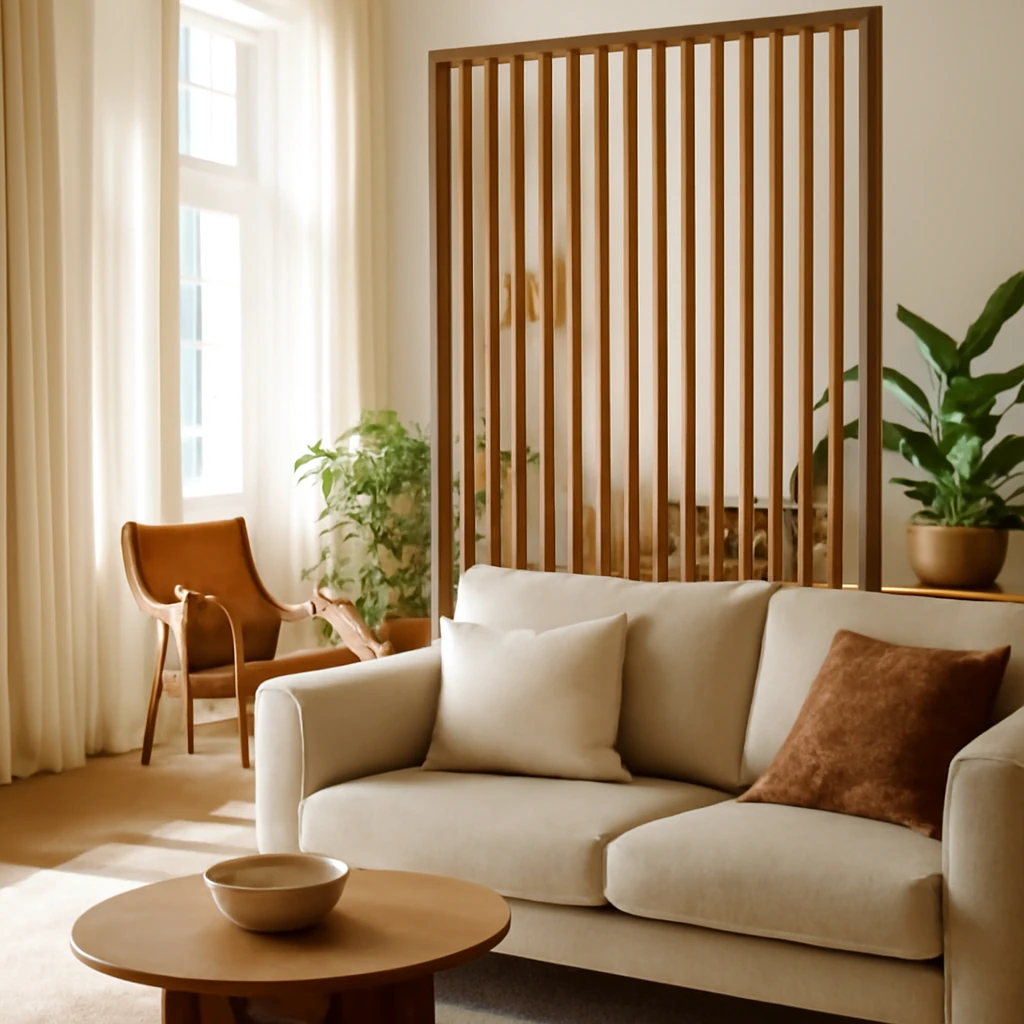
Room Dividers: Zoning Solutions for European Homes
Smart room dividers that transform open spaces into distinct, functional zones.