
Explore interior trends, AI design insights, styling guides and real transformations
Mirror Frame DIY: A Beginner's Guide for European Homes
Introduction: why design and build your own mirror frame
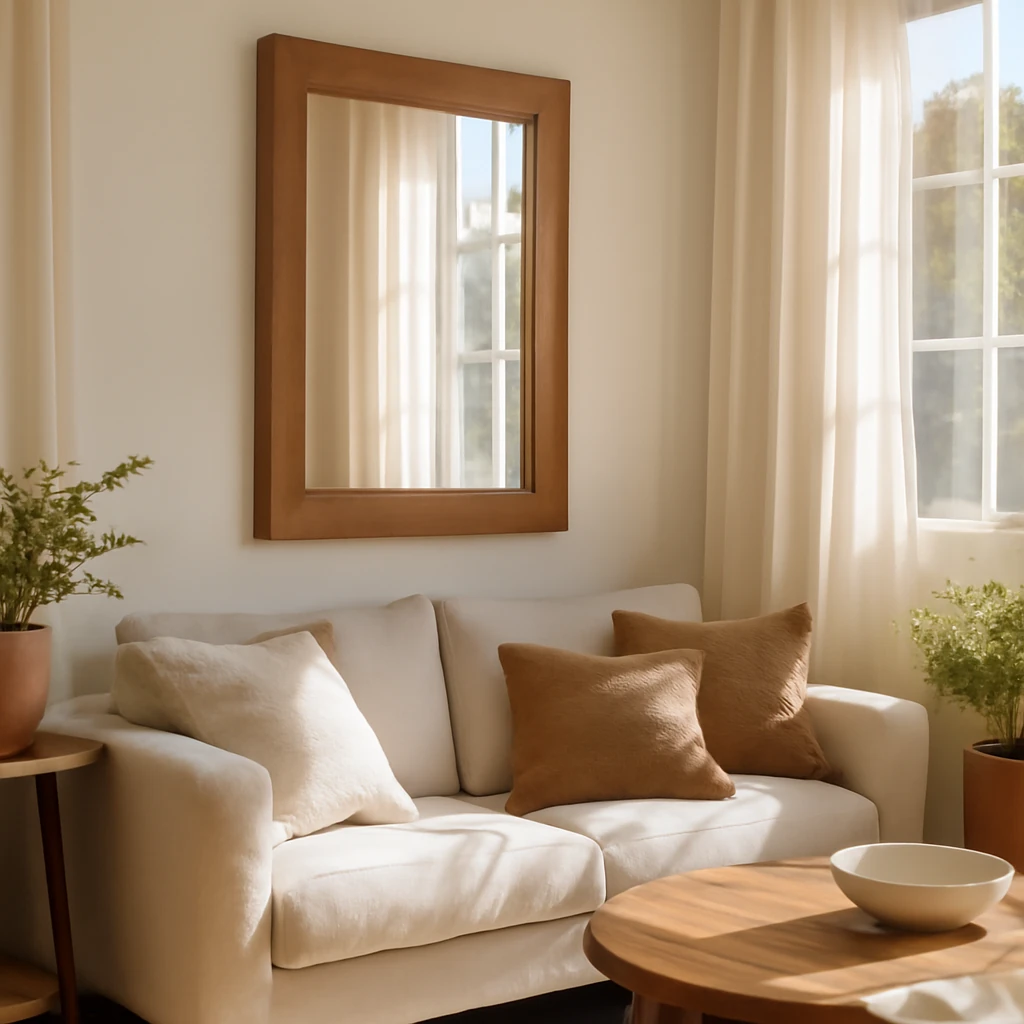
In contemporary European interiors, mirrors are more than simple reflective surfaces, they are design anchors that shape light, sense of space and texture. A frame that is tailored to a room can elevate a plain mirror into a deliberate, lasting feature. For the colour of a space, the scale of a wall, and the ambience of a corridor, a customised frame offers control that ready-made solutions rarely match. This guide provides two robust, beginner friendly approaches to constructing a wooden frame for a mirror, using common tools and materials that are accessible across European markets. It is written for homeowners who want a tactile project that rewards careful planning, precision and a touch of personal style.
Planning your frame: size, style and clearances
Before you pick a timber type or buy hardware, take a moment to plan. A well-designed frame begins with accurate measurements and a clear sense of how the piece will sit within the room. Consider these factors:
- Mirror dimensions: measure width, height and thickness. Add a modest overhang so the glass is not exposed at the edge, typical frames allow a 1.5–3 cm margin beyond the mirror edges to protect the surface and to provide a proud profile.
- Wall space and centring: decide whether the frame will sit flush with the wall surface or project slightly from it. If the mirror is to be hung in a centre of a wall, ensure the frame does not visually crowd the surrounding elements, a lighter profile often works better in small rooms.
- Depth and clearance: account for the depth of the frame and the wall hardware. If you plan to mount the mirror in front of a plastered or painted wall, you may want a flush installation, if you are working with busy wallpapers or fabric, a slightly deeper frame can create a calmer silhouette.
- Style direction: decide on a style that harmonises with the room. A Scandinavian inspired frame may be slim and straight-edged, a contemporary frame might feature subtle chamfers, a traditional look may call for mitred corners and a more substantial width.
Drafting your plan on paper or a simple CAD sketch helps ensure you do not lose track of offsets, bevels and the exact position of the glazing. For beginners, a rectangular or square frame is usually the easiest starting point. It minimises calculation errors and makes mitred joints more forgiving if you are still refining your technique.
Materials and tools: practical essentials for a European workshop
When it comes to raw materials, you do not have to rely on premium construction timbers for a visually strong result. Beginners can start with readily available boards, pre-milled mouldings, or repurposed finishes. The goal is to create a sturdy, attractive edge that protects the glass and provides a clean, neat profile. In Europe, common choices include softwoods such as pine or spruce for a light, contemporary frame, and hardwoods like beech or oak for a warmer, more durable finish. If you prefer a salvage or rustic look, with some skill you can work with reclaimed mouldings or repurposed door astragals.
In addition to timber, you will need materials that secure the glass without risk to the mirror’s reflective surface. Use a dedicated mirror adhesive or a high quality epoxy adhesive marked as mirror-safe. Avoid regular wood glues on the glass face, and never rely on nails or screws alone to suspend a heavy mirror without a suitable backing or mounting method.
Below is a practical list of tools and materials that covers typical DIY setups across European homes. It is designed to be approachable for beginners while remaining versatile for more complex projects as you gain confidence.
Essential tools and materials
- Timber boards or mouldings suitable for framing (softwood or hardwood, depending on budget and desired look)
- Wood screws and metal corner brackets (anti-twist corner braces are helpful for stability)
- Mirror-safe adhesive or silicone sealant suitable for mirrors
- Mitre saw or managed alternative with a fine handsaw and mitre block
- Measuring tape, carpenter’s square and pencil
- Clamps to hold frames while glue sets
- Drill with appropriate bits for pilot holes
- Fine sandpaper (ranging from 120 to 240 grit)
- Wood filler or epoxy to fill minor gaps
- Finish of choice: oil, wax, stain or clear varnish for protection and colour
- Safety gear: eye protection, dust mask, and hearing protection when cutting
Optional, but handy items
- Conduit or drill guide to help position holes for any wall mounting hardware
- Filling materials for joints and a soft cloth for neat finish
- Backer board or thin plywood to reinforce the frame and improve mounting stability
- Edge protectors or corner mouldings for a more refined appearance
When choosing materials, consider how you intend to finish the frame. An oil or wax finish can highlight natural grain for a light, tactile feel, while a clear varnish offers durability and a modern gloss. Painted frames also provide a straightforward way to coordinate with wall colour or interior schemes. Always test finishes on scrap wood before applying to the frame to ensure you achieve the desired hue and depth.
Two practical methods for making a wooden frame
Method one: The traditional mitre frame with a recessed mirror seat
This approach yields a classic, timeless look and creates a frame that sits snugly around the mirror. It requires careful measuring and precise mitres, but the results are dependable and aesthetically versatile.
- Plan the frame layout and cut four lengths of wood. Each piece should be slightly longer than the corresponding edge of the mirror to allow for the mitred joints and a small internal ledge that will hold the glass.
- On a flat workspace, lay the four pieces with the outer faces facing down. Mark a 45 degree angle at each end using a square guide. This 45-degree cut will be the mitre angle when the pieces join at the corners.
- Set the mitre saw to 45 degrees. Cut each end at the marked angle, ensuring all joints will align neatly. Take care to keep the long edges parallel and the frame square.
- Chamfer or bevel the inner edge of the frame if you want a shadow line or a lighter inset around the mirror. This can add depth and a refined finish.
- Dry fit the four pieces to confirm they join cleanly. If gaps appear, adjust the cut angles slightly and recheck the fit. The frame should be slightly larger than the mirror opening to create an even border.
- When satisfied with the fit, apply a bead of mirror-safe adhesive along the inner edges and join the corners. Clamp the assembly and allow the adhesive to cure according to the manufacturer’s instructions.
- For extra rigidity, insert small wood screws or corner brackets into the back corners, driving them in through the frame from the inside or using small blocks to connect. Ensure the screw heads are hidden or flush to prevent contact with the mirror backing.
- Finish the frame as desired. Sand smooth, fill any small gaps with wood filler, and apply the chosen finish. A light oil or wax highlights natural grain, while a stain or paint can align the frame with the room’s palette.
- Mount the mirror by attaching a backing support or brackets to the frame. Use appropriate wall fixings for the weight and the type of wall you are attaching to (plaster, brick, or hollow wall systems all require different hardware).
Key considerations for this method include ensuring that the mirror is not pressed by the frame in a way that could crack or chip the backing. The inner ledge should hold the glass securely without distorting it, and the frame should remain visually balanced to maintain a crisp, high-end finish.
Method two: A simpler butt-joint frame with an external bevel
If you are starting out, a straightforward butt-joint frame can be quicker and still deliver a handsome result. This method avoids deep internal ledges and focuses on a clean exterior profile that complements modern interiors.
- Prepare four frame pieces with straight ends. If you wish, you can cut the ends on a simple saw with a square guide, but the corners do not necessarily have to be bevelled at 45 degrees.
- Lay out the pieces on a flat surface and position them in a rectangle slightly larger than the mirror opening. Temporarily secure with clamps to test alignment.
- Apply a suitable adhesive to the ends and join the pieces into a rectangle. Use brads or screws to reinforce the joints through the outer edge, then backfill with wood filler where needed to limit visible fixings.
- Place a thin sheet of plywood or backer board on the inside of the frame to stiffen the structure and provide an even surface for mounting the mirror backing.
- Attach the mirror into the frame using a mirror-safe adhesive along the inner edge. If the frame is strong enough, you may also seek mechanical fastening options to secure the glass backing without risk to the reflective surface.
- Finish the frame in the chosen manner. Linear, straight-edged frames pair well with minimalist or industrial interiors, while a softly curved edge or bevelled outer edge can add quiet elegance to traditional rooms.
- Mount the finished frame on the wall using appropriate fixings and ensure the mirror is level. Depending on the wall type, you may prefer to mount the frame on brackets or a concealed hanging rail for a clean appearance.
This method is ideal for those who want to gain confidence quickly, offering an uncomplicated build with a strong result. The key is to ensure joints are well aligned and the back of the frame is clean, flat, and capable of accommodating the mirror backing securely.
Finishing and securing the mirror: careful steps for safety and beauty
Finishing the frame is not merely about aesthetics, it also protects the wood and helps maintain the mirror’s integrity over time. Consider these steps to ensure a durable, attractive result:
- Prepare the wood by sanding progressively from rough to fine grits. This creates a smooth surface for finishes and reduces snags on clothing or hands when handling the frame.
- Fill any small gaps or nail holes with a compatible wood filler. Sand smooth after curing to achieve an even surface before finishing.
- Apply a protective finish. Natural oils and waxes highlight grain and offer a tactile feel, while varnish or polyurethane provides added durability in high-traffic spaces. If you are finishing a frame for a kitchen, bathroom, or humid environment, choose products with water-resistance and mould resistance as appropriate.
- Use a mirror-safe adhesive along the inner edges to secure the glass. Apply a thin, continuous bead that does not ooze over the edge of the mirror backing. Clean any excess adhesive immediately with a soft cloth and mineral spirits if necessary.
- Fit the frame around the mirror carefully, ensuring the glass is flush with the inner edge and not pressed by the frame. If necessary, temporarily support the glass with a light backing strip during setting.
- Mount the assembled frame to the wall using the chosen hardware. For heavier frames, consider steel brackets or a reinforced hanging system, use fixings that anchor into studs or masonry, not plaster alone. Level the frame carefully to maintain a balanced appearance.
Decor ideas: personalising frames to suit European interiors
Choosing finishing touches that harmonise with the room can elevate a mirror from merely functional to a focal point. Here are ideas that work well in many European settings:
- Natural timber with clear finish: keep the wood visible and protect with a light oil or wax. A pale timber such as birch or ash can suit contemporary spaces with restrained palettes.
- Stained or coloured frames: a subtle stain can deepen the room’s mood, while a bold colour can create a graphic counterpoint to neutral walls.
- Bevelled or chamfered edges: these details catch light softly and add a refined, architectural feel to the frame.
- Brushed or brushed-bronze accents: metal edges or corner details bring an industrial or mid-century vibe without overpowering the room.
- Distressed or antiqued finishes: simulate a patinated look for a vintage or rustic aesthetic, ideal for transitional spaces that blend old and new.
- Tile or ceramic inlays: a frame with ceramic or porcelain tile inserts can become a statement piece, particularly in bathrooms or entrance halls where moisture and reflections balance.
- Leather or fabric trim: a leather strip along the inner edge or a fabric-wrapped surround can soften the silhouette and add tactile warmth.
- Minimal black or metallic frames: for a modern, gallery-like feel, a slender black or metallic frame can provide a crisp, contemporary finish that mirrors popular European interiors.
When styling, keep proportion in mind. A frame that is too thick for a small mirror can overwhelm the space, while a frame that is too slim may look insubstantial on a large vanity. A balanced approach - consider the wall height, ceiling line and the room’s other architectural features - yields the most harmonious result.
Common mistakes and how to fix them
A well-executed frame is the product of careful measurement and a calm, methodical approach. Beginners often encounter a few recurring challenges. Here is a quick guide to diagnosing and fixing them:
- Mitre joints don’t align perfectly: re-check the angle settings and re-cut the offending ends, a light trim with a fine saw can help you achieve a snug fit. It is better to take a little extra time than to force a poorly fitting corner.
- Frame is not square: test with a carpenter’s square and adjust by sanding the longer dimension or re-cutting one edge to restore a perfect 90-degree corner.
- Gaps along the joints: apply wood filler and smooth after it has cured. For larger gaps, consider adding a small decorative moulding to disguise the seam.
- Adhesive oozes onto the mirror: work slowly, apply a thin bead along the inner edges, and wipe away any excess before it cures.
- Mirror movement after mounting: ensure a backing plate or studs are properly aligned and prevent the glass from shifting by using an internal shelf or supporting blocks if required.
With patience and a steady hand, most of these issues can be resolved without replacing parts. The key is to measure twice, cut once, and test fit early in the process to avoid expensive mistakes later on.
Care and maintenance: keeping your frame beautiful
Proper care extends the life of both wood and mirror. Wipe the frame with a soft, damp cloth to remove dust, avoid abrasive cleaners that can dull finishes. If you choose an oil or wax finish, reapply every six to twelve months, depending on use and environment. In humid spaces like bathrooms or kitchens, opt for water-resistant finishes and consider a frame profile that resists moisture ingress. Inspect the mirror backing for any signs of corrosion or detachment and address promptly if you notice loose fittings or a shifting surface.
Conclusion: a personalised frame that enhances light and space
Building your own mirror frame can be a gratifying project that elevates the way a room reads. By combining careful planning, appropriate materials, and a couple of reliable construction methods, you can create a frame that fits your space, reflects your taste and stands up to everyday use. Whether you favour the clean lines of a modern frame, the warmth of a natural timber finish, or the character of a distressed antique, the process remains the same: measure precisely, cut with care, join firmly, and finish thoughtfully. With time, patience and practice, your semi-professional framing skills will grow, and your mirrors will become enduring elements within your European home.
You may also like these articles
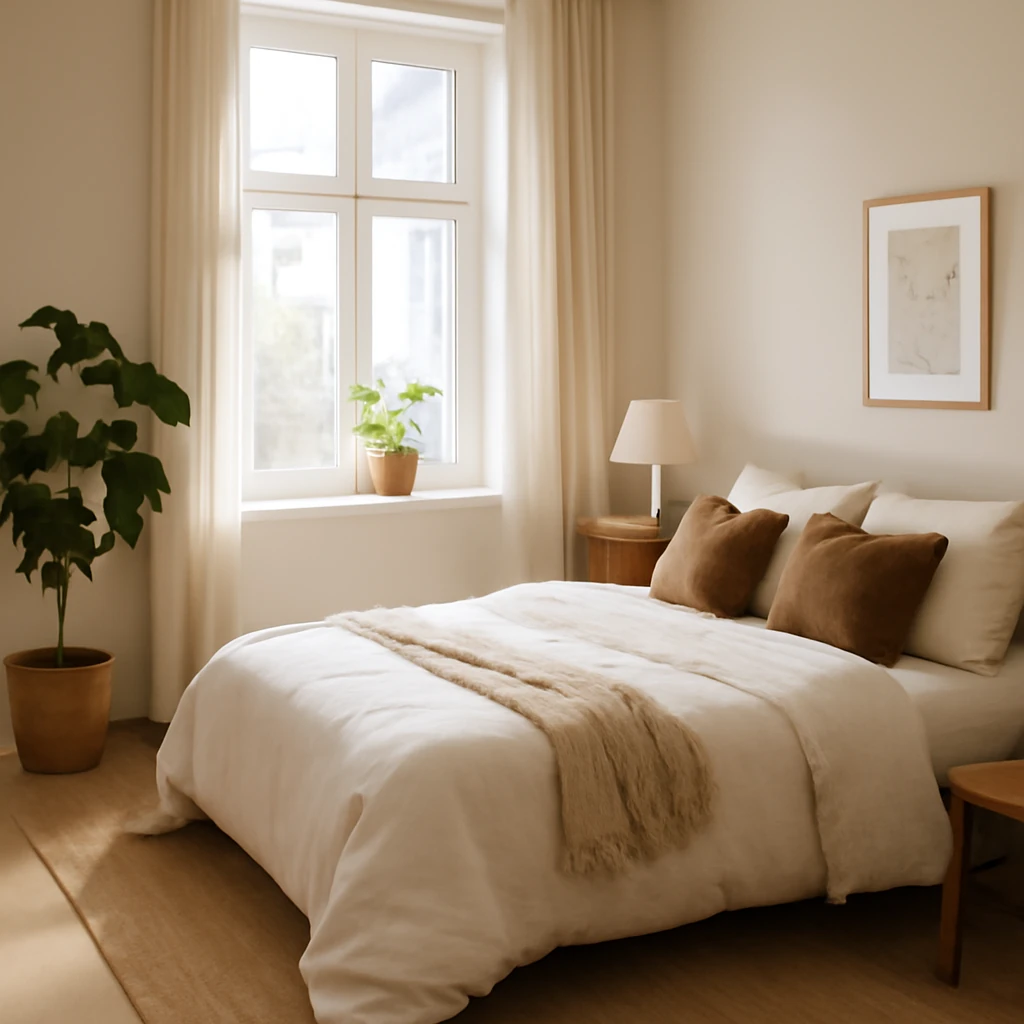
Scandinavian Bedrooms: Calm Light and Natural Textiles for European Homes
Nordic-inspired bedrooms: calm spaces, natural textures, layered lighting.
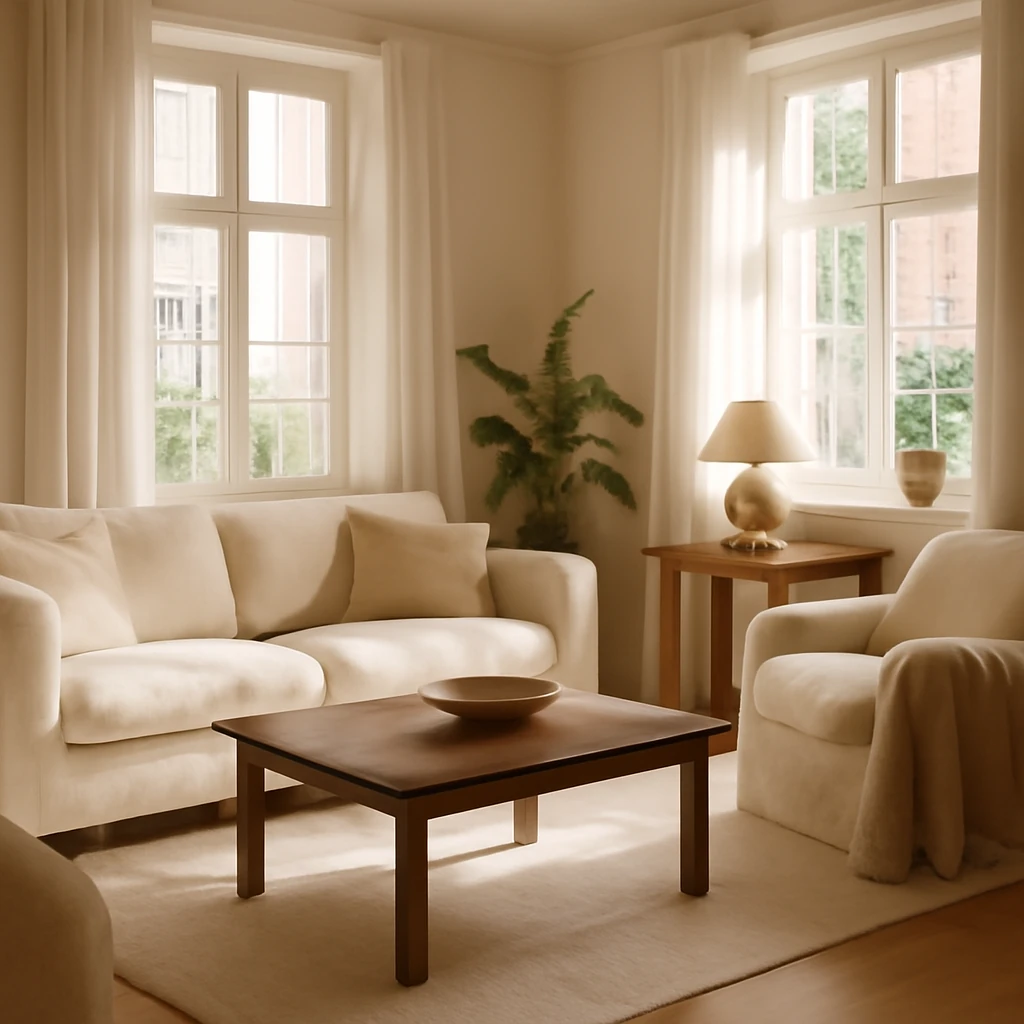
Soft White, Quiet Glow: How Light Tones Shape European Homes
Pale palettes that expand spaces and refine European interiors.
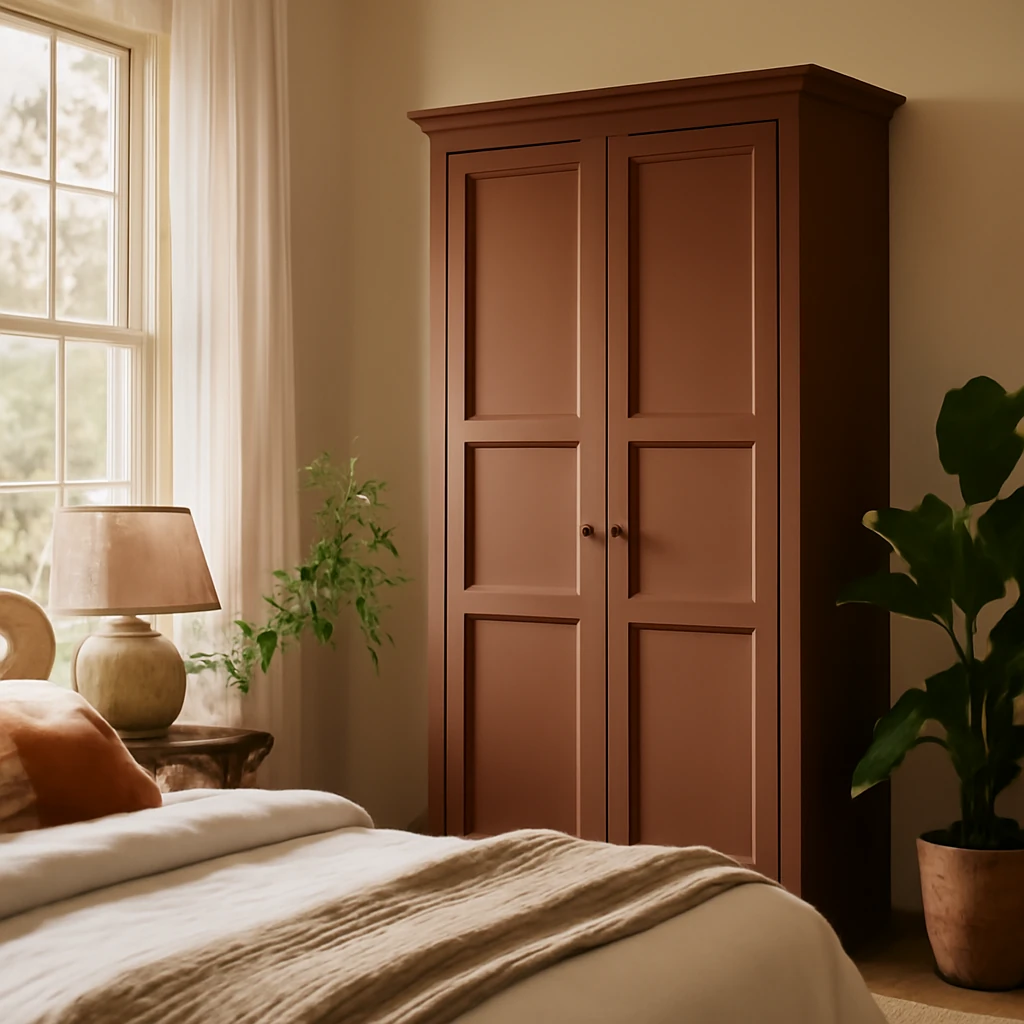
Colourful Wardrobes: A Practical Guide to Painting for Space and Style
Turn a plain wardrobe into a colour feature that enlarges space.