
Explore interior trends, AI design insights, styling guides and real transformations
Four DIY tables from boards: four models with plans and practical guidance

Overview: building a table from boards
Timber furniture brings warmth and character to European interiors. Building a table from individual boards, rather than a single solid slab, offers flexibility, cost efficiency, and a satisfying sense of achievement. This guide translates the process into four accessible models, with practical planning tips, material guidance, and step‑by‑step instructions you can adapt to your workshop and space. Whether you are refreshing a kitchen corner, furnishing a sunny balcony, or imagining a robust family table, the projects below show how to work with common timbers, how to select materials responsibly, and how finishing choices affect durability and appearance across a European climate.
Choosing timber for boards
The right species influences not only aesthetics but ease of work and longevity. In a European context, you’ll typically balance hardness, workability, and resistance to movement. The following species are commonly used for board-based furniture and offer reliable performance for DIY projects:
| Species | Pros | Cons |
|---|---|---|
| Oak | Hardwearing, with a rich grain and deep colour that ages gracefully. | Challenging to machine due to density, higher cost. |
| Pine | Soft and easy to work with, takes finishes well, readily available. | Can darken with age, knots may complicate planning. |
| Beech | Strong, even texture, good for stable, durable furniture. | Movement can occur with moisture, occasional warping if not properly dried. |
| Alder | Harder than pine, elastic, lightweight, good all-rounder. | Less pronounced grain, fewer distinctive features for high-contrast pieces. |
| Birch | Hard, with a tight grain and clean appearance, holds finishes well. | Moderate moisture sensitivity, quality depends on drying. |
| Spruce | Economical, very workable, light colour that accepts finishes evenly. | Less durable, dents and scratches show more readily. |
For most indoor tables, beech or alder offer a reliable combination of workability and strength. If outdoor or high-traffic use is anticipated, choose more stable, resin-rich timbers or species with good outdoor finishes, and collaborate with a timber merchant on treatment options. If possible, source boards that have been properly air-dried and maintain a consistent moisture content to reduce movement after assembly.
Quality and material readiness
When selecting boards, consider these quality indicators. They help ensure a stable, durable surface and minimal post‑production surprises:
- Edges and cuts should be square, deviations from perpendicular should be limited to a small tolerance.
- Look for cracks running along the grain, if present, ensure their length does not exceed a safe proportion for the board size.
- Knots should be healthy in appearance. A few small knots are acceptable, but avoid large voids or loose knots that may loosen over time.
- Resin pockets can appear, small pockets are permissible, but large or persistent pockets may interfere with uniform finishing.
- Signs of decay or rot must be absent. Look for soft or crumbling areas, mould, or discolouration that indicates moisture damage.
- Grain orientation should be straight or predictably wavy, avoid pronounced crooked grain that could lead to warping or cracking after season changes.
- Inspect for warped, cupped, or twisted boards, select pieces with minimal warp to simplify construction and finish.
Consider combining boards from the same batch for a more uniform appearance. For outdoor furniture, choose treatments and finishes designed for exterior use, and allow appropriate drying times before assembly.
Planning the design and sizes
Before cutting anything, define the intended use and space constraints. Some common starting points (all measurements in centimetres):
- Small dining or compact cafe table for 3–4 people - top about 60 × 90 cm.
- Full dining table for 4–6 - top about 90 × 120 cm.
- Family or larger gatherings - top 120 cm or wider.
- Standard leg height for dining tables is approximately 70–75 cm, coffee or small occasional tables are typically 35–60 cm high.
- Under‑top frame should be set back from the edges by about 5–15 cm to maintain legroom and allow for a clean, balanced silhouette.
Decide on the table shape early - rectangular remains the most straightforward for board-based construction. Consider a design that enables you to assemble the top from boards of uniform thickness, keeping a consistent gap or butt joint with hidden fasteners for a clean finish. Sketching a scale drawing helps verify proportions and hardware placement long before any cutting begins.
Tools and equipment you’ll need
While you can complete a project with basic tools, having reliable equipment makes the process smoother and the result more precise. Essential tools include:
- Electric jigsaw or handsaw for curved or awkward cuts
- Shooting or belt sander, plus hand sanding blocks for final finishing
- Drill/driver and a set of bits for dowels, screws, and pilot holes
- Clamps of various sizes to hold pieces during assembly
- Measuring tape, square, and pencil for accurate marking
- Socket or nut drivers, screwdrivers, and a mallet for stubborn joints
- Optional router for decorative edges or specialised joinery
With timber movement in mind, ensure all tools are sharp and that you work on a clean, level surface. Safety equipment such as eye protection and a dust mask is advisable, particularly when planing and sanding.
Preparing and cutting the material
Cutting the top and components accurately is vital. Start with a clear plan for which boards will form the top, the frame, and the legs or supports. The sequence below mirrors common practice and can be adapted to your chosen design:
- Mark the cut lines precisely from the boards using a straightedge. Ensure lines run straight from edge to edge and check measurements against your drawing.
- Cut pieces along the marked lines with a steady, controlled motion. Keep the saw perpendicular to the surface to achieve clean edges. Avoid aggressive cuts that could lead to splintering.
- Lightly deburr and sand the cut edges. Begin with a coarse grit to remove roughness, then progress to finer grits. Always sand following the wood grain to reduce fuzzing and gouges.
After cutting, edges should present flat, true faces ready for assembly. The boards may require jointing or planing to achieve a uniform thickness. Always verify that top boards align in thickness and width to ensure an even finish. Before assembly, treat the raw timber with a suitable protective product suitable for the intended use and climate. Indoor furniture can benefit from oil, wax, or water-based finishes, outdoor pieces require more durable sealants and UV protection. Follow the product’s instructions for application and drying times.
Finishing and protective treatments
The finish you choose affects appearance, feel, and longevity. European homes vary in humidity and temperature, so selecting a suitable finish for indoor or outdoor use matters. Below are practical guidance points:
- Indoor use: hard wax oils or a clear water‑based varnish provide a natural feel and good protection with relatively low odour during application.
- Outdoor use or high‑traffic areas: opt for marine or exterior-grade varnishes or oils that offer UV resistance and water repellence. Some finishes require maintenance cycles, so plan for re‑application every few years depending on exposure.
- Colour and grain: light oils accentuate natural grain, tinted finishes can harmonise with room colour schemes but may require more maintenance to keep even appearance.
- Maintenance: gentle cleaning with a soft cloth and mild cleaner, avoid harsh chemicals that can strip the finish. Refinish as the surface shows wear or water marks appear.
Tip: Always test a sample board or a hidden section of the top with your chosen finish to confirm it achieves the look you want before treating the entire surface.
Four DIY table models from boards with plans
Below are four practical designs. Each model includes a straightforward construction sequence and notes on dimensions, joints, and finishing. Use them as a starting point and adapt to your space and timber availability. Where measurements are given, keep millimetres within a couple of millimetres to maintain accuracy as you cut and assemble.
1. The dining table
This is the classic rectangular dining table that balances a simple stringer frame with a dependable top. It’s approachable for crafters with some experience and can be scaled for larger gatherings.
- Construct a frame–a rectangular peripheral frame that supports the top boards. Use two long side rails and two shorter end rails. Attach with screws and ensure joints are square.
- Prepare the top. Lay boards across the frame, choosing pieces with matching thickness. You can butt them edge-to-edge or incorporate a subtle gap for expansion. If using mismatched widths, plan a pattern that distributes transitions evenly across the surface.
- Fix the top to the frame. Use concealed fasteners or countersunk screws, driven from underneath. Make sure screws sit flush or just below the surface to avoid snagging.
- Fill joints and gaps with a timber filler that matches the finish. Allow to dry, then sand flush with the top surface. Finish with your chosen sealer or oil to emphasise the grain.
- Fit legs to the frame. Use a sturdy leg design that supports the top’s length, ensuring the legs are square and level. Check stability with a spirit level and adjust as needed.
2. The cottage‑style table
This design evokes a country ambience, using X‑shaped legs to create a cosy, rustic silhouette. It works well in kitchens with traditional or modern décor.
- Cut two pairs of X‑shaped legs. Create interlocking joints in the centre to allow a strong bond. Glue and clamp until secure, then reinforce with screws from the exterior using hidden fasteners if preferred.
- Prepare a supporting underframe. Attach cross‑beams to the legs at the desired height to form a stable base for the top. Ensure the frame remains square and level.
- Assemble the top frame first, then lay the boards for the tabletop. Secure boards with screws or hidden fasteners. For a refined look, match the board thickness and tighten evenly.
- Attach the top to the frame. Use countersunk screws from beneath or add a thin edge bead to conceal hardware. Finish by filling any visible screw holes for a seamless surface.
- Sand thoroughly in the direction of the grain. Wipe away dust and apply the chosen finish. Consider a warm stain to enhance the timber’s natural character.
3. The outdoor picnic table with benches
Designed for patios or gardens, this table features integrated benches on either side. The robust construction and generous top support make it ideal for casual meals and social gatherings.
- Build three sturdy supports: a central long beam under the tabletop and two outer supports for lattice-style legs. Add diagonal braces to resist twisting and distribute weight evenly.
- Make the benches as part of the same frame, using boards closely matched in thickness. Attach with long screws for durability, ensuring seating height aligns with the table height.
- Assemble the tabletop from boards of uniform thickness. Leave slight gaps between boards to allow for moisture movement while maintaining a clean line.
- Position the benches on either side and secure to the frame with appropriate anchors. Use level checks and adjust as needed for even seating height.
- Apply outdoor‑grade finishes. Ensure all joints are adequately sealed against moisture. Revisit maintenance annually to preserve colour and protect from weathering.
4. The cross‑legged table
This design uses a pair of crossed legs forming a strong, sculptural support. It suits both indoor living spaces and covered outdoor areas, offering a contemporary silhouette with excellent stability.
- Prepare two inverted V or X shapes that will serve as the primary legs. Secure joints with glue and screws, reinforcing the connection with crosspieces for stiffness.
- Shape the top supports. Attach two or more crossbars that align with the inner faces of the legs. The top can be a simple plank arrangement or a woven panel of thin boards for visual interest.
- Lay the tabletop boards and fix them to the supports with concealed fasteners. Maintain consistent board thickness and tight joints for a smooth surface.
- Fix the legs to the top supports and check the assembly for level and stability. If necessary, adjust with shims under the leg joints.
- Finish with a protective coating appropriate to use. For indoor settings, a matte oil or wax creates a tactile finish, for outdoor use, choose penetrating sealants with UV protection.
Design notes and practical tips
Building a timber table from boards is as much about planning as it is about execution. Here are some final considerations to help you achieve a professional result:
- Think about expansion and movement. Timber expands and contracts with humidity, small gaps between boards and around the frame accommodate this without compromising rigidity.
- Joinery matters. For simplicity and neat aesthetics, consider concealed fasteners, pocket holes, or dowelled joints. Avoid relying solely on visible screws for larger surfaces, as they can be unsightly and may loosen over time.
- Surface preparation. Sand through progressively finer grits to a smooth finish. Always sand with the grain to prevent fuzzing. Vacuum thoroughly to avoid embedded dust before finishing.
- Protecting edges. Tighten edges with a light bevel or eased edge to reduce chipping and to enhance comfort when touching the tabletop.
- Finishing strategy. For indoor tables, oil-based finishes provide a warm glow, water-based varnishes offer low odour and easier cleaning. For outdoor tables, select finishes rated for exterior use with UV resistance and good water repellence. Reapply as required by climate and use.
- Safety and maintenance. Use stable, level work surfaces and wear protective gear. Regular checks on screws, joints, and surface wear will prolong the life of the piece.
Final thoughts: personalisation and space planning
A board‑based table is a flexible platform for personal expression. You can adapt dimensions, board widths, and joinery details to suit your space, style, and budget. Consider pairing a rustic timber top with a modern, powder‑coated metal frame for a contemporary contrast, or match a traditional frame with a lightly stained top to showcase the grain. If you’re repurposing existing boards, group pieces with complementary tones to achieve a cohesive appearance across the tabletop.
As you embark on your project, keep your workshop well organized. Label parts, maintain a clear layout, and verify each connection as you progress. The sense of achievement in completing a sturdy, well-finished table from boards is well worth the effort, and the result will be a durable focal point that can be cherished for generations.
Before you begin
Perhaps the most important step in any DIY furniture project is honest planning. Take time to measure your space, confirm your intended use, choose timber intentionally, and plan a sensible finishing strategy. When you do, your board‑based table will not only serve a practical purpose but will also reflect your personal design sensibility and craft skill.
Remember: consistency in material thickness, square joints, and a thoughtful finish are the hallmarks of a well‑made table from boards. If in doubt, consult a professional timber specialist about sourcing and moisture content for your climate.
Whether you build a compact dining table, a cosy cottage‑style piece, a robust outdoor table with benches, or a contemporary cross‑legged design, the journey from board to beauty is both technical and artistic. Enjoy the process, and let your space benefit from a timeless, handmade piece.
You may also like these articles
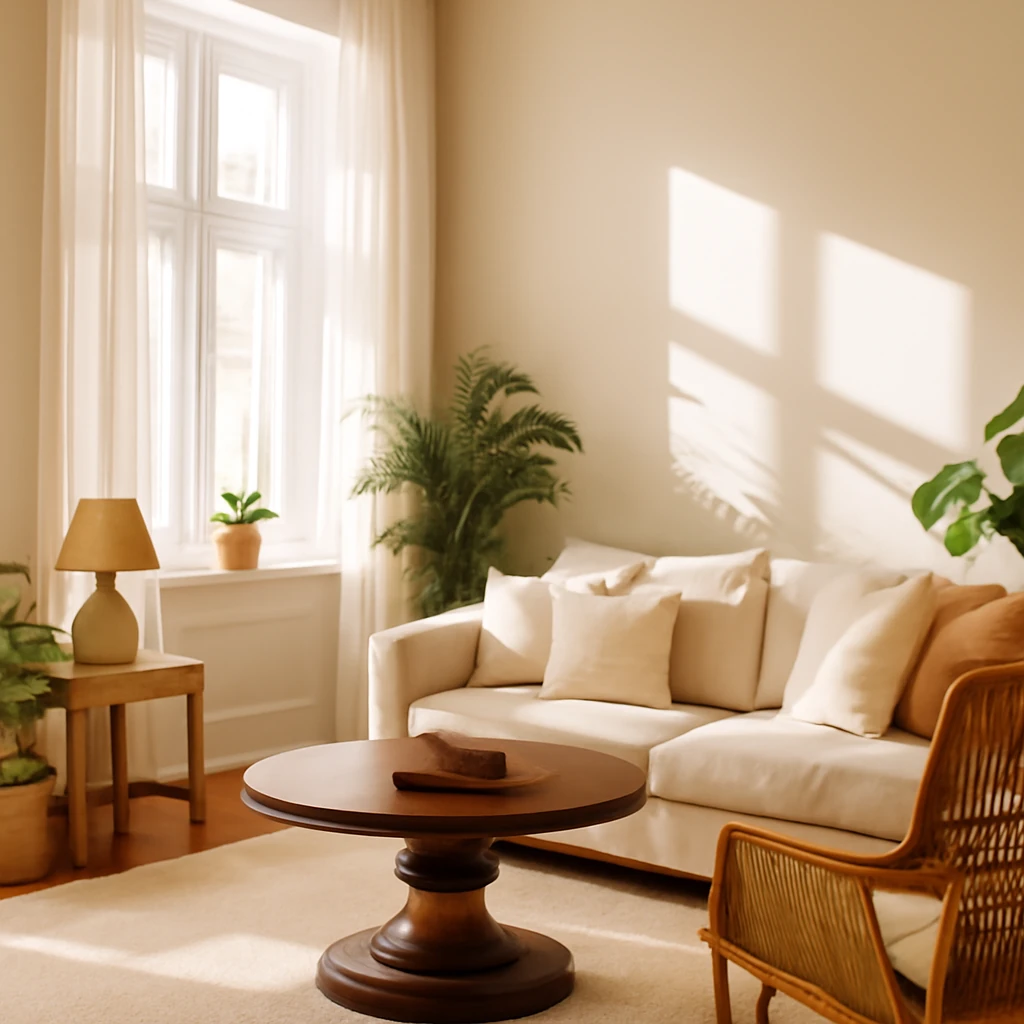
18m2 Living Rooms Across Europe: Zoning, Lighting and Style
Compact European living rooms get grand with smart zoning and lighting.
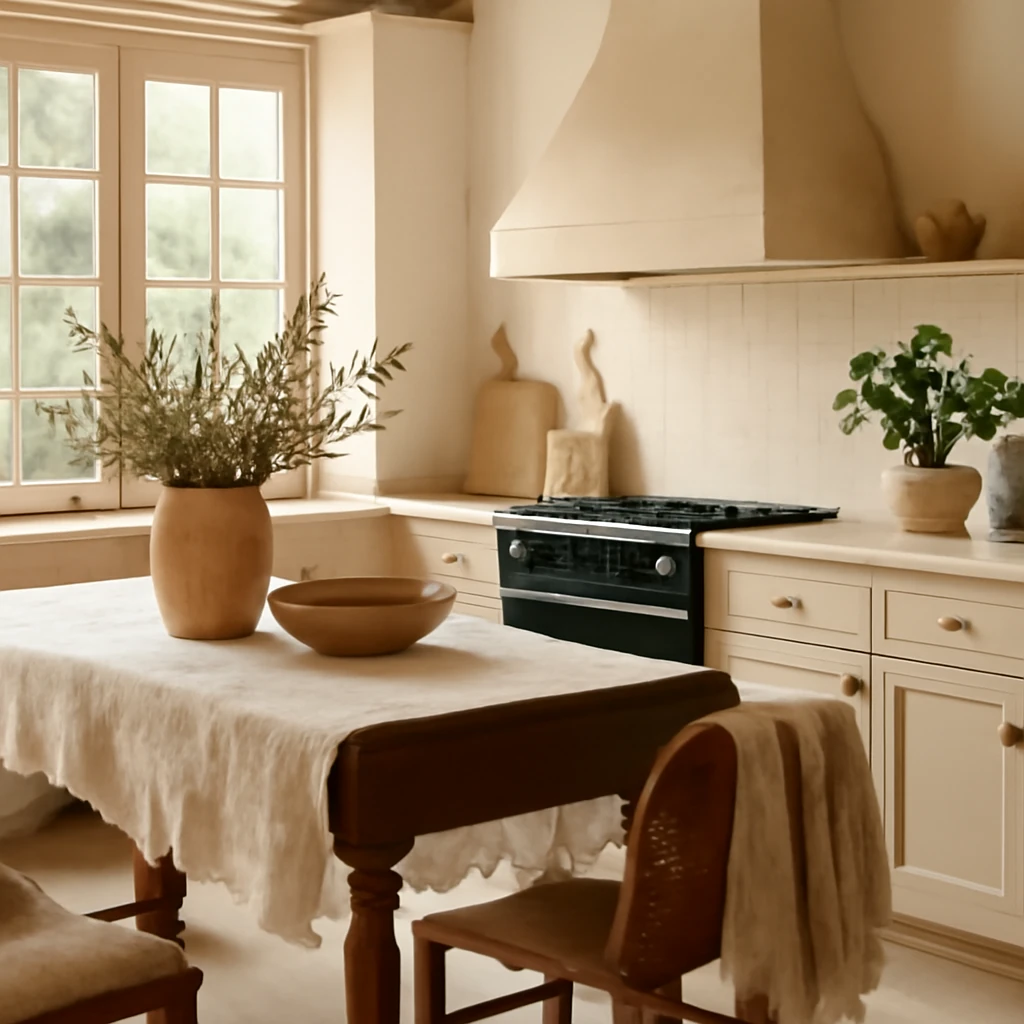
The Timeless Allure of Provencal Kitchens: A European Guide to Rustic Elegance
Sunlit Provencal kitchen design for European homes: rustic charm meets modern living.
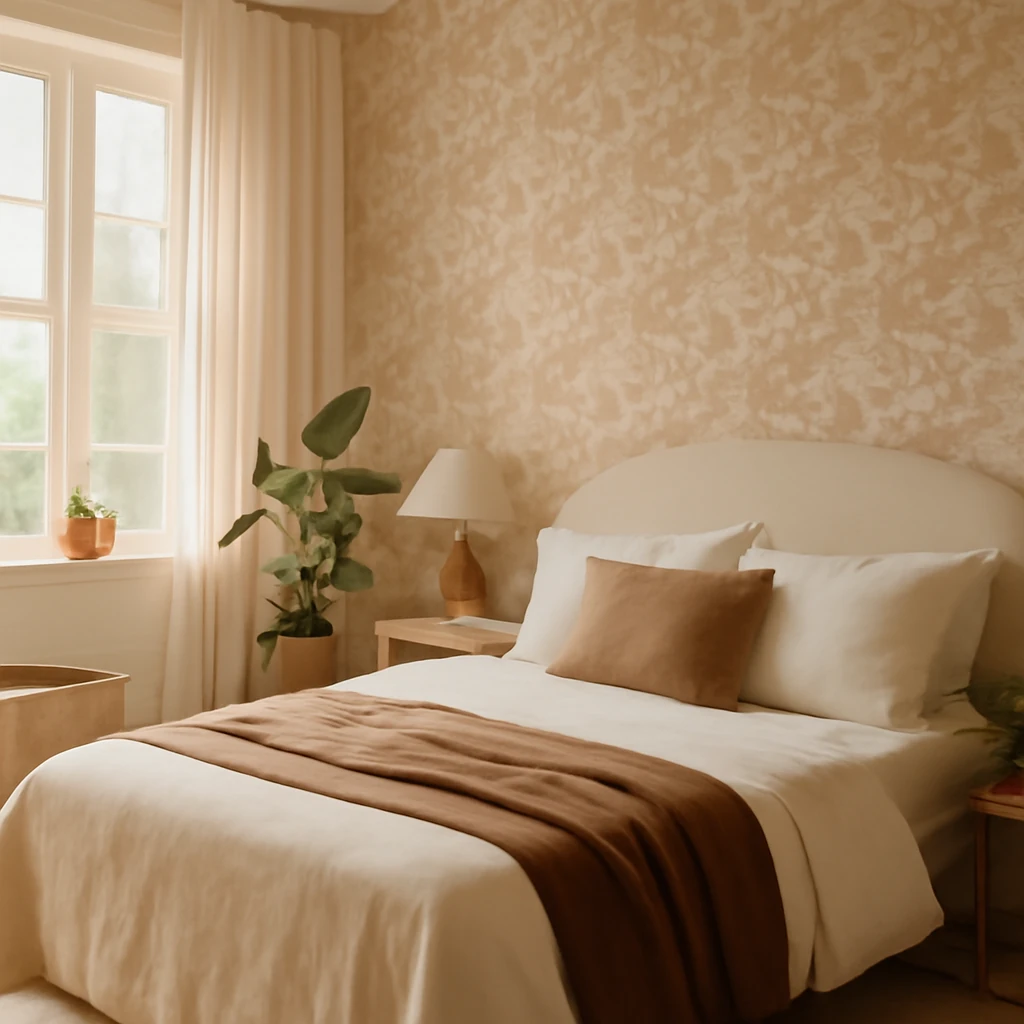
Six Beautiful Bedroom Wallpapers to Create Calm, Characterful Interiors
Six stylish bedroom wallpaper ideas to craft calm, characterful spaces.