
Explore interior trends, AI design insights, styling guides and real transformations
Epoxy Resin in European Interiors: Ideas, Techniques and Projects
Epoxy resin in European interiors: a versatile design material
Epoxy resin is a clear, glass-like polymer that has captured the imagination of designers and DIY lovers across Europe. It pours smoothly, cures to a high-gloss or matte finish, and can be embedded with colour, botanical material, metal foils and more. Its versatility makes it a favourite for everything from small personal accessories to statement furniture pieces. This article explores what you can create with epoxy resin, offers practical guidance tailored to a European context, and provides a solid workflow for both beginners and more experienced makers.
Why epoxy resin appeals in contemporary European spaces
Across Europe, living spaces range from compact city flats to generous countryside homes. Epoxy resin responds to this diversity in several ways. It is durable and water-resistant, which makes it suitable for kitchen islands, work surfaces and bathroom accessories. The clarity and depth of a well-made resin piece can amplify natural materials such as timber, stone and ceramic, while its finish options - clear, tinted, opaque, matte or glossy - allow it to read as a contemporary accent or a timeless countertop composite. For designers, resin opens the door to seamless transitions between inside and out: a resin surface can span seamlessly from a kitchen prep area to a dining space, or a resin top atop timber can create a “river” effect that echoes natural landscapes found in many European interiors. Additionally, resin projects are accessible to many makers. With a suitable workshop and proper safety measures, a modest collection of resin, hardener, pigments, moulds and a few tools can produce high-quality results without requiring a large studio. This aligns with Europe’s strong tradition of home crafts and small studios, where skilled artisans blend traditional materials with modern techniques.
Safety, preparation and workspace
- Work outdoors or in a well-ventilated space. In homes, ensure the room is routinely ventilated and avoid closed spaces for long sessions.
- Always wear protective gear: gloves, splash protection, a suitable apron or clothing cover, eye protection and a respirator when working with liquid resins in enclosed spaces. After curing, the items are generally safe, but the process requires caution during handling.
- Keep the workspace clean and dry. Ensure tools and moulds are dry and free from dust before use.
- Temperature and humidity matter. Aim for a stable temperature around 18–25°C (64–77°F) during mixing and curing. High humidity or cold conditions can affect the finish and curing time.
Step-by-step guide: basic resin casting
- Prepare the workspace and assemble materials: resin, hardener, pigments or inclusions, silicone moulds, protective gear and appropriate mixing vessels.
- Read the product instructions carefully. Ratios of resin to hardener vary by product, most common European resins are mixed by weight at 1:1 or 2:1, depending on the formulation. Use a precise scale to measure components.
- Measure and mix the resin and hardener as indicated. Stir steadily for several minutes to ensure a uniform blend, avoiding air bubbles. If bubbles appear, you can gently pierce them with a wooden implement or use a light mechanical degassing method, if available.
- Add pigments or inclusions. Most pigments should be added before the hardener is mixed in, but follow the manufacturer’s guidance. Do not exceed the recommended amount, typically up to about 5–10% pigment by volume.
- Pour into moulds in thin layers. Fill the mould halfway, allow the first layer to cure for 15–20 minutes if you intend to add decorative elements, then add the remaining resin. For more complex pieces, you can cure the first layer and then apply a second pour after 24 hours.
- After full cure (often 24–48 hours, depending on product and thickness), demould and finish. Sand with fine grit if needed and apply a finishing oil or wax to enhance the surface.
Tip: for large surfaces, work in stages to reduce heat generation and ensure a smooth finish. Always plan for ventilation and temperature control, especially when working with thick pours.
What you can make with epoxy resin
Because of its strength and beauty, epoxy resin is suitable for a broad spectrum of objects, from purely decorative art to highly functional pieces. Here are main categories that are particularly popular in European homes.
Jewellery and small accessories
Epoxy resin jewellery has become a staple for contemporary wardrobes. Earrings, pendants, rings and brooches can be crafted in glass-like clarity or with bold colours. Clear resin is often filled with dried flowers, leaves or pressed botanicals, while metallic foils, mica powders or hand-drawn designs create a personalised backdrop. For beginners, start with small pieces such as pendants or earrings. These are easy to embed into a lightweight base and can be finished with a simple bail or setting to hang from a chain or cord. When embedding botanicals, ensure materials are fully dessicated to prevent clouding after curing. For durable results, seal any inclusions and apply a protective topcoat that’s compatible with skin contact if the item will be worn against the body.
Kitchen and serving ware
Synthesised resin surfaces lend themselves to striking kitchen and dining pieces: coasters, serving boards, pastry boards, fruit bowls and vases. For items that come into contact with food, choose a resin that is certified as food-safe for contact with non-cooked foods. Even with food-safe formulations, avoid placing hot items directly on resin surfaces, use heat resistant mats or trivets. A beginner project might be a wooden chopping board coated with a thin layer of clear epoxy, which both seals the wood and provides a durable, wipe-clean surface. For more experienced makers, a resin top on a timber board or a set of resin-inlaid serving dishes can become a striking culinary centrepiece. When creating kitchen components, work in stages and ensure the finish is fully cured before use.
Decorative objects and art
Clocks, trays, small sculptures and abstract art are common resin projects. For larger decorative pieces, use a design approach such as resin art on canvas or board, where pigment blends are poured and manipulated to create marble-like veining or gemstone-inspired patterns. Resin art often employs a technique referred to as “resin art” or “pour painting”, where colours are layered and directed with a stick or by tilting the substrate to generate organic, flowing patterns. These pieces can become focal points in living rooms or bedrooms, echoing the soft movements of natural minerals and crystal formations.
Lighting and illumination
Resin can form the body of lamps and light diffusers, provided the material is cast to be transparent or translucent and the lighting element is appropriately integrated. The resin itself should be heat resistant and compatible with the lighting components to avoid discolouration or degradation over time. A simple approach is to create a shallow resin panel that fits within a wooden frame housing a small LED light. More advanced projects can involve casting a three-dimensional lantern or lampshade where the resin is sculpted around the bulb housing. In all cases, ensure there is adequate ventilation during curing and consider heat dissipation when selecting light sources.
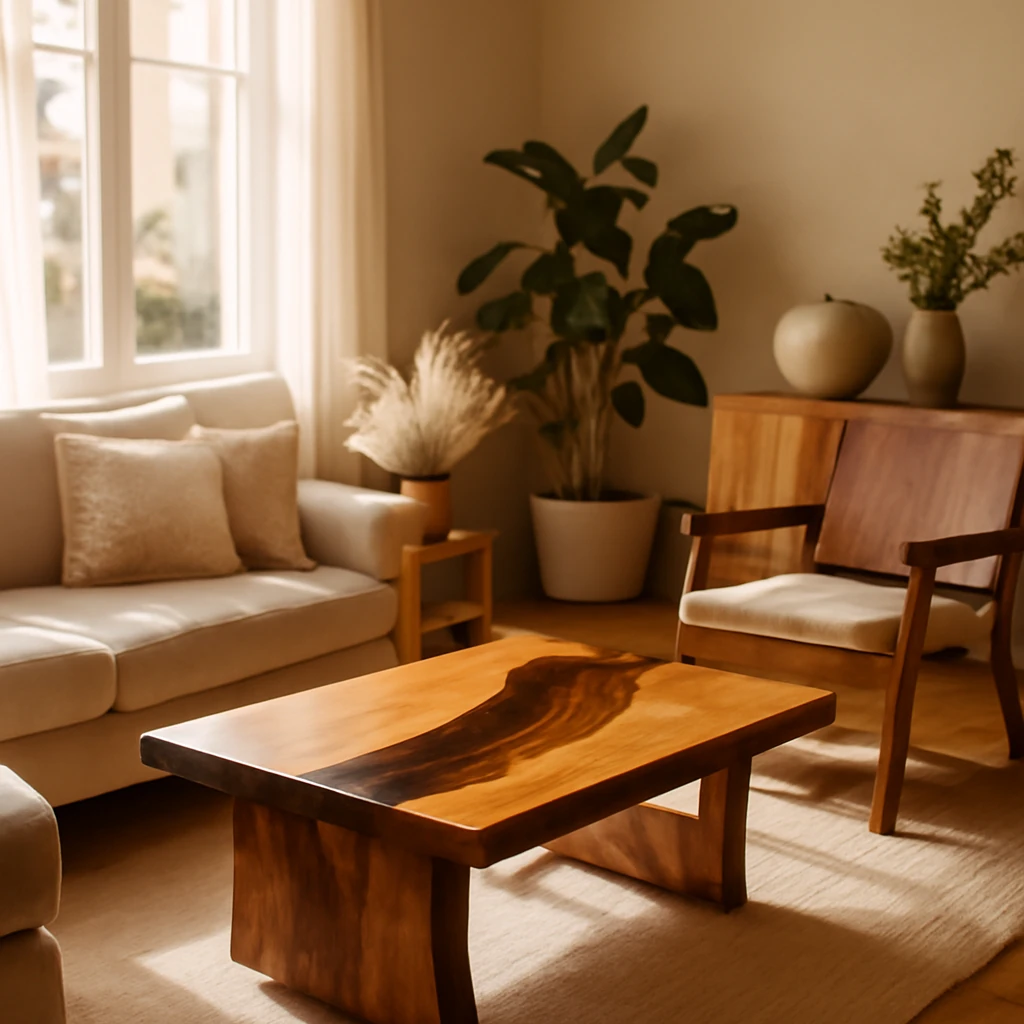
Countertops, bars and furniture
One of the most dramatic resin applications is the “river table” or resin-over-wood surface. The effect combines a solid timber slab with a flowing channel of resin that can be tinted to resemble water or play with light. Fully resin surfaces are also possible, though they require careful engineering to ensure adhesion to the substrate and durability for daily use. In European homes, where kitchens and dining spaces often blend natural materials with contemporary finishes, the resin surface can act as a durable, easy-to-clean focal point. When pairing resin with timber, expect strong adhesion due to the resin’s bonding properties, and plan for proper finishing around joints and edges to avoid gaps or cracks over time.
Finishes, colour and materials
Because epoxy resin is initially clear, designers often tint or colour the material to achieve the desired effect. Finish options include transparent, semi-opaque or opaque, matte or high-gloss, and even luminescent or fluorescent finishes for dramatic night-time impact. Popular additives include natural elements like dried petals, shells or pebbles, and metallic foils or mica powders to create shimmering, jewel-like surfaces. When selecting pigments, use products designed for resin and follow safety and compatibility guidelines. For large pieces, consider a “double-batch” approach: pour part of the resin, insert decor or create a resin layer, and then pour a second layer to seal everything in and achieve a uniform finish.
Practical tips and common pitfalls
- Work with a well-planned plan. Sketch the project, list materials, and map out layers or stages before you begin. This helps manage cure times and avoids surprises as the material thickens.
- Ventilation matters. Even low-VOC formulas require good air movement. If indoors, use exhaust fans and open windows, and consider a ventilated spray booth for large work.
- Temperature control is essential. Cool rooms slow curing, very warm spaces accelerate exothermic reactions. Maintain consistent temperatures to prevent surface imperfections.
- Avoid moisture entrapment. Humidity can cause blooming or clouding, especially in porous inclusions like flowers. Dry any organic material thoroughly before embedding.
- Use proper mould release and secure edges. Release agents or tape help with demoulding, reducing the risk of tearing delicate pieces.
- Protect from UV exposure in the long term. Some colours and images can fade with sun exposure. For outdoor furniture or walls, consider protective coatings or placements in shaded areas.
- Practice with small samples before committing to large pieces. Create test coasters or small panels to calibrate colour, curing time and finish.
Getting started: planning a project in Europe
European makers often work within compact spaces and varying climates. To start a resin project successfully, follow a practical plan that respects both local conditions and the material's requirements:
- Define the project scope. Start with an accessible piece such as a coaster set or a small tray, then progress to more complex items like a custom table top or decorative panels.
- Select the right resin. Look for a product with a clear technical datasheet, compatible pigments, and explicit guidance on curing times, safety and food-contact status if relevant.
- Plan inclusions and design. Decide whether you want a natural, botanical interior or a more geometric, modern aesthetic. Prepare botanicals by thoroughly drying them to avoid moisture artifacts.
- Prepare a stable workspace. A dedicated bench or table with good ventilation, a level surface and protection for surrounding surfaces is essential. Keep a watchful eye on temperature and humidity during the curing process.
- Source tools and materials locally. Europe’s diverse supply options include resin systems, pigments, moulds, UV lamps (for certain post-curing processes) and protective finishes. Choose suppliers with clear safety data and regional support.
- Test and refine. Make small-scale samples to experiment with layering, depth, and colour combination. Use these experiments to inform the final piece’s size, shape and finish.
Care and maintenance of resin surfaces
Proper care extends the life of resin surfaces. Clean using a soft cloth with mild soap and water, avoid harsh solvents that could degrade the surface. For high-gloss finishes, a light wipe with a non-abrasive polish can help maintain the sheen. UV exposure can gradually alter some pigments, place resin pieces away from direct sun where possible or apply UV-resistant topcoats designed for resin surfaces. When used for dining or kitchen items, ensure ongoing hygiene by avoiding direct contact with hot liquids or acidic foods that could affect the resin’s integrity over time.
A simple starter project for European makers
Begin with a small, reversible project such as a resin coaster set or a shallow tray. This type of piece teaches the essential steps - measuring, mixing, pouring and curing - without the complexity of large forms. You can experiment with a single colour, then add dried botanicals or a thin layer of decorative foil for a subtle effect. Completing a starter project gives you confidence to progress to more ambitious pieces such as a river-table top or a decorative wall panel, where resin can create a dramatic focal point.
Final thoughts: mastering epoxy resin in European interiors
Epoxy resin offers a powerful way to blend craft, design and technology within European homes. Its clarity can celebrate natural materials, its depth and brightness can elevate modern interiors, and its adaptability makes it suitable for both small decorative pieces and impressive furniture forms. The key to success lies in careful preparation, strict adherence to safety practices, thoughtful design and patient execution. With practice, what begins as a modest project can become a defining element of a space - a table with a living river of colour, a set of jewellery that tells a story, or a sculptural lamp that casts a warm, inviting glow across a room.
Notes on materials sourcing and professional practice
When sourcing epoxy resin, pigments and inclusions in Europe, look for suppliers who provide clear technical datasheets, safety data sheets and consumer guidance. If you plan to produce pieces for sale or exhibition, consider working with a studio that can advise on product safety, certification, and long-term durability. Collaborations with professional mould makers, carpenters and electricians can help ensure that larger projects are structurally sound and meet local building and electrical standards. By combining high-quality materials with careful execution, epoxy resin can be a lasting, iconic feature of European interiors, reflecting a contemporary craft ethos that resonates across the region.
You may also like these articles
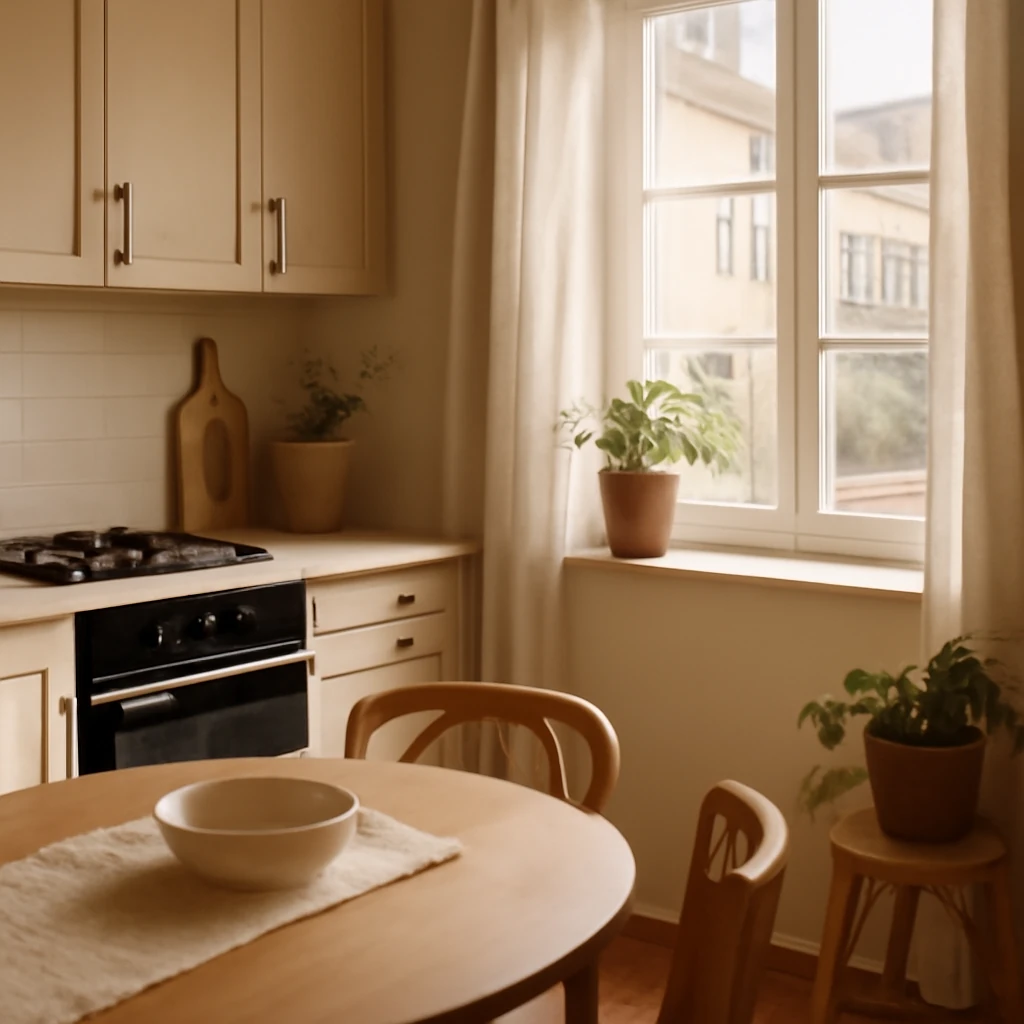
Small Kitchen, Big Style: Designing a 12 m² Kitchen Across Europe
Smart layouts and finishes for a 12 m² kitchen you can live in.
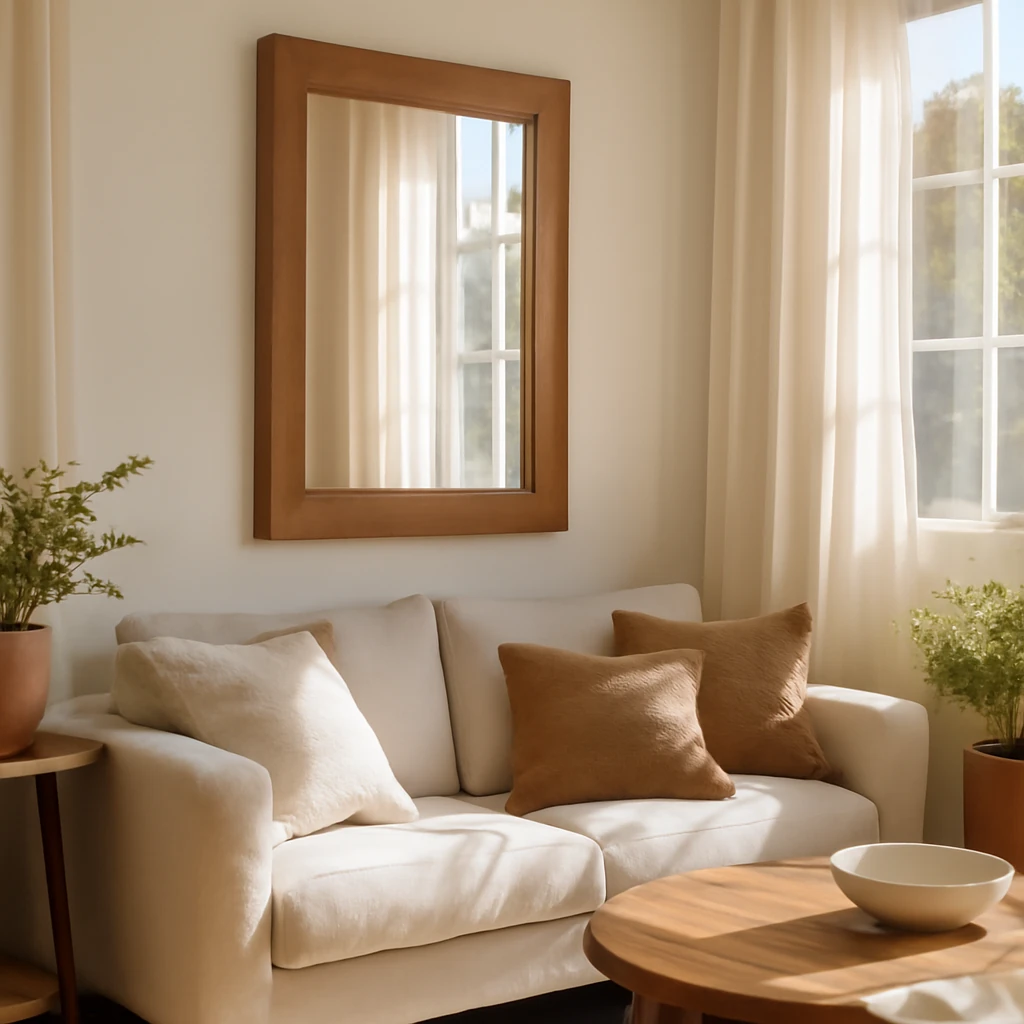
Mirror Frame DIY: A Beginner's Guide for European Homes
Two reliable methods to craft a custom mirror frame for European homes.
Venetian plaster: marble-like finishes for European interiors
Timeless, marble-like wall finishes for European homes.