
Explore interior trends, AI design insights, styling guides and real transformations
How to Repaint Your Kitchen Cabinets Like a Pro: A European DIY Guide
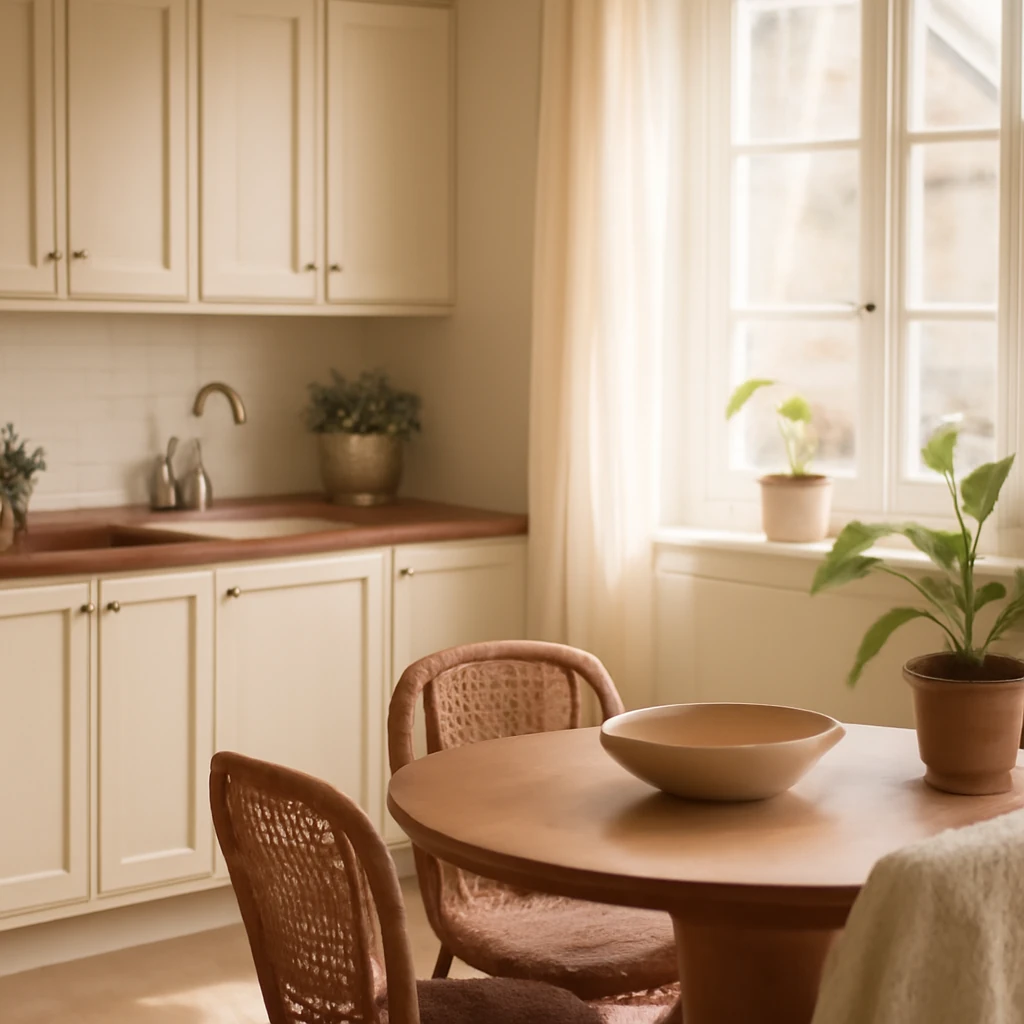
Introduction: a smart, sustainable kitchen upgrade
In many European homes, the kitchen is the heartbeat of daily life. Rather than replacing cabinets entirely, a well-executed repaint can transform the feel of the room, add years to the lifespan of surfaces, and protect underlying materials. With quality tools, careful preparation, and the right finishes, you can achieve a durable, high-end look without a substantial budget. This guide distills professional practice into a practical, step-by-step approach suitable for DIY enthusiasts across Europe.
What cabinets can be repainted?
Nearly any flat or lightly textured cabinet surface can be refreshed with paint. The simplest candidates are:
- Natural wood fronts and frames (oak, beech, ash, maple)
- Medium-density fibreboard (MDF) panels and carcasses
- Laminate or melamine surfaces that have been properly prepared
- Previously painted or stained surfaces, provided the finish is sound
Surfaces that may require additional attention include highly glossy or glare-prone finishes, surfaces with peeling coatings, or areas where water damage has occurred. In such cases, the preparation becomes even more critical, and the use of a robust primer with good adhesion is essential. For stubborn finishes, light mechanical abrading helps create a key for the new paint to grip.
Getting started: planning and workspace setup
Preparation is the cornerstone of a durable repaint. Begin by removing everything from the cabinets, including doors, drawers, and hardware. Label each component so you can rehang doors in their original positions, preserving the alignment of hinges and gaps. Clear the surrounding area and protect work surfaces, floors, and any adjacent appliances with drop cloths or inexpensive painter’s film. Adequate ventilation is important, open doors and windows or use a fan to move air through the space while maintaining sensible temperatures.
Have your materials arranged in a logical sequence: cleaning agents, degreaser, sanding abrasives, masks, primers, topcoats, and a good-quality brush and roller set. Use oil-free or water-based products as appropriate for indoor use and indoor air quality considerations. In European kitchens where space is at a premium, a well-organised workstation helps you maintain momentum and prevents missed steps.
Surface preparation: cleaning, degreasing and keying the substrate
Preparation determines whether the finish will sit evenly and long-lastingly. Start by thoroughly cleaning all surfaces to remove grease, steam, and cooking residues. A mild degreasing solution or isopropyl-alcohol-based cleaner works well, followed by a rinse with clean water. Allow surfaces to dry completely before you begin sanding.
Where old finishes are intact but dull or uneven, lightly abrade with fine-grit sandpaper (around 220 grit) to create a micro-scratch pattern that the new coating can grip. For areas with smoother, previously painted surfaces, a 120-grit paper can help remove stubborn spots or gloss before priming. Be mindful not to gouge or round over edges, especially on ongoing frame lines and verticals that define the kitchen’s geometry.
After abrading, wipe away dust with a damp cloth and let the surface dry again. Any seams or joints that may trap dust should be inspected, a wipe with a tack cloth helps ensure a clean, paint-ready surface. If the cabinet is showing signs of water damage, replace or repair affected panels before painting, as moisture can compromise adhesion and finish quality.
Priming and undercoats: choosing the right primer
The primer is not merely a layer of colour, it is the essential bridge between substrate and topcoat. Avoid universal primers that claim to work on everything, instead, select a primer that suits the material you are coating. For wooden substrates, a high-adhesion primer designed for wood improves durability, while for MDF or melamine-like surfaces a dedicated laminate or multi-surface primer often yields the best results. If possible, use a water-based primer for lower odour and faster drying, but on oily or resinous substrates, a shellac- or alcohol-based primer can offer superior sealing and adhesion.
For darker colours or high-contrast schemes, consider tinting the primer to the final colour. A practical rule of thumb used by professionals is to tint the primer to roughly 75% of the final colour. This helps achieve more uniform coverage while reducing the number of topcoat passes. After applying the first coat of primer, gently sand again with a fine grit (approximately 320–400) to knock down any nibs or raised grain, then wipe clean before the topcoat.
If you plan to paint light over dark wood or a saturated colour, you may need two coats of primer or a dedicated primer with stronger concealment. Allow adequate drying time between coats according to the manufacturer’s guidance, and ensure there is good ventilation to expedite curing and minimise odour exposure.
Choosing your topcoat: finishes that stand up to kitchen use
For kitchen cabinets, durability matters as much as appearance. The best-performing options are hard-wearing acrylic enamel and satin or semi-gloss finishes. Matte finishes can look contemporary and sophisticated, but they can be more susceptible to fingerprints, steam marks, and staining in busy kitchen environments. A two-coat approach - first a medium to full-coverage base and then a protective clear topcoat - provides durability and ease of cleaning.
When colour is involved, you may want to use a water-based enamel or a hybrid polyurethane paint that offers good adhesion, washability, and relatively low odour. If the user environment demands an exceptionally hardwearing surface (for example, a kitchen with heavy daily use), a waterborne polyurethane topcoat or a two-component protective varnish can be applied as a final layer, after the enamel has cured sufficiently.
Painting technique: achieving even coverage and a professional finish
Apply the paint in a controlled, linear manner to ensure a uniform colour and smooth surface. Use a high-quality natural or synthetic brush with fine bristles for edges and detailing, paired with a short-nap roller (commonly 3–6 mm) for larger flat faces. Start with the interior sides or the inside face of doors to build confidence before tackling the outer fronts.
Do not overload the brush or roller. A light, steady application tends to yield a more uniform finish and reduces the risk of runs. Work in narrow, parallel passes, overlapping slightly with each stroke to maintain an even edge. When possible, apply paint in a well-ventilated area with good light so you can easily spot imperfections as you work.
Several cabinet scenarios benefit from brush technique that reduces brush marks. For example, painting with long, straight strokes in one direction on flat surfaces helps achieve a uniform appearance. If you are using a roller, roll in the same direction as the grain or along flat surfaces to minimise stippling. For edges and corners, switch to a fine brush to avoid heavy build-up of paint in tight spots.
Two thin coats are preferable to a single heavy coat. Allow the first coat to reach a dry-to-touch stage before applying the second, then finish with a final, light pass to even out any remaining texture. Drying times vary with product and ambient conditions, plan for a minimum 4–6 hours between coats and up to 24 hours for a full cure before reassembling hardware and re-installing doors.
Dealing with hardware and details: masking, hinges, and handles
Mask hinges, drawer pulls, and the edges of doors that you do not intend to paint. If you plan to reuse existing hardware, remove it and label its position to avoid any misalignment of doors or panels when re-hanging. Consider replacing or refreshing hardware for the most striking transformation. Clean or polish metallic finishes prior to reassembly, as a dull or dirty surface can spoil the overall finish even when the doors themselves look flawless.
Topcoat and sealing: protecting the new finish
Once the paint has dried to the touch, consider applying a protective topcoat. A clear water-based polyurethane or a durable varnish can increase scratch resistance and ease of cleaning. Apply according to the product guidelines, usually in two thin coats with light sanding between coats to remove dust nibs. Allow the final coat to cure fully - this can take 24–48 hours or longer depending on humidity and temperature - before reattaching doors and drawers and putting contents back in place.
Ventilation and safety: what to watch for during the project
Ventilation is essential when painting interiors. Open windows and doors, use a fan to move air from the workspace to the exterior, and avoid prolonged exposure to solvent odours. Even water-based products can emit a noticeable scent during drying, so ensure adequate airflow. Protect yourself with appropriate PPE: gloves, eye protection, and a lightweight respirator or mask when sanding or working with stronger primers and finishes. If you are painting in a home with children or pets, plan the project in a period when areas can remain undisturbed until the finish has cured sufficiently.
How to ensure a flawless finish: 5 practical painting hacks
- Less is more on the brush: Dip the brush lightly and remove excess paint before applying. A heavy load leads to drips and brush marks that are hard to correct later.
- Maintain a wet edge: Work from one panel to the next with a seamless flow to prevent visible seams between strokes.
- Two-coat strategy: Prioritise two controlled coats rather than one thick layer. It yields more even coverage and a tougher finish in busy kitchens.
- Masking precision: Tape off all edges carefully to preserve straight lines, particularly around frames and cabinet perimeters.
- Ventilation discipline: Keep air moving and maintain a comfortable temperature to aid drying and reduce lingering odours.
Maintenance and care: keeping the finish looking fresh
With a durable topcoat, the cabinets should resist moisture and stains more effectively, but routine care remains important. Wipe surfaces with a damp cloth and mild soap as needed, avoiding abrasive cleaners that can dull or scratch the surface. Address spills promptly, particularly on lighter colours, to prevent staining. If you notice micro-scratches over time, a light touch-up with a matching colour can help preserve the seamless appearance without repainting entire panels.
Common mistakes to avoid
- Rushing the process. Proper drying times between coats are crucial for adhesion and durability.
- Using a poor-quality brush or roller. Tools designed for enamel-type paints yield a smoother finish and fewer brush marks.
- Skipping proper masking. Paint spreading to hinges, countertops, or adjacent walls creates an uneven, messy result.
- Underestimating prep. Sanding, degreasing, and priming determine the final look and longevity of the finish.
Conclusion: a refreshed kitchen with lasting impact
Repainting kitchen cabinets is a clever way to modernise a space, especially when professional installation or full replacement is unnecessary. By selecting the right materials, investing time in preparation, and applying careful, well-timed coats, you can achieve a durable, elegant finish that stands up to daily use. The result is a customised kitchen that feels brighter, more cohesive, and in tune with contemporary European design standards.
You may also like these articles
 Colour & Materials
The Rise of Chenille: Soft Luxury for European Living Rooms
Soft luxury meets practicality: chenille sofas reshaping European interiors.
Small Spaces
Smart dining table solutions for compact European kitchens
Space-saving dining table ideas for European small kitchens.
Interior Design
Designing a European Country Home: Spaces, Styles and Practical Planning
Timeless ideas for cosy, practical European country homes.