
Explore interior trends, AI design insights, styling guides and real transformations
Restoring Classic Furniture in Europe: A Practical Guide
Introduction: Why restore classic furniture in today’s homes
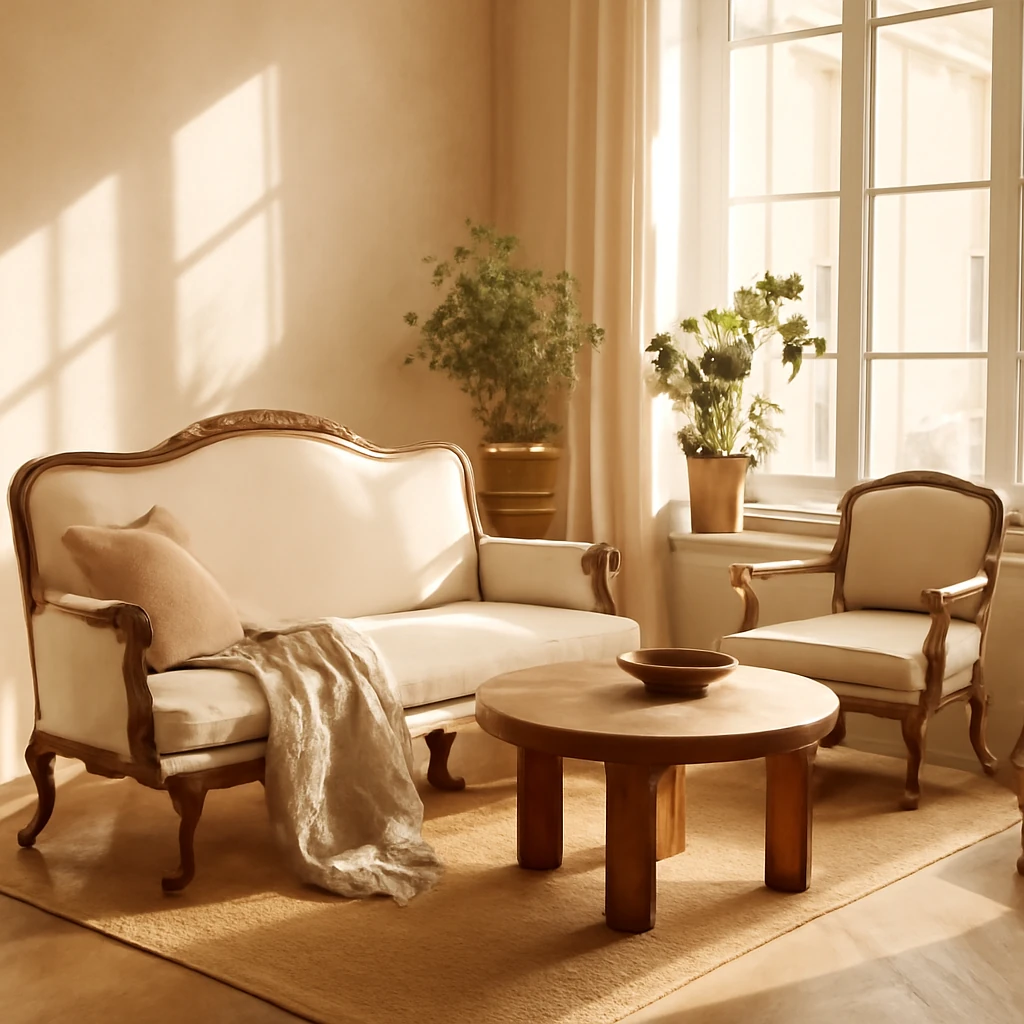
In many European interiors, solid timber furniture carries a sense of history, tactility and permanence that mass-produced pieces often lack. Restoring and updating a cherished classic can be as satisfying as purchasing something new, offering bespoke character while supporting sustainable design. The aim is not merely to repaint, but to honour the craftsmanship, maintain the piece’s integrity and adapt it to contemporary living. This guide presents a practical, European-focused approach to revitalising wooden furniture - covering tools, surface preparation, paint options, finishing and maintenance - so you can achieve a durable, beautiful result in a home environment.
Tools and materials you will need
Most of the items required for furniture restoration exist in every home workshop. Building a well-considered toolkit will make the project smoother and the results more reliable. The list below reflects common European practice and materials that are readily available through professional suppliers and hardware stores.
- Sandpaper in a range of grits (for initial abrading and fine finishing): typically 80–320 grit
- Scrapers and putty knives for removing old coatings and filling defects
- Block or sanding pad, masking tape (blue painters’ tape) for protecting hardware
- Paints, primers, wood fillers and sealers suitable for interior wood finishes
- Brushes of various sizes: a broad angled brush for large flat areas and a narrow flat brush for details
- A roller with a velvet sleeve for smooth, even surfaces, foam rollers are less durable for long-term use
- Aerosol or spray finishes for a uniformly smooth layer (where permissions or space permit)
When selecting brushes, check that the bristles are securely attached, to avoid shedding bristles onto the surface. If taking breaks during work, keep brushes in water to preserve the bristles. For large flat areas, a roller with a high-quality velvet cover yields the most even finish. If you anticipate a perfectly glassy surface, an appropriate spray finish can be very effective. Always follow the manufacturer’s safety guidance and use appropriate PPE when working with chemicals or aerosols.
Preparation for painting
Dust, odours and vibration can compromise the final result. Where possible, organise the project in a dedicated space with good ventilation and away from living areas. If you must work in a shared room, isolate the workspace to minimise disruption.
Carefully inspect every centimetre of the piece. Defects, such as loose joints, cracks, or surface damage, should be repaired before painting. Dismantling is often beneficial for accessing difficult areas or reversing repairs later, however, fixed fittings and firmly attached components should be left in place where removal is impractical or may damage the structure. Use masking tape to protect hardware that cannot be removed. If only the façade or visible surfaces are to be painted, there is generally no need to strip the furniture down to its frame.
To remove an old, stubborn varnish or lacquer, begin with cleaning: wash the piece with a mild soap solution, then dry thoroughly. There are several methods to strip finish:
- Mechanical: use a scraper, steel wool, sanding tools, or an electric sander to physically remove the coating
- Chemical: apply a professional paint stripper, following the manufacturer’s instructions, allow the coating to soften, then remove with a scraper and wash with water or an approved cleaner
- Thermal: use a heat gun to soften the finish and scrape it away, taking care to avoid scorching the wood
In extreme cases, a rotary tool with a metal brush attachment may be employed, but proceed with caution to avoid gouging the timber. Work slowly and protect neighbouring surfaces. Safety goggles, gloves and a suitable mask are essential when using chemical strippers or power tools.
Carrying out a solid surface preparation
To ensure reliable adhesion for the new finish, the surface must be smooth and clean. Start by smoothing rough areas with a coarse abrasive, then progressively move to finer grits. Always sand with the grain or follow the direction of the wood’s natural pattern to minimise cross-grain scratches. After abrading, remove all dust with a tack cloth or a slightly damp lint-free cloth and let the surface dry completely.
De-greasing the surface is a key step before priming. Use a suitable solvent or degreasing solution and apply with a brush or cloth, then allow to evaporate fully. Any oils or wax residues can compromise adhesion and finish quality.
Cracks, chips and gaps should be filled with appropriate fillers. Epoxy resins offer strong adhesion for structural repairs, while latex-based wood fillers are convenient for minor surface imperfections. After filling, allow the filler to cure fully and sand flush to the surrounding wood before priming.
Choosing primers, sealers and the base coat
Priming is fundamental to achieving an even, durable finish. Acrylic-based primers provide good adhesion, are relatively quick-drying and are widely used for interior timber surfaces. In restoration projects where a clear or light finish is required to preserve the wood grain, a tinted or clear sealer may be preferable. Two thin coats of primer typically outperform a single heavy coat, reducing the risk of peeling and ensuring smoother colour uniformity.
Some restorers opt for a universal polyurethane-based sealer, this can improve hardness and resistance to moisture. However, keep in mind that certain sealers alter the final colour and grain visibility. If you plan to keep the natural wood texture, consider a pore-filling sealer or a clear, satin-non-yellowing finish before applying the pigment layer.
Never apply a finish onto a damp or poorly prepared surface. Ensure the furniture is completely dry between steps, and avoid applying finishing products in high humidity or direct sun, which can cause cracking or shifting of the finish.
How to choose paint and finish for wooden surfaces
Wood surfaces are commonly finished with acrylic-based emulsion paints in Europe. These water-based products dry quickly, have a lower odour, and are user-friendly for interior spaces. They typically use water as a solvent, which aids cleanup and reduces volatile organic compounds (VOCs). For furniture that requires easier tinting, many acrylics can be blended with colourants to achieve a customised shade while maintaining good adhesion and washability.
Options include:
- Water-based acrylic paints: fast-drying, good toxicity profile, can be tinted, often suitable for interiors without the need for heavy primers, available in gloss, satin or matte sheens
- Water-based emulsions (latex formats): robust for kitchens and bathrooms, with moisture resistance when properly sealed
- Spray paints in solvent-free or low-VOC formulations: convenient for flat surfaces or tight areas, ensure ventilation and safety
- Clear stains or tinted finishes: to preserve or enhance the wood’s grain pattern while adding colour
For those seeking high durability or a specific aesthetic, oil-based finishes or alkyd varnishes remain popular, particularly for floors or furniture subject to frequent handling. However, oil-based products tend to yellow over time and have longer cure times and stronger odours. In damp rooms or areas with high humidity, consider moisture-resistant latex or water-based varnishes with protective additives.
When painting white or pale colours, choose paints with good opacity and stain resistance to prevent bleed-through from the wood. For a more textured or rustic look, you may intentionally incorporate light brush marks or small irregularities, especially in period or Provence-inspired furniture designs. Finally, consider the final level of sheen: matte for a vintage feel, satin for practicality, or gloss for a more contemporary, high-clarity surface.
Safety and environmental considerations are important: opt for low-VOC products where possible, and ensure proper ventilation during application and curing. Follow the manufacturer’s guidelines for drying times, re-coating intervals and compatible primers or sealers.
Step-by-step instruction: how to apply paint like a pro
To achieve a reliable result, it helps to test the colour on a discreet area first. Read the paint can label carefully before starting, and adjust application methods to the product’s specific instructions.
- Prepare the details and surfaces: Begin with small decorative elements and tight crevices using a brush. Move to larger flat areas with a roller or a broad brush. Work in consistent, thin coats and keep strokes following the grain or laid out in a uniform direction for a cohesive look.
- Apply the first coat: Apply a thin, even coat over the entire surface. Avoid heavy layers that can lead to running or uneven finish. Allow adequate drying time as recommended by the product’s guidelines.
- Second coat and refinements: After the first coat dries, lightly sand with a fine grit (around 320–400) to remove any raised grain or imperfections, then apply the second coat. A light touch will ensure the colour remains balanced and uniform.
- Direction of the final coat: The last layer should run along the wood’s grain to reduce visible brush strokes and enhance the natural texture. For speed of production, a spray finish can be used, provided you follow safety and local regulations.
- Texture and style considerations: For a Provençal or rustic aesthetic, you may deliberately leave subdued texture or subtle brush marks. This approach can enrich the furniture’s character and depth.
- Finishing with lacquer or topcoat: Once the pigment coats are complete and dry, consider applying a protective topcoat in a suitable sheen. Choose between matte, satin or gloss depending on the furniture’s function and desired look. Allow the final coat to cure fully before use, typically 24–48 hours or longer if the product specifies.
After finishing, avoid heavy handling for the recommended cure time. Keep the piece away from direct sunlight, heat sources and excessive moisture during the initial drying period to prevent cracking or warping.
Lacquers, varnishes and finishes: what to choose
Finishing products differ in their composition, durability and appearance. Here is a concise guide to common options:
- Alcohol-based varnishes (shellac): Traditional choice for antique or warm-toned finishes, providing a classic depth and quick-drying properties. They can be delicate to moisture and heat, so use in appropriate contexts.
- Acrylic varnishes (water-based): Odour-free and relatively durable, ideal for interiors. They offer good flow and easy cleaning, with a wide range of sheens.
- Alkyd varnishes: Excellent hardness and durability for frequently used furniture. They can be slightly amber-toned and take longer to cure than water-based products.
- Oil-based varnishes: Traditionally used for floors and heavy-use furniture, very durable but slower to dry and can yellow over time. Ensure adequate ventilation and disposal of solvents according to local regulations.
- Marine or yacht varnishes: Highly durable, weather-resistant, and well suited to pieces in high moisture environments or those exposed to sunlight. They form tough, protective films but may require more maintenance and longer cure times.
Nitrocellulose lacquers can be used without a primer in some contexts, but always test compatibility with your chosen base and filler. Some finishes may raise wood grain slightly or alter colour, so testing on an inconspicuous area before full application is advised.
Care, maintenance and long-term durability
Cleaning and routine care can significantly extend the life of a restored piece. Use mild cleansers and a soft cloth for routine dusting and soiling. Avoid abrasive materials or harsh chemical cleaners that can wear away the topcoat. Consider occasional light re-waxing or re-oiling if the finish requires refreshment, following manufacturer recommendations for the chosen product.
In a European context, where homes vary from coastal to continental climates, pay attention to humidity levels. Excess moisture can cause swelling and cracking in wood joints, while overly dry environments may lead to splitting. Using a sealed finish with appropriate moisture resistance is beneficial for dining tables, dressers and other frequently used items.
Practical tips for a successful European restoration project
- Plan ahead: set a realistic timeline with drying and curing periods between coats. In colder or humid climates, drying times can be longer than those stated on product labels.
- Test colour and finish on a hidden area first. Lighting can dramatically affect how a colour reads on timber.
- Label components and keep hardware organised. If you remove drawers or fittings, photograph the arrangement to recreate the setup accurately.
- Ventilate properly when using paint strippers or solvent-based products. Wear a mask and eye protection, and store chemicals securely away from children and pets.
- Respect the furniture’s history. Retain or repair period-specific details where feasible to preserve its authentic character.
- Source materials from reputable suppliers with clear safety data sheets and VOC information. Choose low-VOC products if possible to minimise indoor air pollution.
Conclusion: a thoughtful approach to European furniture restoration
Renovating classical wooden furniture is a craft that combines patience, precision and design sensitivity. By choosing appropriate tools, preparing surfaces meticulously, selecting the right paints and finishes, and applying finishes with care, you can create durable, beautiful pieces that age gracefully in a contemporary European home. A well-restored item can become a focal point, a conversation starter and a lasting investment that aligns with sustainable living and mindful consumption.
You may also like these articles
Choosing the Right Duvet Size for European Bedrooms
Master duvet sizes for comfortable European sleep.

Window-Wide Work Zones: Reimagining the European Kitchen
Practical guidance for creating efficient, stylish window-side work zones in European kitchens.
Outdoor BBQ Zones for European Gardens: Design, Materials and Masterplans
Design a stylish, budget-friendly outdoor BBQ zone for European gardens.